

From the Desk of Clearissa Coward’s Command Center ~ Divinely Organized
The Desktop Project – It’s All About the Paint
I am having a good time working on small projects and guess what? Every project does not have to be a large one to make a difference. As a matter of a few small projects will eventually turn into a large project. For me, I am slowly working through an office refresh one small project at a time. The first two projects, Taming the Wires and My Desk Drawer Project, were both small projects that had an enormous effect on the organization of my office space. This week’s project, Desktop Refresh-It’s All About the Paint, is all about esthetics.
My desk is a total DIY. I used two file cabinets, one beige and one gray, and a door that I had cut down to fit the space. I spray painted the file cabinets black and painted the door white and viola, I have a very functional desk. I have drawer space and an oversized desktop that comes in handy when I am crafting in the space as well. It was beautiful for a while and then the wear and tear set in. 
I learned the hard way that polyurethane yellows over time and that polyacrylic is less likely to yellow. This desk started out as pure white but over time it yellowed because of the sealant I used. Lesson learned.
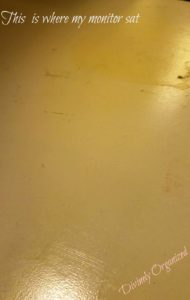
Also, do you see all of the scuff marks and stains? The really yellow spot at the top of the picture is where a large monitor sits and for some reason, the staining is even more prevalent in that spot. I used regular paint which is for walls and is not normally subjected to the wear and tear that a desktop must endure and it shows here. This was one of my first projects and as I said, I have learned a little more about paint since then. But looking at it, I am certain you can tell that my desktop has seen better days and has earned a makeover.
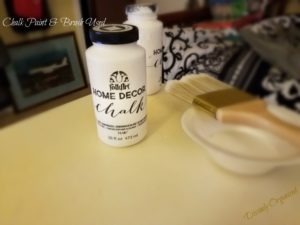
This time around, I used chalk paint and a 4in brush. I paid a bit more than usual for this brush because I have had trouble with the less expensive ones dropping bristles in my paint project. This brush was worth every extra penny. No bristles dropped and the paint applied smoothly. I applied two coats of white chalk paint, allowing it to dry between coats.
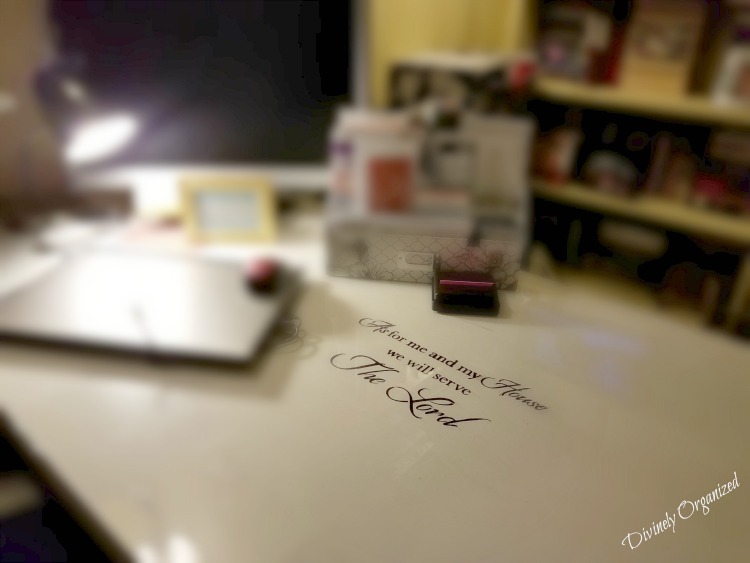
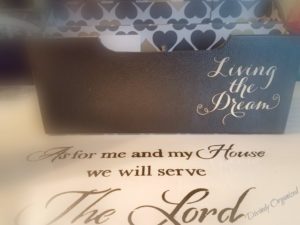
Next, I added a sweet surprise. I added a stencil in the center of the desk and I love it! I used black chalk paint and a premade stencil of one of my favorite Bible verses, As For Me and My House We will Serve the Lord, Joshua 24:15. You can purchase the stencil here.
The stencil breaks up the sea of white and it’s nice to see that every day while I work.

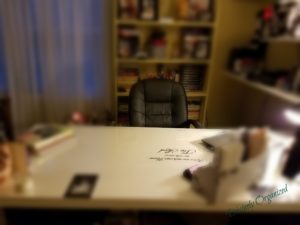
If the photo looks like there is water on the desk, it’s because there is a glare from the glass. This time I invested in a piece of plexiglass to protect all of my hard work. J I purchased it from Lowes and they even cut it for me. Because I have an oversized desk, it was a bit pricey but I think it will be well worth it in the coming years of use.
I collect angels and this one on the end of my desk is blowing all who enter my office a sweet kiss.
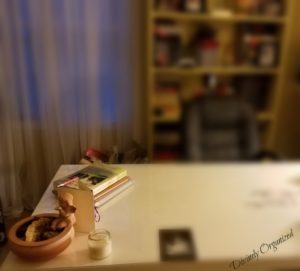
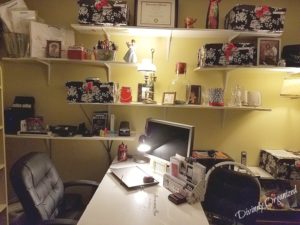
Because I work a regular 9 – 5, I spend a lot of evenings in this space and this is what it looks like.

If you’ve been following my blog, you know I’m holding on to this chair because it was a gift from hubs but it is beginning to show some wear (finally) so I am in the market for something a bit more feminine. But I must say…this chair is uber comfortable!
If you look closely on the shelves, there are more angels. I love them and I loved this project. I enjoy painting furniture stay tuned for more of that this year. I intend to refurbish/upcycle instead of buying new where I can. It’s all about spending and stressing less in 2017. Thanks for stopping by this week. I hope you enjoyed this post as much as I enjoyed the project.
There are affiliate links within this post that help to subsidize this website. Clicking on and using them to purchase products does not cost you anymore for the products, but it does help to keep this website up and running. I appreciate your support.
Don’t forget to check out my eBook; Organize Your Life in 21 Days is available for download and has a variety of small projects to help you take on and complete projects you may not have thought of. Get your copy today.
Never miss another article, tip or project. Get them delivered directly to your email. Subscribe today! And let’s stay connected.
Until next time…Organization is my element and it can be yours too
Published:
MomsMagazine.com
IBA.com
Blogher.com
Hubpages.com
Interviewed/Featured:
IBA.com
Don’t forget to share with your friends. I will greatly appreciate it.
Thank You for the Visit!
![]()

You sound like me when it comes to the right type of brush girl… Had that brush with the bristles falling off on my work… Loved this post, cute office space
Hi Arie,
Yeah those cheap brushes will have you thinking bad words girl. 🙂 Thank you for stopping by and I’m glad you enjoyed my post.
I have a door sitting on top of two filing cabinets, mine doesn’t look near as good as yours. The cheap paint brushes can be the death of us.
Love it, you did a great job! Buying a better paintbrush is always the way to go, if cleaned properly a good brush will last a long time. I like the idea of using the plexiglass too. To make the chair look more feminine, do what I did to mine that looks just like yours – I used a rocking chair cushion set: http://amzn.to/2kGqZTG and it’s so comfy too. Thank you Clearissa for co-hosting with me at #BloggingGrandmothers #LinkUp #BlogParty. I shared on social media.
Candy, Thank you. Let me tell you my friend, cheap paint brushes have made me very upset in the past. But I have learned my lesson. Thank you for stopping by.
Thank you Dee. Yes, a bad paint brush takes all of the fun out of a project. I learned my lesson. Good idea about the chair cushion. I may look into that because Hubs is so proud that he surprised me with this chair and I must admit, for all the hours I spend in this office, it is very comfy. Just not as feminine as I would like. 🙂 It is my pleasure to co-host with you and Candy.
It turned out pretty well. I’ve been into transfer techniques lately. They are fun.
Yes Alissa, it did turn out well. I am still learning transfers. Everyone says how easy it is but it doesn’t look all that easy to me. But of course I will give it shot soon on something. 🙂 Thanks again for stopping in.
Hey, Clearissa! Love your refresh, too! So funny that you used cabinets just like me and your shelving looks just like mine! LOL As for the daybed, what’s the size of your room? Do you have some other pictures of the space so we can see and give you some ideas? Are you wanting to use this for a guest bedroom, too?
Hi Serena. This room has always sorta belonged to my grands when they were over. However, I am reclaiming it. One grand is on her way to college and the other is 4 and I will work something out for him. I like the suggestion of a daybed. However, there is another guest room in the house but this where my granddaughter could always just lounge. I will look back through my media library to get other pictures and if there aren’t any, I will take some. I love to collaborate. Thank you for your interest.