

From the Desk of Clearissa Coward’s Command Center/Divinely Organized
Upcycle Project – Lingerie Chest from Dark to Light
Whew!!! I hope that is how you spell a sigh of relief because that is what I am trying to get across here…a huge sigh of relief. Why you ask? Well, let me tell you. If you follow my blog, you know I’ve been talking, for about a year now, about upcycling furniture and I am always on the lookout for a piece that needs some TLC in order to be brought back to life (you also know that I don’t have a large workspace either so the size of the pieces I refurbish is limited). I have been on the lookout for pieces I could upcycle and replace some of the pieces I already have. Sounds good, right? Well, it sounds good until I realized what I have been looking for was right here in my home all of the time.
It was as if I felt that I had to buy furniture that someone else had discarded in order to upcycle a piece. Wrong! I have several pieces with good bones that could use a facelift so why not begin there? I did just that and I am in love with the end result. I hope you like it.
I have a lingerie chest that I’ve had for over 20 years. It has moved with me, it has taken a beating and never looked less for the wear. Well, not until recently. It wasn’t scratched up nor did it have any water damage, it was just tired looking from all the years of daily use. From polishing it to the simple day-to-day using it, it just needed to get its umphf back.
So I removed the hardware and decided I would begin here. In my own home, with me as my very own customer and a piece whose history I had helped to write.
The Piece
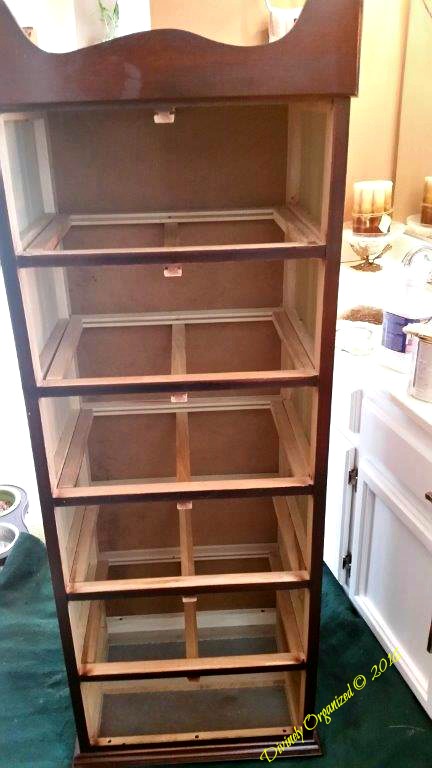

As you can see from the pictures, or, at least, I hope you can, the piece began life in a dark mahogany stain. It has 6 drawers and although a traditional piece, it has clean lines for the most part. Not too intricate or ornate at all. This is my personal style and as I said earlier, there aren’t many scratches and no water stains at all. But it still required a light sanding to prepare it for the paint.
Step One

Since I was painting this piece indoors, I did not want all of the dust from the palm sander so I used a liquid sander. Liquid sander is actually a deglosser that removes all of the shine and other dirt and grime from the wood to prepare it to better accept the paint. I used a soft, clean, lint-free cloth to apply the liquid sander. I put it on using circular motions and removed with circular motions in the opposite direction. I applied and removed the deglosser twice. Once that was done, I allowed it to dry before priming.
Step Two

I always use the same primer and that’s Kiltz. My handyman recommended it to me years ago and I trusted him. I have never tried anything else and I have never been disappointed, but if you know of something better, please leave it in the comments section. It would be nice to have a second go to product. Because the wood was so dark and I was using a light colored paint, I decided to give the piece 2 coats of primer. I allowed drying between coats.
Step Three
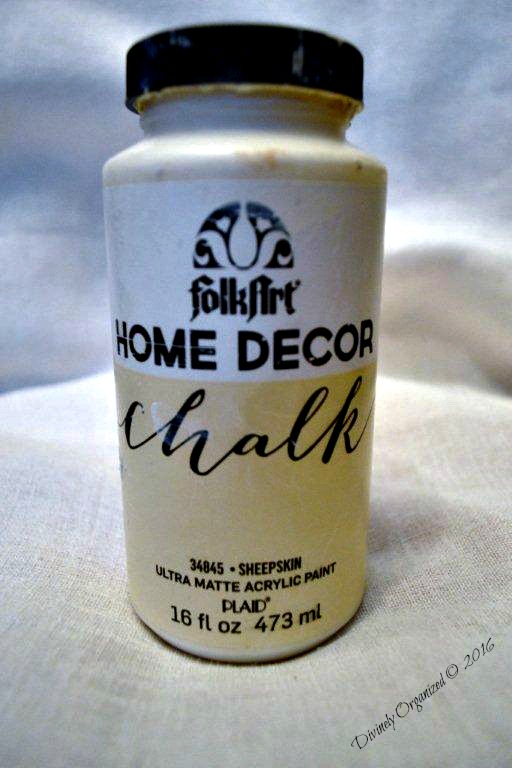
I used relatively inexpensive chalk paint. Keep your fingers crossed that it holds up. I realize a lot of people use Annie Sloan’s Chalk paint but I do not have a distributor in my area and once I found the time for this project I really did not have the luxury of time to order and wait for Annie Sloan so I used what I had. My other option was to make my own, but since I had this color I decided to try it.
The paint went on smoothly and covered well. I did use two coats again because the furniture began life so dark I am trying to avoid any bleed. It didn’t take long for the chalk paint to dry and it only took me about an hour and a half to apply both coats of paint I allowed it to dry overnight before applying the polycrylic top coat.
Step Four
I do not have a picture of the stain I used because I store left-over paint and stain in mason jars and the can was long gone. But I can tell you, I restained the top with Minwax Dark Walnut. I decided I would leave the top of the chest in the dark walnut. After the paint was dry, I flipped the chest right side up and restained the top. I used three coats of stain. I allowed it to semi dry between coats. I allowed the final coat to dry overnight before applying the top coat for protection.
Step Five
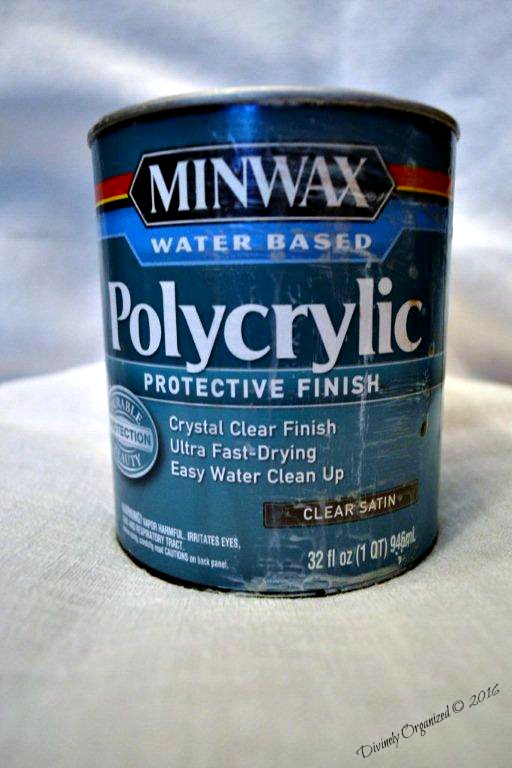
The last, but one of the most important steps is sealing and protecting all of your hard work. I used polycrylic instead of wax for this project. I applied three coats to the top and sides and five on the drawers because they get the most use and abuse. I allowed it to dry between coats.
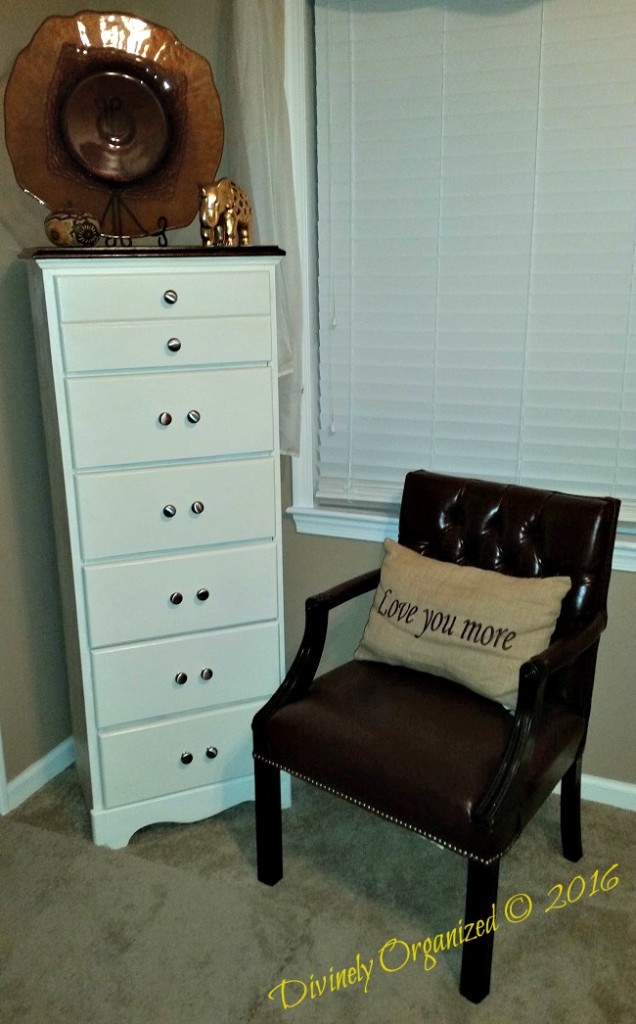
One spring project complete. I must say, once I placed the chest back in its corner the difference was amazing. The corner seems so much lighter and brighter since the chest is lighter. I always say a coat of paint can change almost anything and that is certainly the case with this piece.
The Finished Product
How About You
Do you have any spring projects on the horizon? I would love to hear about them. I am thinking of doing another painted piece in the bedroom. What do you think? Is one painted piece enough in one room or do think two or three would be okay?

Update: I added the new photo with the changed hardware above. Quite a difference, huh?
Note: There are affiliate links in the posts. Thank you for your support.
Until next time…
Published:
MomsMagazine.com
IBA.com
Blogher.com
Hubpages.com
Don’t forget to share…
Thank You for the Visit!

Beautiful! I’ve got a piece similar to this that I always kind of hid because it’s painted a pinkish color that I don’t care much for. (Before that it was an ugly green that I truly hated. LOL) I’m not much good at this kind of thing but I might give it a try. 🙂
Do give it a shot Vanessa. Paint and changing the hardware makes all the difference. I have a more updated pic with the hardware changed that I will add this evening. Choose a color you love and go for it! And be sure to share here when you do!!! Thanks for stopping by.
Excellent recounting of your process Clearissa.
Beautiful finished project…..my home is filled with old, heavy, and mostly dark woods….I purchased a deep red/distressed look… bookcase for my office and absolutely love the energy it brings to the room.
Like Vanessa…I don’t do much in the way of refurbishing things…gardening, I can do…crafty…I have no talent for that!
I sure do admire those who do!
Hi Bea. Thank you for stopping by and for taking the time to comment. I’m with you that furniture brings an energy to a room. The corner where this little chest sits is so much lighter and brighter now. I love to garden as well, but I do that on a small scale. This spring while the weather is nice, why not pull a small piece that you would like to change into or near your garden and upscale it to a lighter color. You’ll be surprised at how well you do and you’ll be in your favorite spot while you paint…near your garden. But if you decide not to paint, do share some pictures of your garden, I would love to see your them.
I absolutely love what you have done with this chest. I have a piece of furniture with a similar color that I refused to get rid of because I knew there was something I can do to it. You detailed the transformation so nicely. I can’t wait to redo my table.
Hi, Eileen. Thank you so much! I agree. Sometimes the older pieces are built much stronger and it would be a shame, in my opinion, to toss a good piece of furniture for another that is not as well built because of color. I have a couple of other pieces I will be working on soon. I am trying to decide on a color. Please let me know how your piece turns out and stop back soon.