

From the Desk of Clearissa Coward’s Command Center/Divinely Organized
Paper Mache C-Wreath Project
I hope you all had a wonderful Memorial Day weekend and a good week last week. I took a few days and headed to the mountains with Mister and several other couples. We had a wonderful time and the weekend loosely reminded me of the movies Why did I Get Married I & II. Cept no one left getting a divorce and no one was hit by a car. 🙂 Although we do plan to have a sequel. 🙂 It was a great weekend. The only problem I had was getting out of vacation mode and back into blog mode. As you noticed, I hope you noticed, I was quiet all of
It was a great weekend. The only problem I had was getting out of vacation mode and back into blog mode. As you noticed, I hope you noticed, please say you noticed, I was quiet all of last week. 🙂 Had lots to blog about but could not get motivated. I remained in vacation mode until today I guess. 🙂 Have you ever done that?
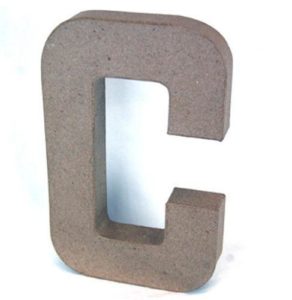
So I’m back and I have a small project to share with you. I’m sure you’ve seen all of the paper mache letters floating around. Crafters are doing some of the most creative things with them. Well, I purchased a paper mache C back before Christmas. A friend and I were shopping and we found them on sale at the Pottery. Had no idea what we were going to do with them, but I was interested so it’s been sitting in a closet since December 2015. Last week I pulled it out and decided to try my hand at making my “C” come alive.
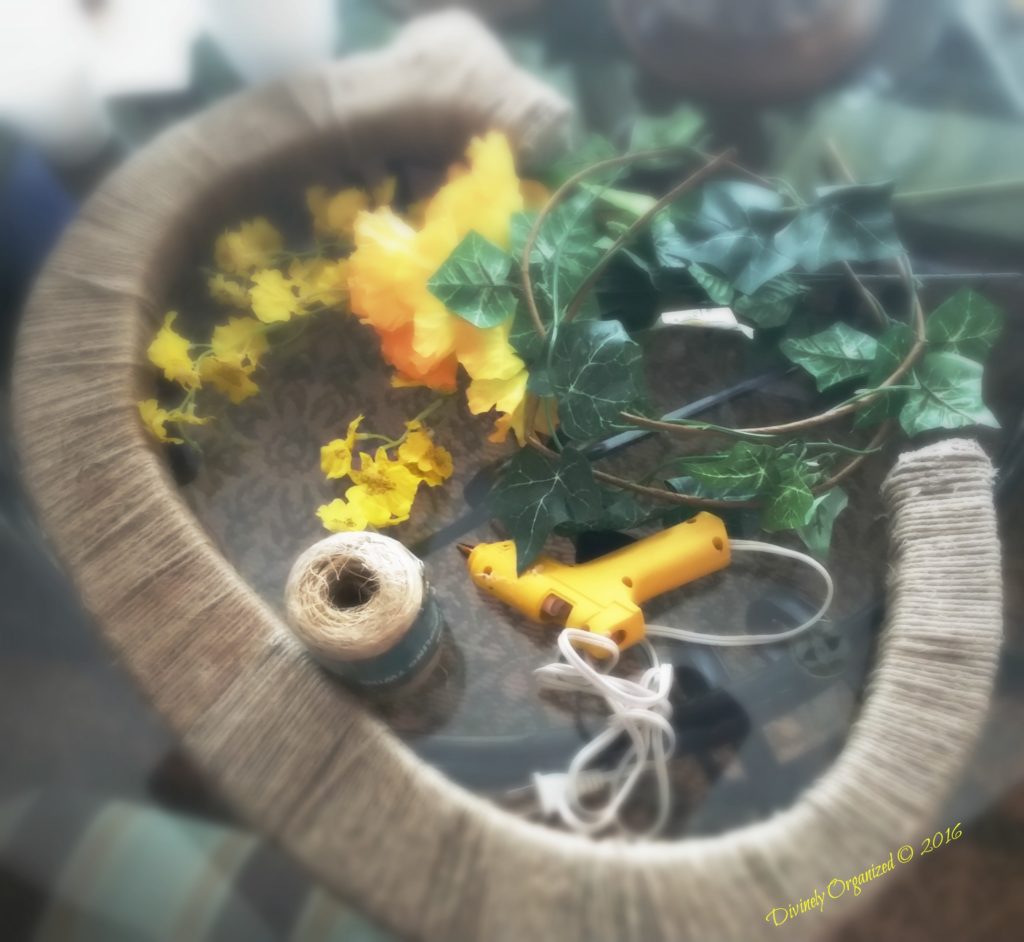
The Supplies I Used
- Of course, I had to have the paper mache letter “C”. This one is not mine. I forgot to take a picture of the letter prior to wrapping it with twine but this is what it looked like (hanging my head in bloggers shame for forgetting to photograph the before picture). ($6.95)
- I used twine in two different shades. I thought it would be a great contrast and it was until I
added the other embellishments. They don’t show. hahaha But it doesn’t really matter, I’ll save that idea for use on my next project with paper mache letters. - Twine (in house)
- Glue Gun (in house
- Greenery ($1.00)
- Flowers (Color of your choice. I am currently rocking yellow) ($5.00)
Step I & 2 – I wrapped the ends first so none of the paper mache would show when the project was complete. Afterward, I began the tedious process of wrapping the entire letter (the most 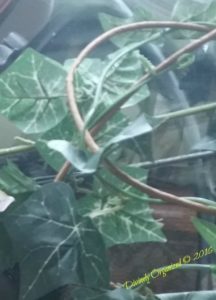 time-consuming step). I added hot glue in certain areas to secure the twine. There was no method to this. I added the glue here and there when I thought the twine was slipping. Otherwise, I pulled the twine tight and it generally stayed in place.
Step 3 – Next I added the greenery. The glue gun was a must for this step as the greenery would not stay put. I had to wrap, glue, wrap glue, over and over again.

Step 4 – Add the flowers. To make the 5 bunches of flowers go further, I separated them and used each stem separately. Using this technique, I even had a few stems left over. The project was actually kinda bland until I added the pop of yellow with the flowers. I’m on the yellow train. 🙂
Step 5 – I added a piece of knotted twine to the back so the letter can be hung. I think this will make an 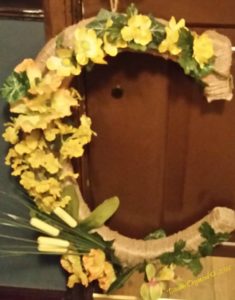 awesome wreath for the front door or a wall hanging. It would work for both. What do you think?
I like the way it turned out and I’ve had two offers to purchase it. My granddaughter saw it and asked for one for her bedroom. Now that’s the compliment of the year. She’s sixteen so if she likes it, I know I’m on to something. Will do her’s a bit differently I think. I am marinating on how to make her’s very feminine, but her’s will be next. Stay Tuned.
Oh, did I mention the total cost of this project was $12.95? Not bad…right? And although I sneaked it in, I am adding a little sunshine to the front door or any wall in the home with this little diddy. 🙂 Yellow!!! Yaaaay!!! If you follow my blog, you will get this. If not, I hope you will subscribe today and read the “adding sunshine to every room” series.

If you enjoyed this post, you may also like this one.
Never miss another article, tip or project. Subscribe today!
Until next time…
Published:
MomsMagazine.com
IBA.com
Blogher.com
Hubpages.com
Interviewed/Featured:
Don’t forget to share…
Thank You for the Visit!

That’s pretty. That would make a great gift for someone, or just to hang up at your own home.
Thank you Sharon. My granddaughter wants one and another friend has commissioned me to make one for her. So I guess these are kinda popular. I’m thinking of adding them to my online store. Thank you for reading along and please stop by again soon.
This is a great project! I would want one for every season, changing the flowers to match. A nice change from a regular wreath. Thanks for linking up to Dishing It! & Digging It!
Hi Jennifer, thank you very much. You’re right this project is very adaptable. Thank you for reading along and for stopping by. Please stop by again.