

From The Desk of Clearissa Coward’s Command Center – c4 Creations
How To Refresh A Previous Upcycle.
You’ve upcycled a piece in your home and now it is looking old and worn again. What to do? Why, refresh of course…that is if you still like and actually use the piece. In my case, it is my vanity. I upcycled my vanity a few years back. It came out beautifully. However, I must confess that I did not use the best chalk paint on the market and I probably should have because this is not a piece that just sits in a corner and looks nice. Nope, I use this vanity at least twice a day. So in this article, learn How To Refresh A Previous Upcycle.
There are affiliate links within this post. However, all opinions and ideas are my own. Clicking on and using the links to purchase products does not increase your cost at all. I appreciate your support.

Let’s go back to when I first upcycled my vanity. You can read that article here. This piece had seen better days. I purchased the vanity from Target, therefore, it is not an expensive piece of furniture. However, it fits the space I need it for and it was perfect for my needs when I purchased it and it still is today. So, instead of replacing it, I upcycled it. It was a beauty when I finished it last time and it will be again!
Lately, however, it has begun to look worn and tired. I could be wrong, but I am attributing it to the type of paint I used. Don’t get me wrong, I have nothing against the brand and I still use it for small projects, glass project, etc. I am just not sure it is made to last on a furniture piece that gets as much use as this one does.
![]()
The Refresh
This time around, I am still using chalk paint, but I am using a different brand. I am choosing a very similar color and I am giving it a fresh coat of paint (or two) and sealing it with polyacrylic (2 coats).
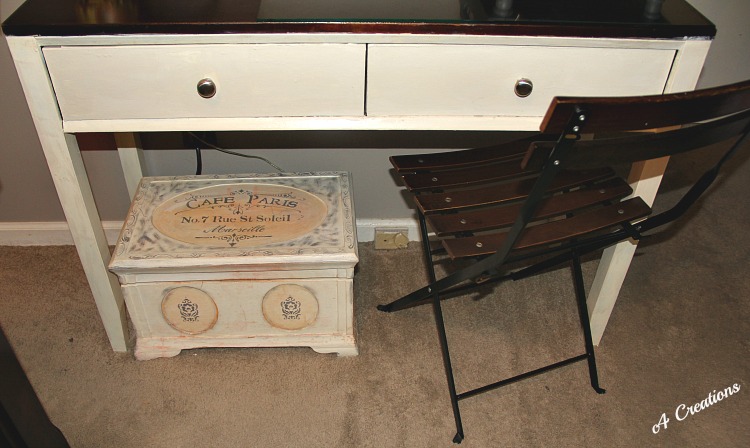
This is what the vanity looked like before the original upcycle.
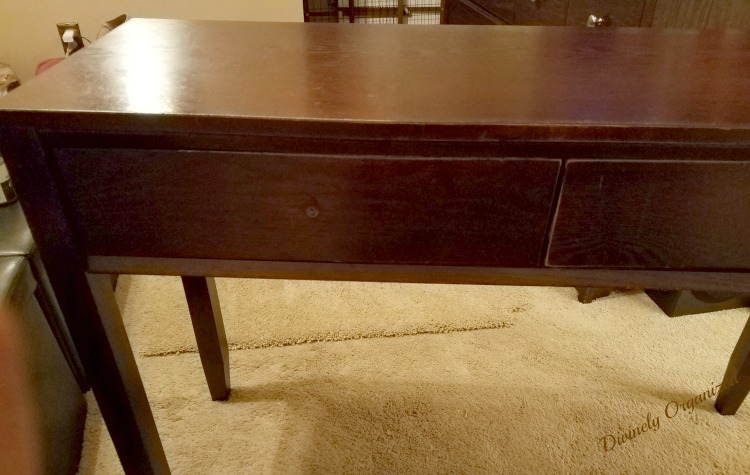
This is what the vanity looked like before the current refresh. The paint did not wear well the first time. But I accept responsibility because I was not as careful as I should have been with the paint. It is old and looking pitiful. But not for long. 🙂
The picture below shows the vanity with one coat of paint. One more needed.
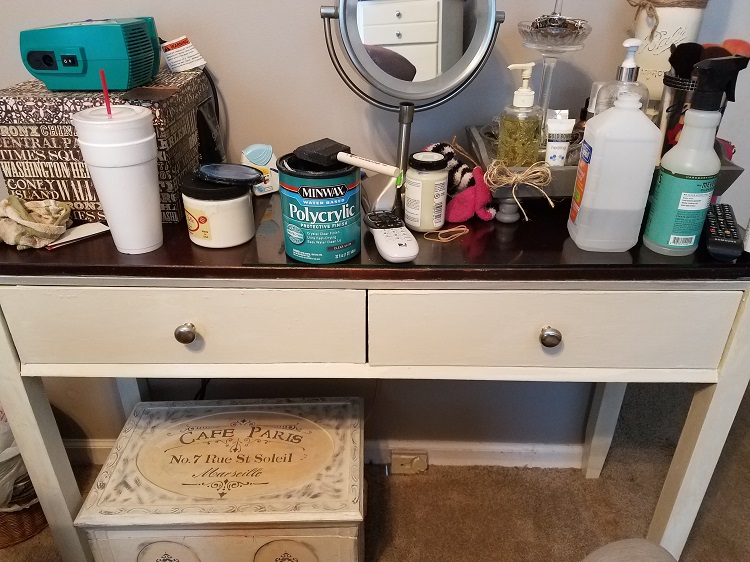
This time was a lot easier because there was no primer required. Also, because the paint colors are almost identical, it was not as important that I hit every spot on the vanity. I gave the entire vanity one fresh coat of paint and allowed it to dry. Next, I gave the front and the drawers a second coat.
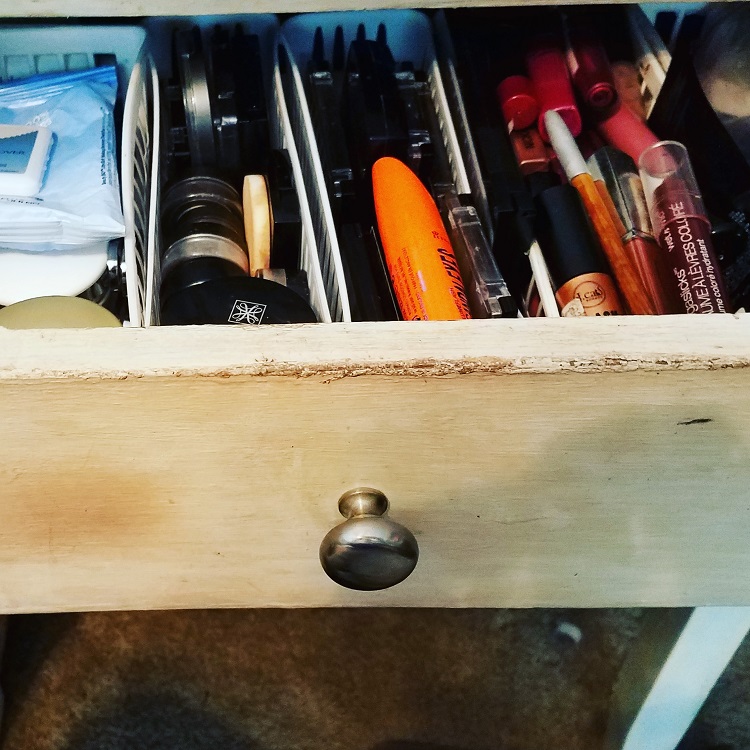
Two Birds With One Stone
While the paint was drying, I decided to take everything out of the drawers and purge my lipsticks and other makeup and moisturizers. I wiped out each container, the bottom of the drawers and the paper drawer liners as well. Awww…much nicer.

The Finished Project
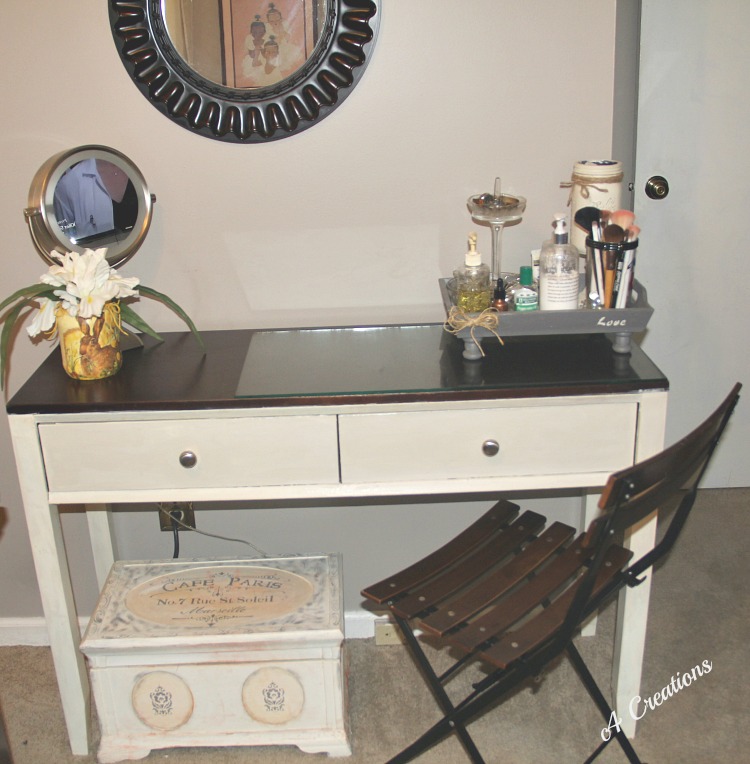
This is how it turned out. Clean and fresh and hopefully, long-lasting. As I said before, for this small space this vanity is perfect. Anything wider would be too much and we would not be able to comfortably move about the room. Besides, I am a true believer that a few coats of good paint can hold a piece together and keep it valid for many, many years. 🙂
Below are pictures of the refreshed vanity. I hope you enjoy. By the way, what are you refreshing in your home this summer? Any quick projects on those days when it is simply too hot to be outside? Tell me about them in the comment section below.
Everything is so clean again
Everything in the tray, including the tray, are upcycled (except the lotions of course)
I decided not to distress this time. I like the clean look for this piece

A closer look at the paint
Now I need to upcycle the storage trunk to match the vanity 🙂
I decided to share the refresh of a refresh to show you that all projects are perfect and sometimes a less expensive product isn’t always a long-lasting one
Crafting isn’t always perfect, but it is always rewarding
Have you ever had to re-do an upcycle? Do you like seeing the reality of crafting/upcycling? Are you working on a project at this time?
Never miss another article, tip, real-life experience or project. Get them delivered directly to your email. Subscribe today! And let’s stay connected.

If you liked this post, you may also enjoy this one.
Until next time…I remain in my Element – God Bless!
Published:
Interviewed/Featured:
Homeyou
WPBlogging 360
Hobsess

Don’t forget to share this post with your friends. I greatly appreciate it.
XOXO,
![]()

Love the new look of your piece. Sometimes the second time around is the best.
Hugs,
Bev
Hi Beverly. You are right and I learned a very important lesson as well. 🙂
Love it!! It’s so awesome to upcycle things rather than replace them.
I totally agree Dianna. I wanted to show that all upcycles do not go well the first time. All of our projects are not perfect and it is okay to refresh an upcycle. I am happy you enjoyed the article.
Looks nice. I think just about anything we do can use a new redo if we’re up to the task or if we’re wanting to change colors 🙂
I agree Dee. And I also want to show when a project doesn’t go quite like I intended. I hope that will let others who are afraid to DIY or craft know that it all doesn’t always come out perfectly for anyone. And besides, that piece gets used every single day. So there is the wear and tear that is normal. 🙂