

From the Desk of Clearissa Coward’s Command Center/c4 Creations
Clay Pots – Upcycled

Clay pots are abundant. You can find them at almost any gardening center or big box store and if you’re like me, you can also thrift them as well. Even better yet, they are cheap. Yes, they cost little or nothing and another great thing about them is that they can easily be upcycled into something beautiful. Whether for your garden or to store kitchen utensils, Clay Pots – Upcycled is a great idea.
There are affiliate links within this post. However, all opinions and ideas are my own. Clicking on and using the links to purchase products does not increase your cost at all. I appreciate your support.
In this article I will walk you through the process of upcycling clay pots and turning a diamond in the rough into a smooth and beautifully polished diamond of a container.
If you are upcycling an old/used pot, you should first clean it thoroughly with soap and water. If they have not been sealed and are stored outside, they can be pretty cruddy. If you are using a new pot then you can move on to step 2 which is to seal the pot. I use an all-purpose sealant by DecoArt. There is a link

above. I seal the pot both inside and out and I usually apply 2 – 3 coats on the inside and the outside before I begin painting. The sealant is because clay pots are porous and if you intend to use them as a planter, the moisture will destroy the painted surface in no time. Whereas if you seal it first, you should not have any damage at all. Allow the sealant to dry between coats.
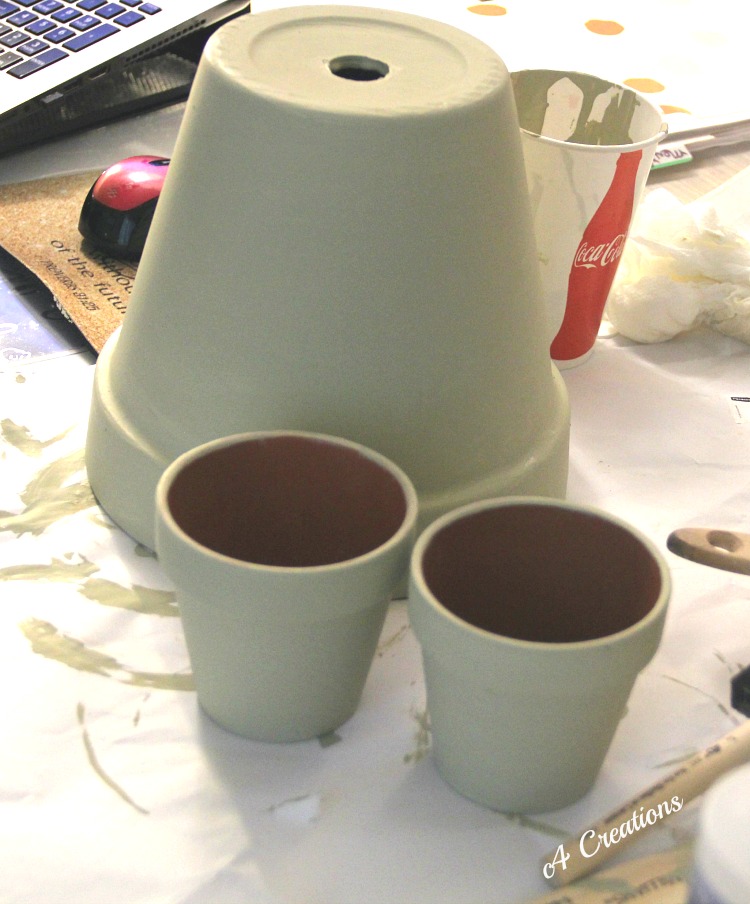
The next step is to paint the pot(s) the color of your choice. I used an inexpensive chalk paint in the color Spanish Moss.

Note: There are all sorts of brands of chalked paint and you can even make your own. However, I have found, through experience, that all chalked paint is the same. I leaned the hard way that just because a brand works wonderfully on smaller projects like this one, it is not conducive for the long-wear use one expects for furniture pieces. Just a word to the wise.

I painted two coats of the chalked paint and allowed it to dry/cure overnight because it just didn’t look finished to me. I needed time to think. 🙂
The next step for this project was to decoupage a napkin onto the pots.
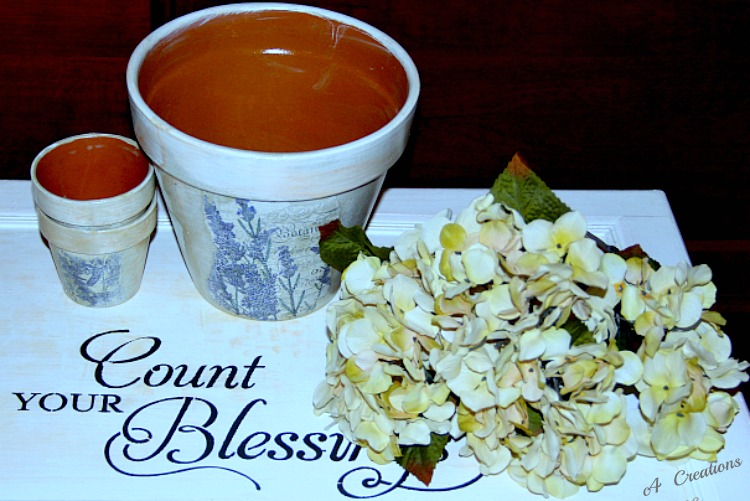
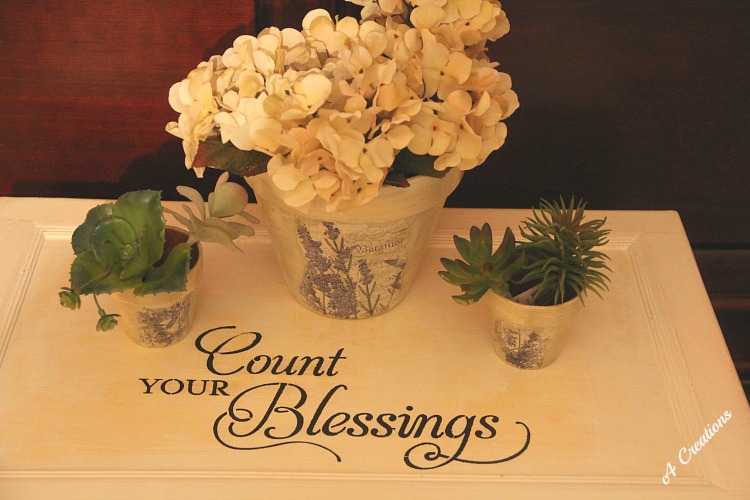
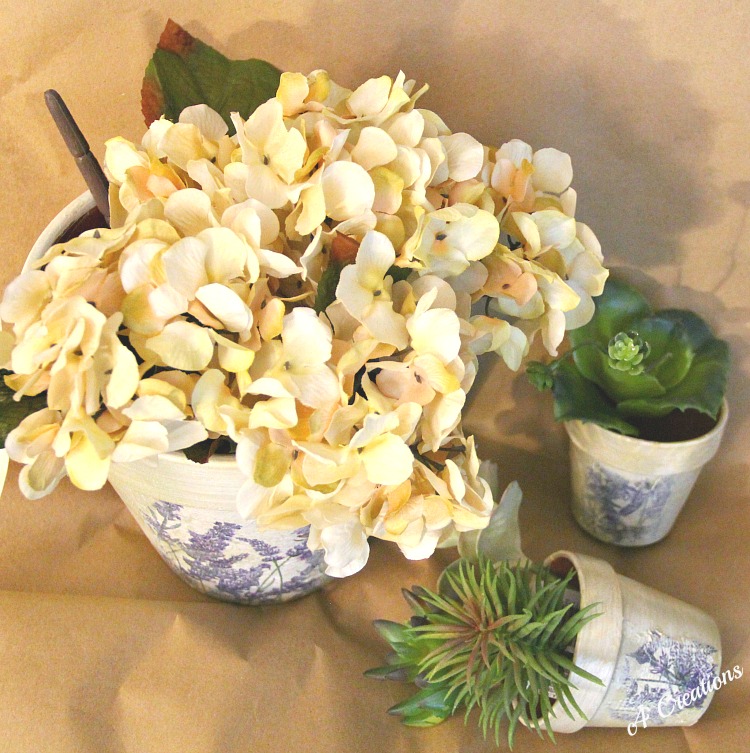
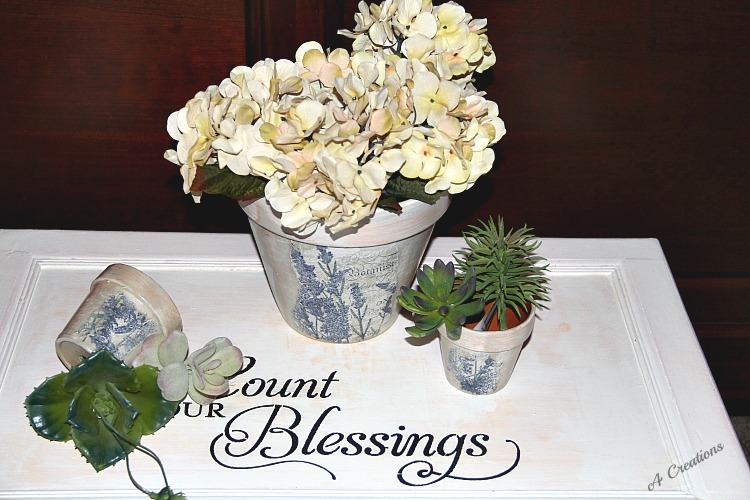
I decoupaged each pot with a napkin of flowers. I used Modpodge as my decoupage glue. After the napkin dried thoroughly, I whitewashed the post with a white chalk paint. After the whitewash dried, I dry brushed a tan in places over the white paint. This technique aged the pots a bit and made them look as if they had been sitting around for a while, which was the look I was going for.
Finally, I applied 3 coats of my funal sealant. For the final sealant, I used MinWax Waterbased Indoor/Outdoor Spar Urethane. The five steps used for this project are below.

Process:
Clean
Seal
Paint
Decoupage
Seal x 3

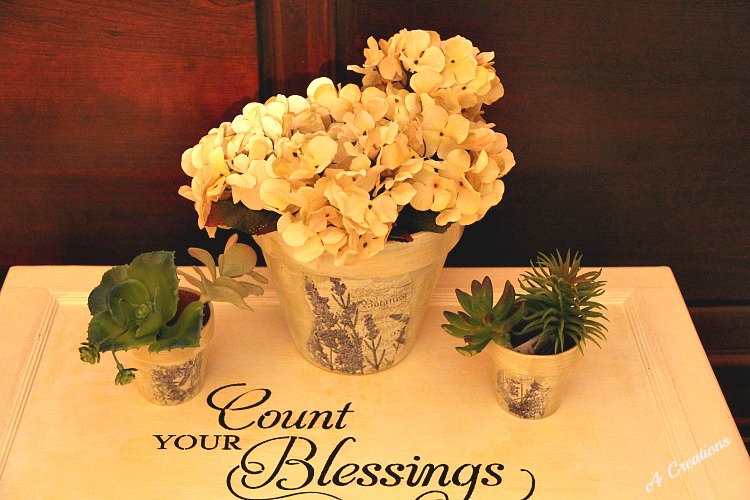
And that’s it. I love the way the pots turned out and they an be used to hold a flower pot or for many other uses throughout the home. In the kitchen to hold utensils, decorative plants, etc. In the bathroom to hold q-tips, toothbrushed, makeup brushes, etc. And of course, you can use them to show-off your favorite plant.
Let me know if you want a step-by-step tutorial on the art of decoupage. I will be happy to write a tutorial or make a video showing you how it’s done.
Do you think this is an easy project? Is this something you would like to try?
Never miss another article, tip, real-life experience or project. Get them delivered directly to your email. Subscribe today! And let’s stay connected.
If you liked this post, you may also enjoy this one.
Until next time…I remain in my Element – God Bless!

Published:
Interviewed/Featured:
Homeyou
WPBlogging 360
Hobsess

Don’t forget to share this post with your friends. I greatly appreciate it.
XOXO,
![]()

Your clay pots turned out so cute. Isn’t it fun to make something more beautiful!?! Thank you for sharing at To Grandma’s House We Go.
Hi Amy, thank you. Yes I thoroughly enjoyed the project. Thank you for allowing me to share at Grandma’s House We Go.
Great idea! I will be trying this soon! Maybe with some Fall floral napkins!
Hi Cherryl, thank you. I have another set I will be crafting with fall florals as well. Happy upcycling. 🙂
Clearissa, these pots are really beautiful! I love your style! I am going to be trying this project soon.
How pretty, looks nice! What a great idea! Shared x 4 ♥
I love this. I bought a bunch of clay pots to put in my goldfish tank and was wondering what I should do with the rest, until now. You gave me an amazing idea.
Thank you Dee. I appreciate you. 🙂
Hi Stacey. Thank you. I’m happy you like the project. When you complete your pots, I would love to see pictures. Happy crafting. 🙂
Decoupage…One of my new favorite things to do. The pots are such a great idea and so beautiful! TFS
Hi Vivian. Thank you so much. Be careful, decoupage can become addictive. 🙂 There is so much you can do with it. But have fun and I would love to see some of your projects. Share pics. 😉
These pots are beautiful! I enjoy upcycling items as much as possible.
Using a flowered napkin was great. I wouldn’t have ever thought about it.
Hi Sherryl. Thank you so much. I love upcycling as well. And these flowerpots can be used for so many different things. They are organizational gems. 🙂
I love this look and it does look like it would be an easy project.
Hi Victoria, thank you and the project is not a difficult one. I hope you will give it a try. 🙂
The pots came out so nice and it seems easy enough for even me to make!
Hi Catherine, thank you and of course you can do it. And if you do, I would love to see pictures. Thanks for stopping by. 🙂
Looks like such a fun project!
It was fun and easy. Thank you for stopping by Nancy. 🙂
Pingback: Wonderful Wednesday Feb 13th Edition - My Crafty Zoo
Pingback: Oh My Heartsie Girls Wordless Wednesday – February 13, 2019 | Clearissa Coward's Command Center
This came out lovely! My mom loves to do this too and I think I get my creativity from her. I think you should do a video on this. Happy to be co-hosting another month with you at #OMHGWW!
Thank you Alice. Great idea. I will do a video on the process. Thank you. I am sure your mom’s creations are lovely. It nice to co-hosting with you as well.
Thanks for the beautiful idea.I can’t wait to get started.😃
Love your post. Happy to be co-hosting #OMHGWW with you again!
I have been wanting to learn more about decoupage! This looks great indeed. Happy to co-host with you with Oh My Heartsie Girls as well
I’m glad you like them Indah. I will do that video on this. Stay tuned.
Hi Pamela. I am loving co-hosting with you ladies. Glad you enjoyed the post.
Great Dawn. Please, when you complete your project, remember to share tag me in your pictures. Thanks for stopping in.