

From The Desk of Clearissa Coward’s Command Center – Divinely Organized
Easy Peasy Glass & Terra Cotta Upcycle
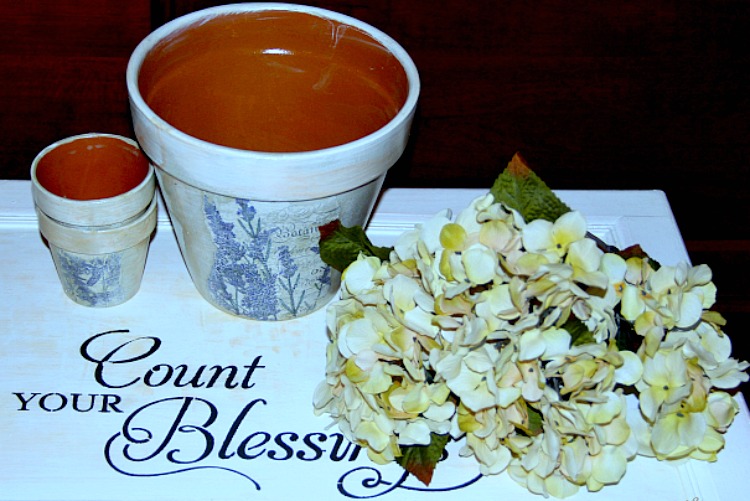
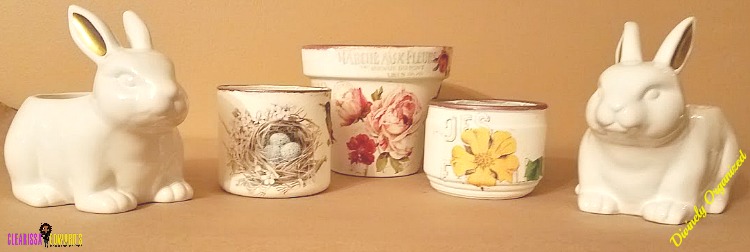
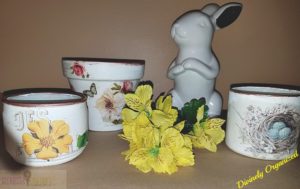
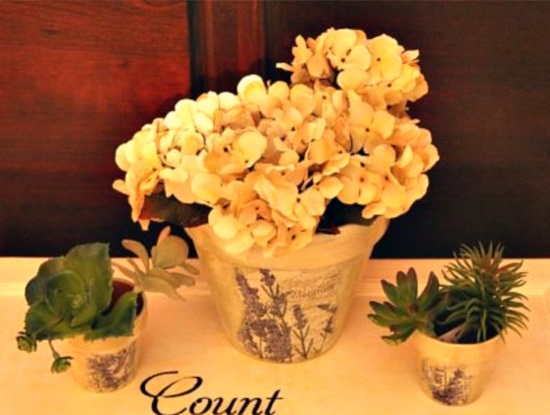
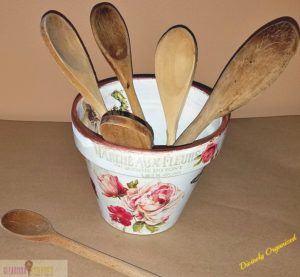
Another week, another craft project. This week’s project is similar to one I shared with you a while back. It is an Easy Peasy Glass & Terra Cotta Upcycle project. This time I used old candle jars and a terra cotta flowerpot and instead of embellishing with twine and/or baubles, I highlighted the rims of each piece with a different color (gold) acrylic paint. I hope you like them. You can find a couple of my other craft projects here and here.
There are affiliate links within this post. However, all opinions and ideas are my own. Clicking on and using the links to purchase products does not increase your cost at all. I appreciate your support.
This is a fun and easy project that you can probably do for little or nothing. If you are a crafter, I’m sure you have most of this stuff laying around waiting to be used creatively.

What you will need:
Empty jars
Terra Cotta Flower Pot
Craft Paint (I used Chalk Paint)
Gold Acrylic Paint (or your color of choice)
Napkin (I have several sources for napkins)
Decoupage Glue (I used Mod Podge Matte)
Sponge Brushes
Rubbing Alcohol
Clean rag or paper towel
Matte Varnish
Process:
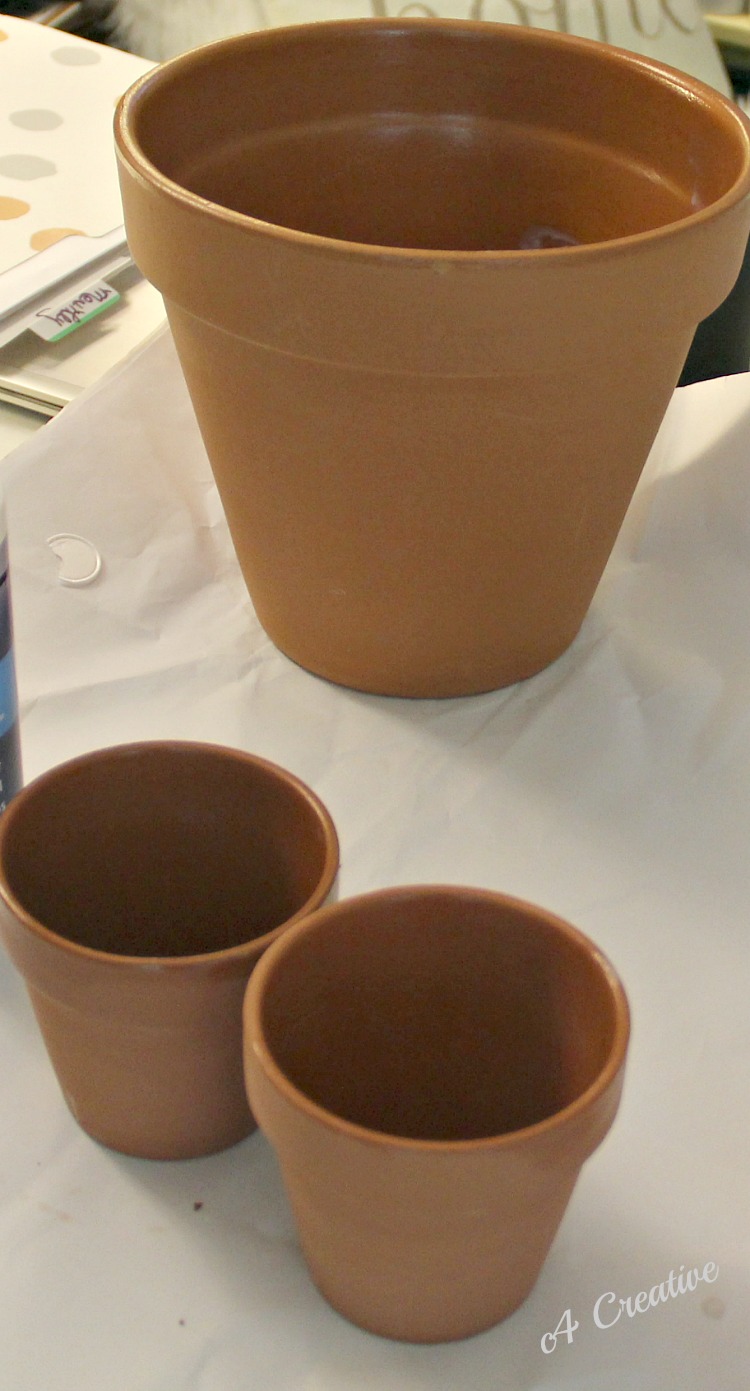
Begin the process by painting the pieces white (in this case I used white but the color is your choice)
Apply decoupage glue from the center of the napkin moving toward the edges (apply enough to secure the pic without saturating)

Allow to dry thoroughly
Apply a thin coat of decoupage glue
Allow to dry thoroughly (around 30 minutes)
Once dry, apply a second coat of decoupage glue
Allow to dry thoroughly
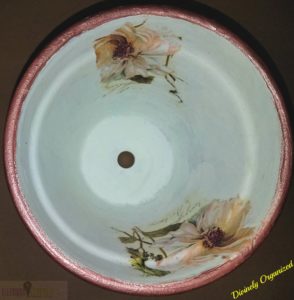
Using your finger, apply a thin coat of the gold acrylic paint around the rim of each piece. Allow to dry thoroughly. Apply a second coat if necessary.
Apply a thin coat of matte varnish
Allow to dry thoroughly (may take up to 3 hours)
Apply a second coat of matte varnish
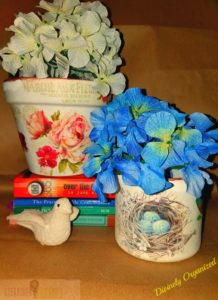
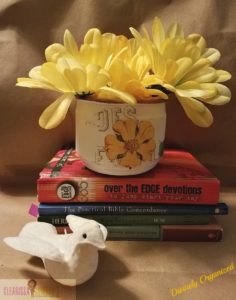 You can use these in many different ways including in bathrooms, in the kitchen to hold utensils, on makeup tables to hold makeup brushes or just as decoration. They also make great gifts. How about filling one with candy as a gift for a child or filled with nuts or healthy snacks for an adult? Or filled with craft supplies for your favorite crafter or goodies to welcome a new employee to your department at work or highlighters, bible tabs, a nice pen and sticky tabs for a friend who likes to read their devotional or Bible. There are so many uses for these containers. I am sure you have some great ideas too. Share them below in the comment section.
I have made the project even easier for you by providing links to where you can purchase all of the supplies. You can shop below.
Napkins (these are just a suggestion, there are many to choose from)
Napkins (another choice)
If you are interested in purchasing, the finished items from this project, you can find them in my craft boutique tomorrow.
Also, if you would like to see a video tutorial, let me know in the comments and I will put one together for you. I hope you have enjoyed this little upcycle project. it just goes to show that almost anything can be upcycled or recycled. Do you agree?

Never miss another article, tip, real-life experience or project. Get them delivered directly to your email. Subscribe today! And let’s stay connected.

Until next time…Find And Remain In Your Own Personal Element – God Bless!
Published:
Interviewed/Featured:
Homeyou
WPBlogging 360
Hobsess

Share this post with your friends. I greatly appreciate it.
Hugs & Blessings,
![]()

These are so creative and fun! Thanks for sharing.
This is such an awesome DIY project. Looks fun and the result is beautiful. Thanks for sharing. I’m always telling people there are many uses for products.
Hi Corey. Thank you. I appreciate the feedback. 🙂
Hi Nakeya, there is nothing like a good upcycle to me. Saves money and saves the planet. I’m glad you enjoyed.
How cute are these. I love painting pots
Hi Kristal, Thank you. I had fun with this project. But I am partial to decoupaging. 🙂
They look lovely Clearissa – I’ve always had a soft spot for decoupage -it is so pretty.
Hi Leanne. Thank you. I am partial to decoupage as well. So fun and I love the results. 🙂
Super cute! Will these be weather-proof? All of my pots are out in my garden and this would be SO adorable!
Hi Sonja, These pots can be weather-proofed with a certain type of sealant. I haven’t sealed these in that way, but a little Google search could provide a sealant that would work for your garden. Thank you for stopping by. 🙂
I love flowers, herbs and anything green. These pots turned out beautiful. I am feeling inspired!
Thank you for hosting the party today. Have a great day, Kippi #kippiathome
Pingback: Wonderful Wednesday March 5-9th #CheckitOut #BloggersWanted - My Crafty Zoo
Thank you Kippi. I’m glad you like them. They are fun to make. But if you do not want to DIY them, I have them or some similar are in my online craft store and Etsy shop too. Thank you so much for stopping by.
Pingback: Wonderful Wednesday 3/06 - Adoring Doll Clothes wonderful wednesday linky
Pingback: Oh My Heartsie Girls Wordless Wednesday – March 6, 2019 | Clearissa Coward's Command Center
the pots look amazing! you really do need to make some videos on this. I’d love to see how you make them.
Hi Alice. I will make a note to do that for sure…stay tuned. 🙂
Such cool idea.
Thank you Pamela. I am happy you enjoyed it.