From The Desk of Clearissa Coward’s Command Center – Divinely Organized
Giving It A Lift
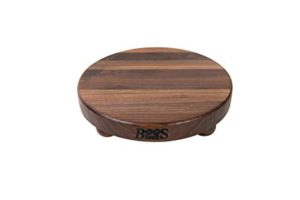
I hope you had a great weekend. I spent most of it inside because it rained most of the morning and then again in the late afternoon on Saturday And Sunday is generally my chill day. So, I took some time to peruse Amazon. I am on Amazon.com a lot. 😊 While there this weekend I came across this cutting board. It is gorgeous…right? Don’t you love the lift it has?
I wasn’t really looking for cutting boards, but this one caught my eye. I absolutely could not take my eyes off the bun feet. Yep, the feet got me.
What I really loved about the bun feet is the fact that the board does not sit flat on the counter top. I like the lift. If you are interested in purchasing this one, you can get it here.
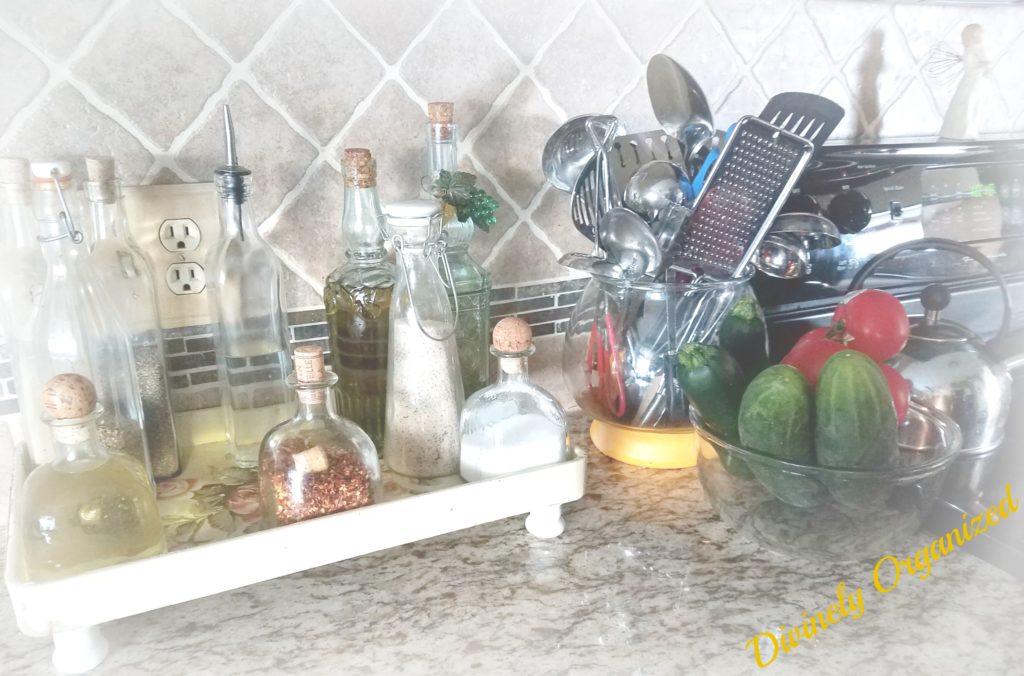
I started looking at my counter tops. Hummm, I have 3 trays that coral all the stuff I keep on my counters. As I have said before, I love to have things handy but I do not like clutter and using the trays has helped to keep my counters clutter-free.
After seeing the bun feet on this cutting board, I had a light bulb moment. It dawned on me that I wanted to give my trays a lift with some sort of feet as well. I headed to my nearest craft store, it was a quick in and out trip. I was on a mission. Besides, it was rainy and cold. I found these wooden lifts at Michael’s. I bought twelve which is four for each tray. They were very reasonable at $1.47 each. So, this little refresh cost me all of $17.64. And it only took me about 30 minutes to complete the project. Well worth it in my opinion.
I had some fun with by Facebook fanpage followers. I posted a picture of the lifts and asked if they could guess what I was about to do with them. I have very creative followers. They guessed everything from the serious, candle holders and napkin rings to the funny sling shot ammunition. It was a fun game. But no one guessed correctly. 🙂 I think I’ll play more games like that in the future. Maybe even offer a prize to the winner. Like and follow me there, if you haven’t already, and join the fun.
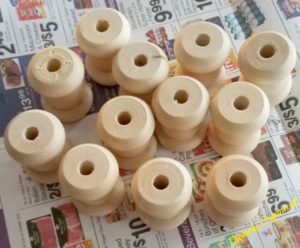
The lifts were a light wood color and I decided to give them a couple coats paint to match the trays. I used chalk paint I already had on hand and allowed them to dry thoroughly between coats. It only took about 30 minutes each because chalk paint dries quickly.
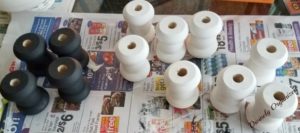
After the paint was dry, I glued the lifts on with E600 glue that I had. I put the lifts in place, flipped the trays over and replaced them on the counter with the contents back inside. I did not wait for the glue to dry before replacing the contents because I figured the weight of the contents would hold everything in place while the glue dried. It usually takes about twenty-four hours for E600 to dry completely.
And that’s that. A quick and easy project on a rainy Saturday afternoon. Now there were reasons to add the lifts other than the aesthetics. The trays sitting flat on my granite counters would sometimes get stuck to the counter which made them difficult to move when I wanted to clean underneath. And with all the “stuff” in the trays, I had to slide the trays across my counter tops. With the lifts, I can clean under the counters daily and without sliding the trays across the counters and there is no more sticking. No more scratching the granite. I love the look and I love the function.
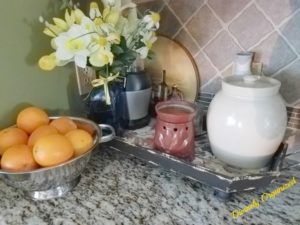
Note: After living with the refreshed trays for a couple of days, I have decided to paint the outside of the two beige ones. They are a bit more distressed than I like so I am not completely done with this project yet, but I will be in a day or so.
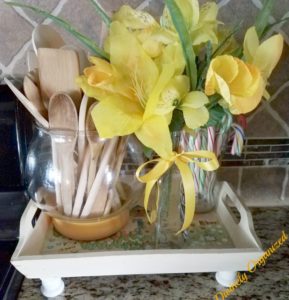
As I always say, an upcycle or refresh does not have to cost a fortune or be very detailed to make a huge difference in the aesthetics of a space. What do you think of the lifts? Would you do this to your trays? Leave your responses in the comment section below.
There are affiliate links within this post that help to subsidize this website. Clicking on and using them to purchase products does not cost you anymore for the products, but it does help to keep this website up and running. I appreciate your support.
Don’t forget to check out my eBook; Organize Your Life in 21 Days is available for download and has a variety of small projects to help you take on and complete projects you may not have thought of. Get your copy today.
Never miss another article, tip or project. Get them delivered directly to your email. Subscribe today! And let’s stay connected.
Until next time…Organization is my element and it can be yours too
Published:
MomsMagazine.com
IBA.com
Blogher.com
Hubpages.com
Interviewed/Featured:
IBA.com
Don’t forget to share with your friends. I will greatly appreciate it.
Thank You for the Visit!




Excellent idea about the feet to boost the cutting board. I’ll use that one
Hi Kimberly. Thank you. I am so happy you enjoyed the article. I hope you will visit again real soon.
Such a great idea! Thanks for sharing this!
Hi Donna. Thank you for stopping by. I am glad you enjoyed. I hope you will stop by again soon.
What a simple way to refresh an old piece. But what I really want to know is how did you get in and out of a craft store quickly? haha!
Hi Audrey. Girl let me tell you, getting in and out of the craft store with only what I needed was the most difficult part of this project. It took super-human powers. I can usually stay in a craft store for a couple of hours at least. 🙂 Thanks for stopping by, I hope you will stop by again.
Adding the feet was a good idea. It all turned out looking really nice. Thanks for sharing at #WednesdayAIMLinkParty. I shared it on social media.
Thanks Dee.