

From the Desk of Clearissa Coward’s Command Center/Divinely Organized
Recently I had the opportunity to organize and redesign a small home office of a very successful entrepreneur. My client is running several businesses from this small home office and it was simply not meeting her needs. The space was neither organized nor inviting which hampered her creativity.
Although a lot of her business operations are automated, there are still brochures and paperwork that requires space and her filing system was virtually non-existent. My client lives in another city; therefore, this job required travel and had to be completed within one day. It sounds impossible; however, we not only pulled it off, we were both pleased with the outcome. Following are the steps we followed to bring this project from conception to fruition.
Prep Work:
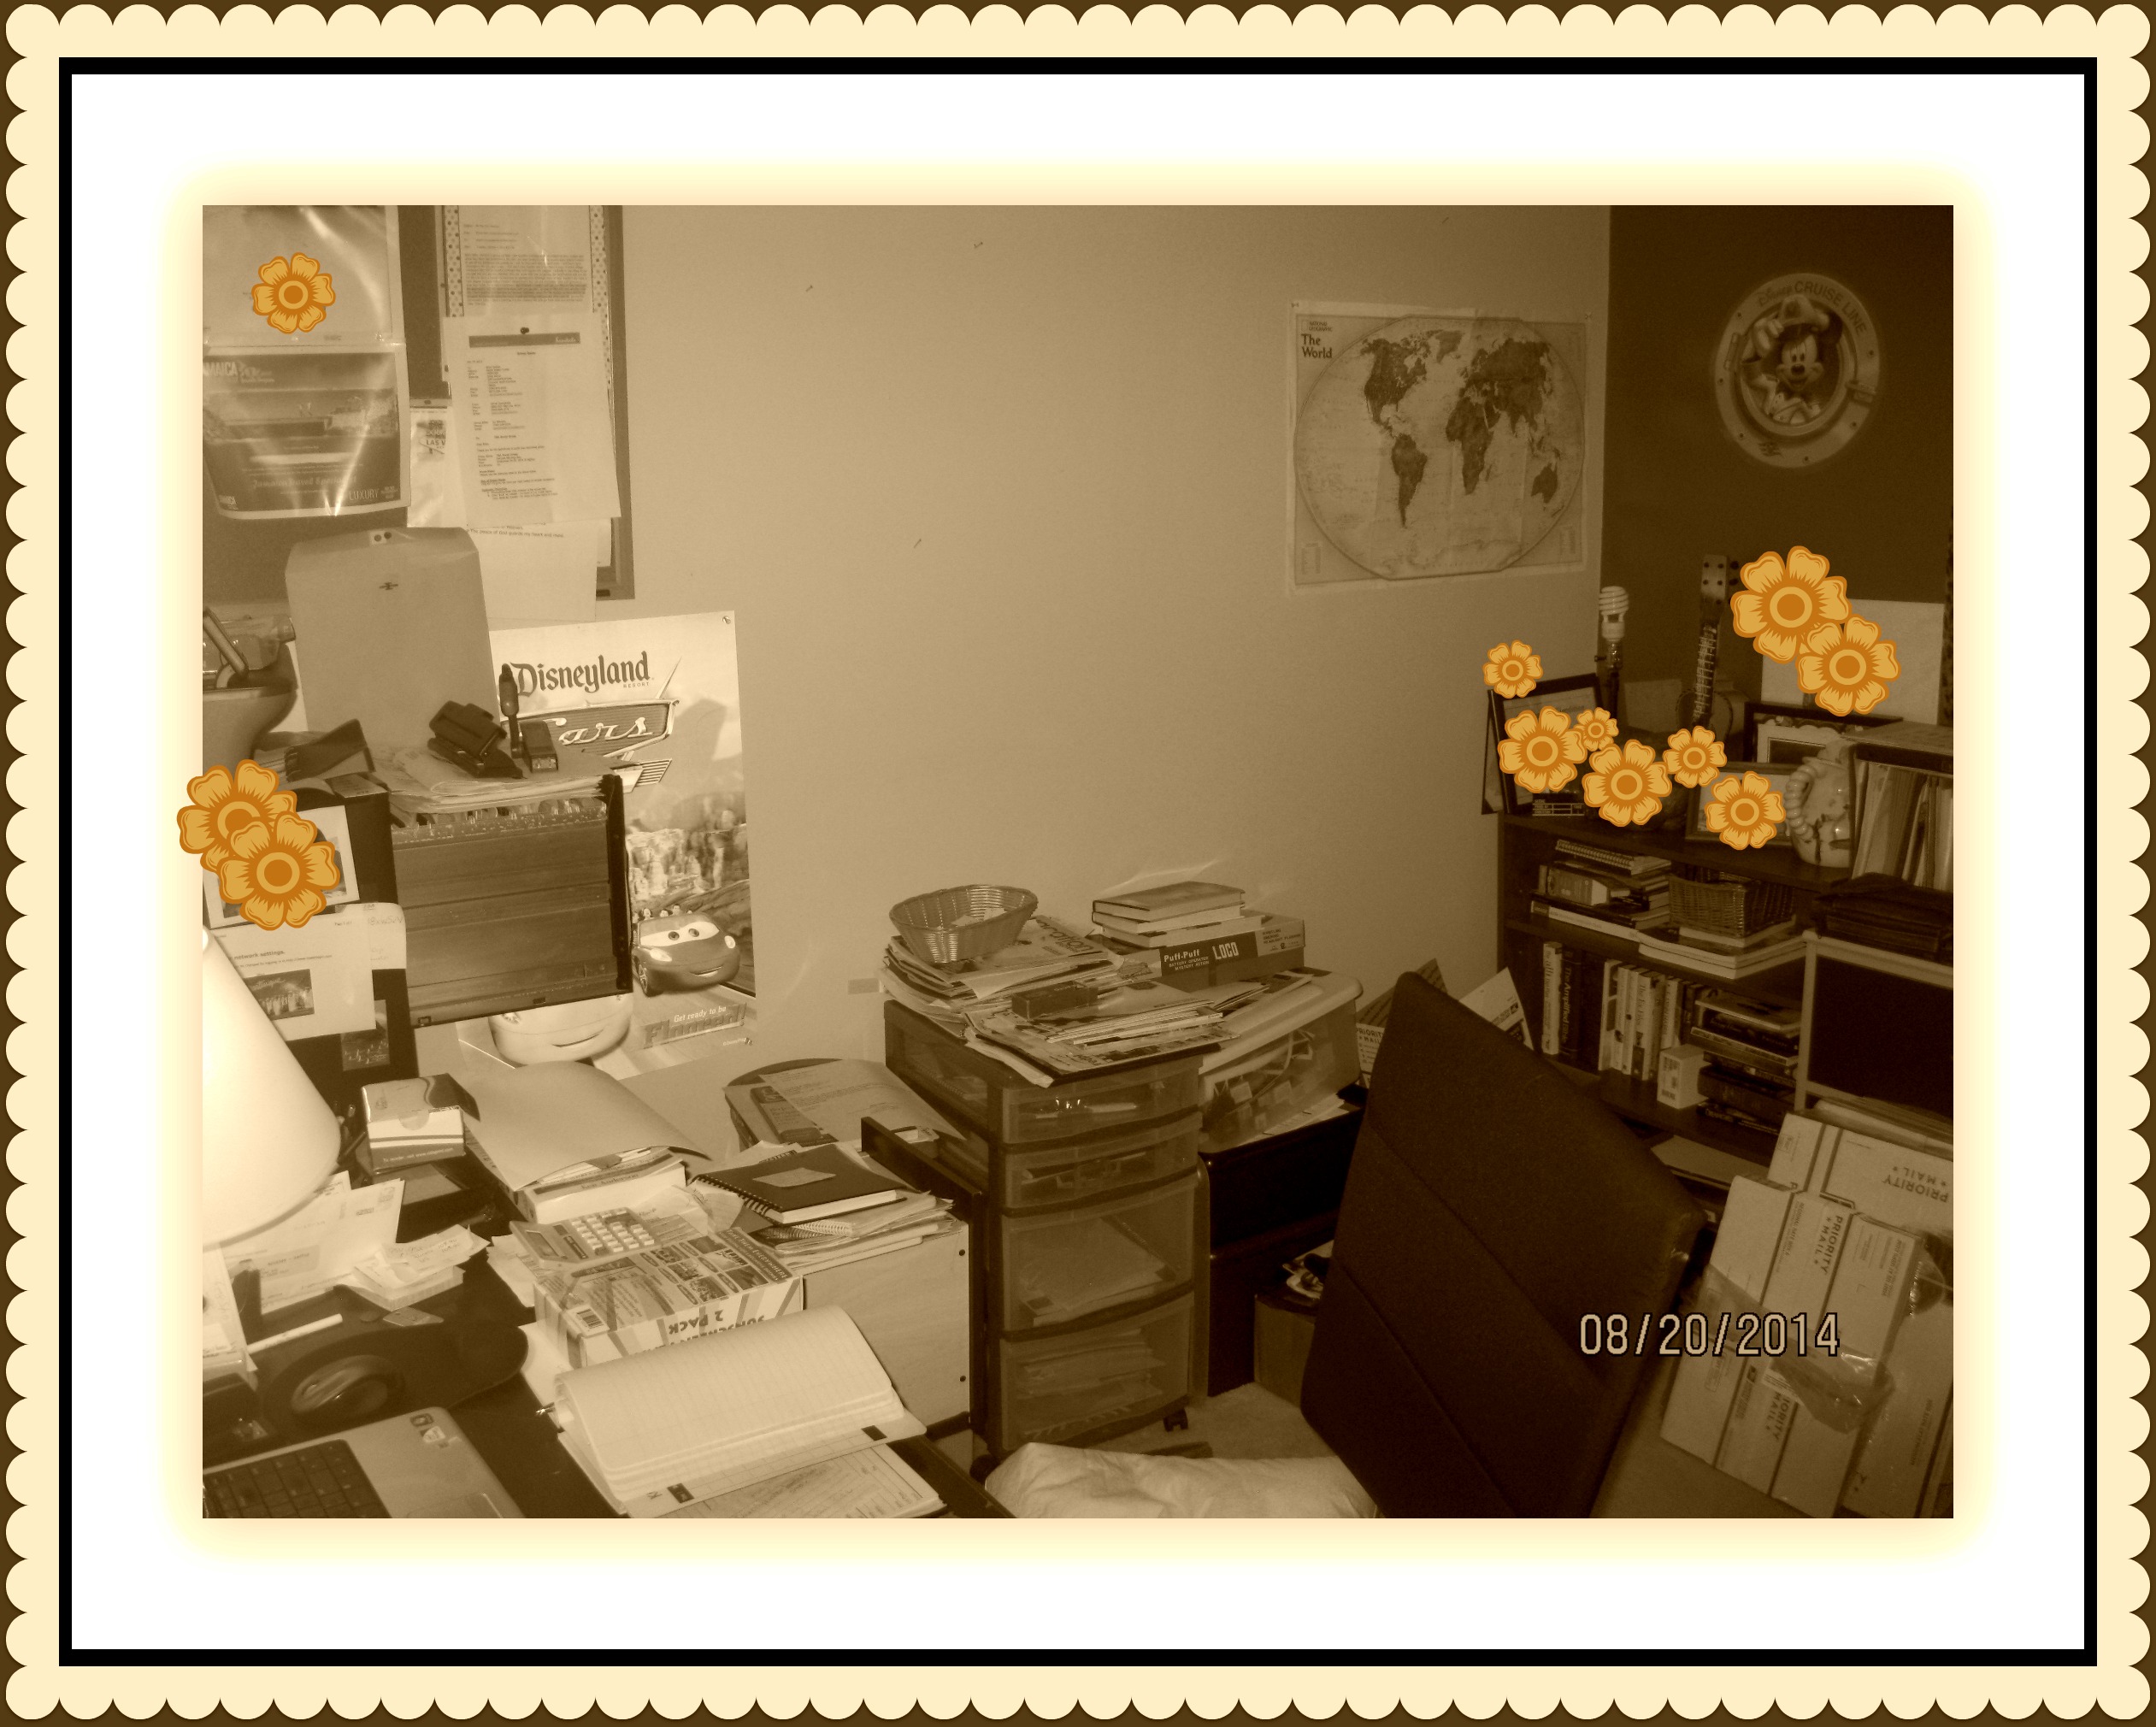
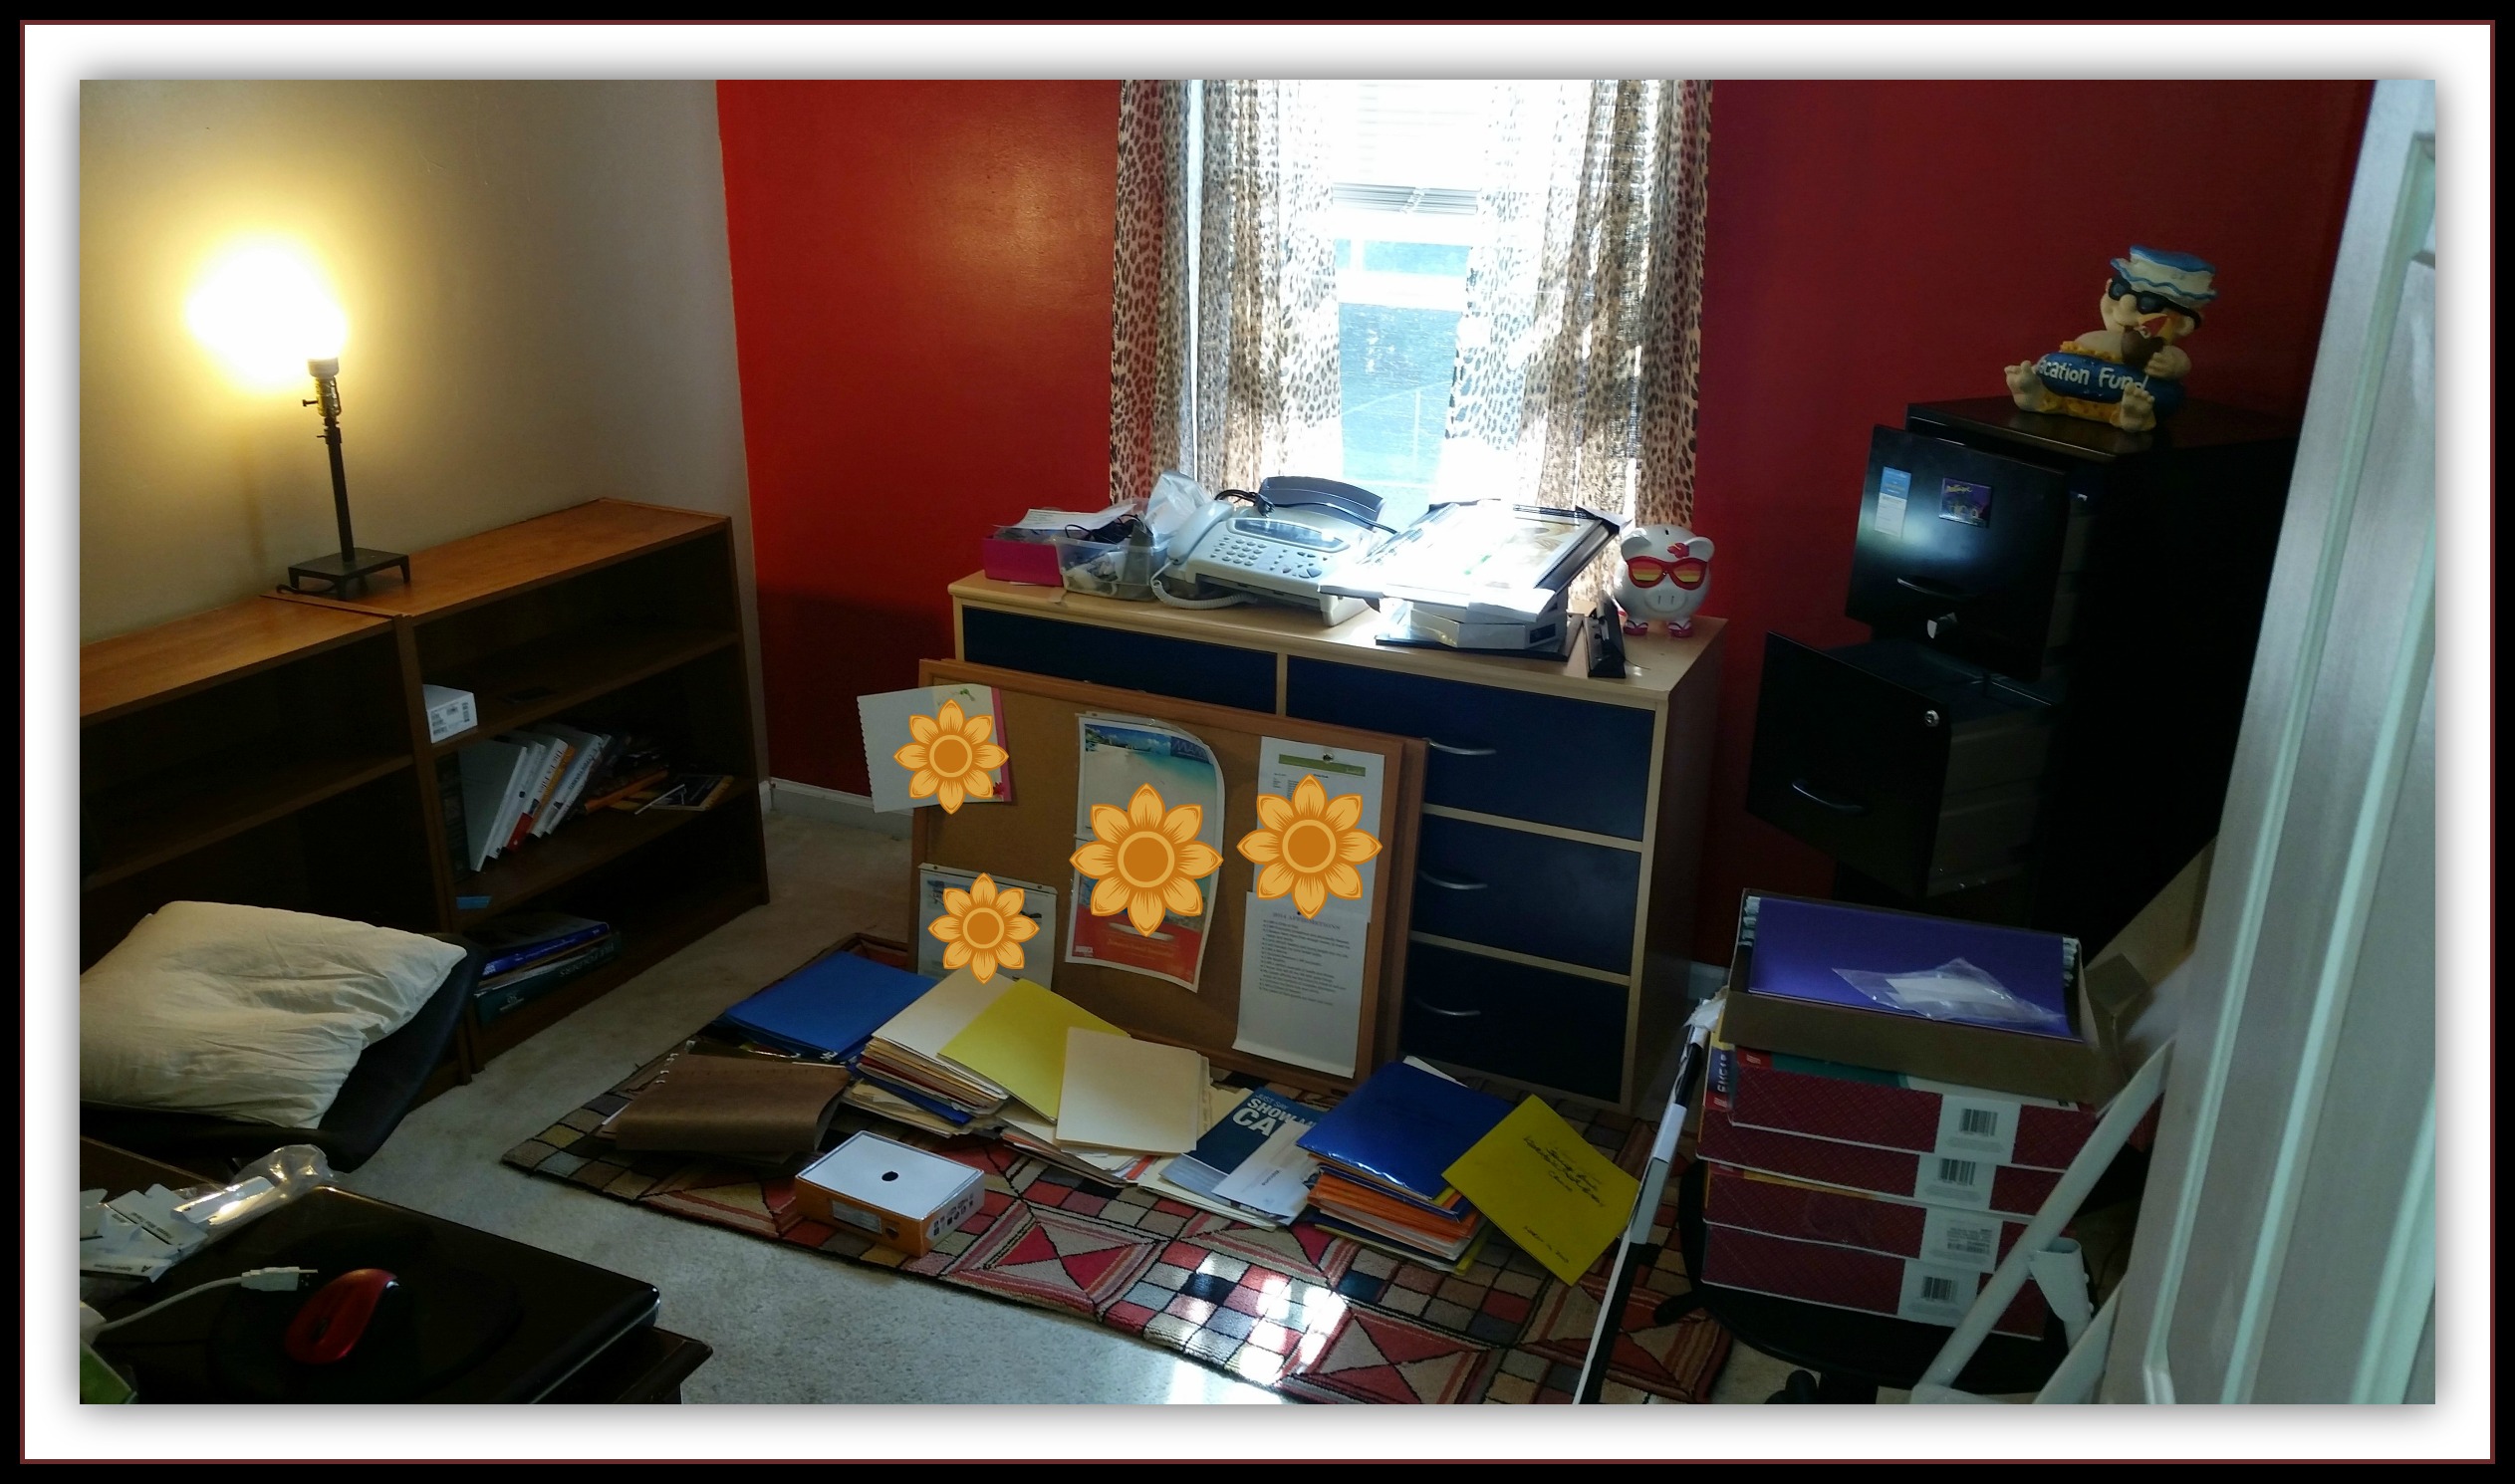
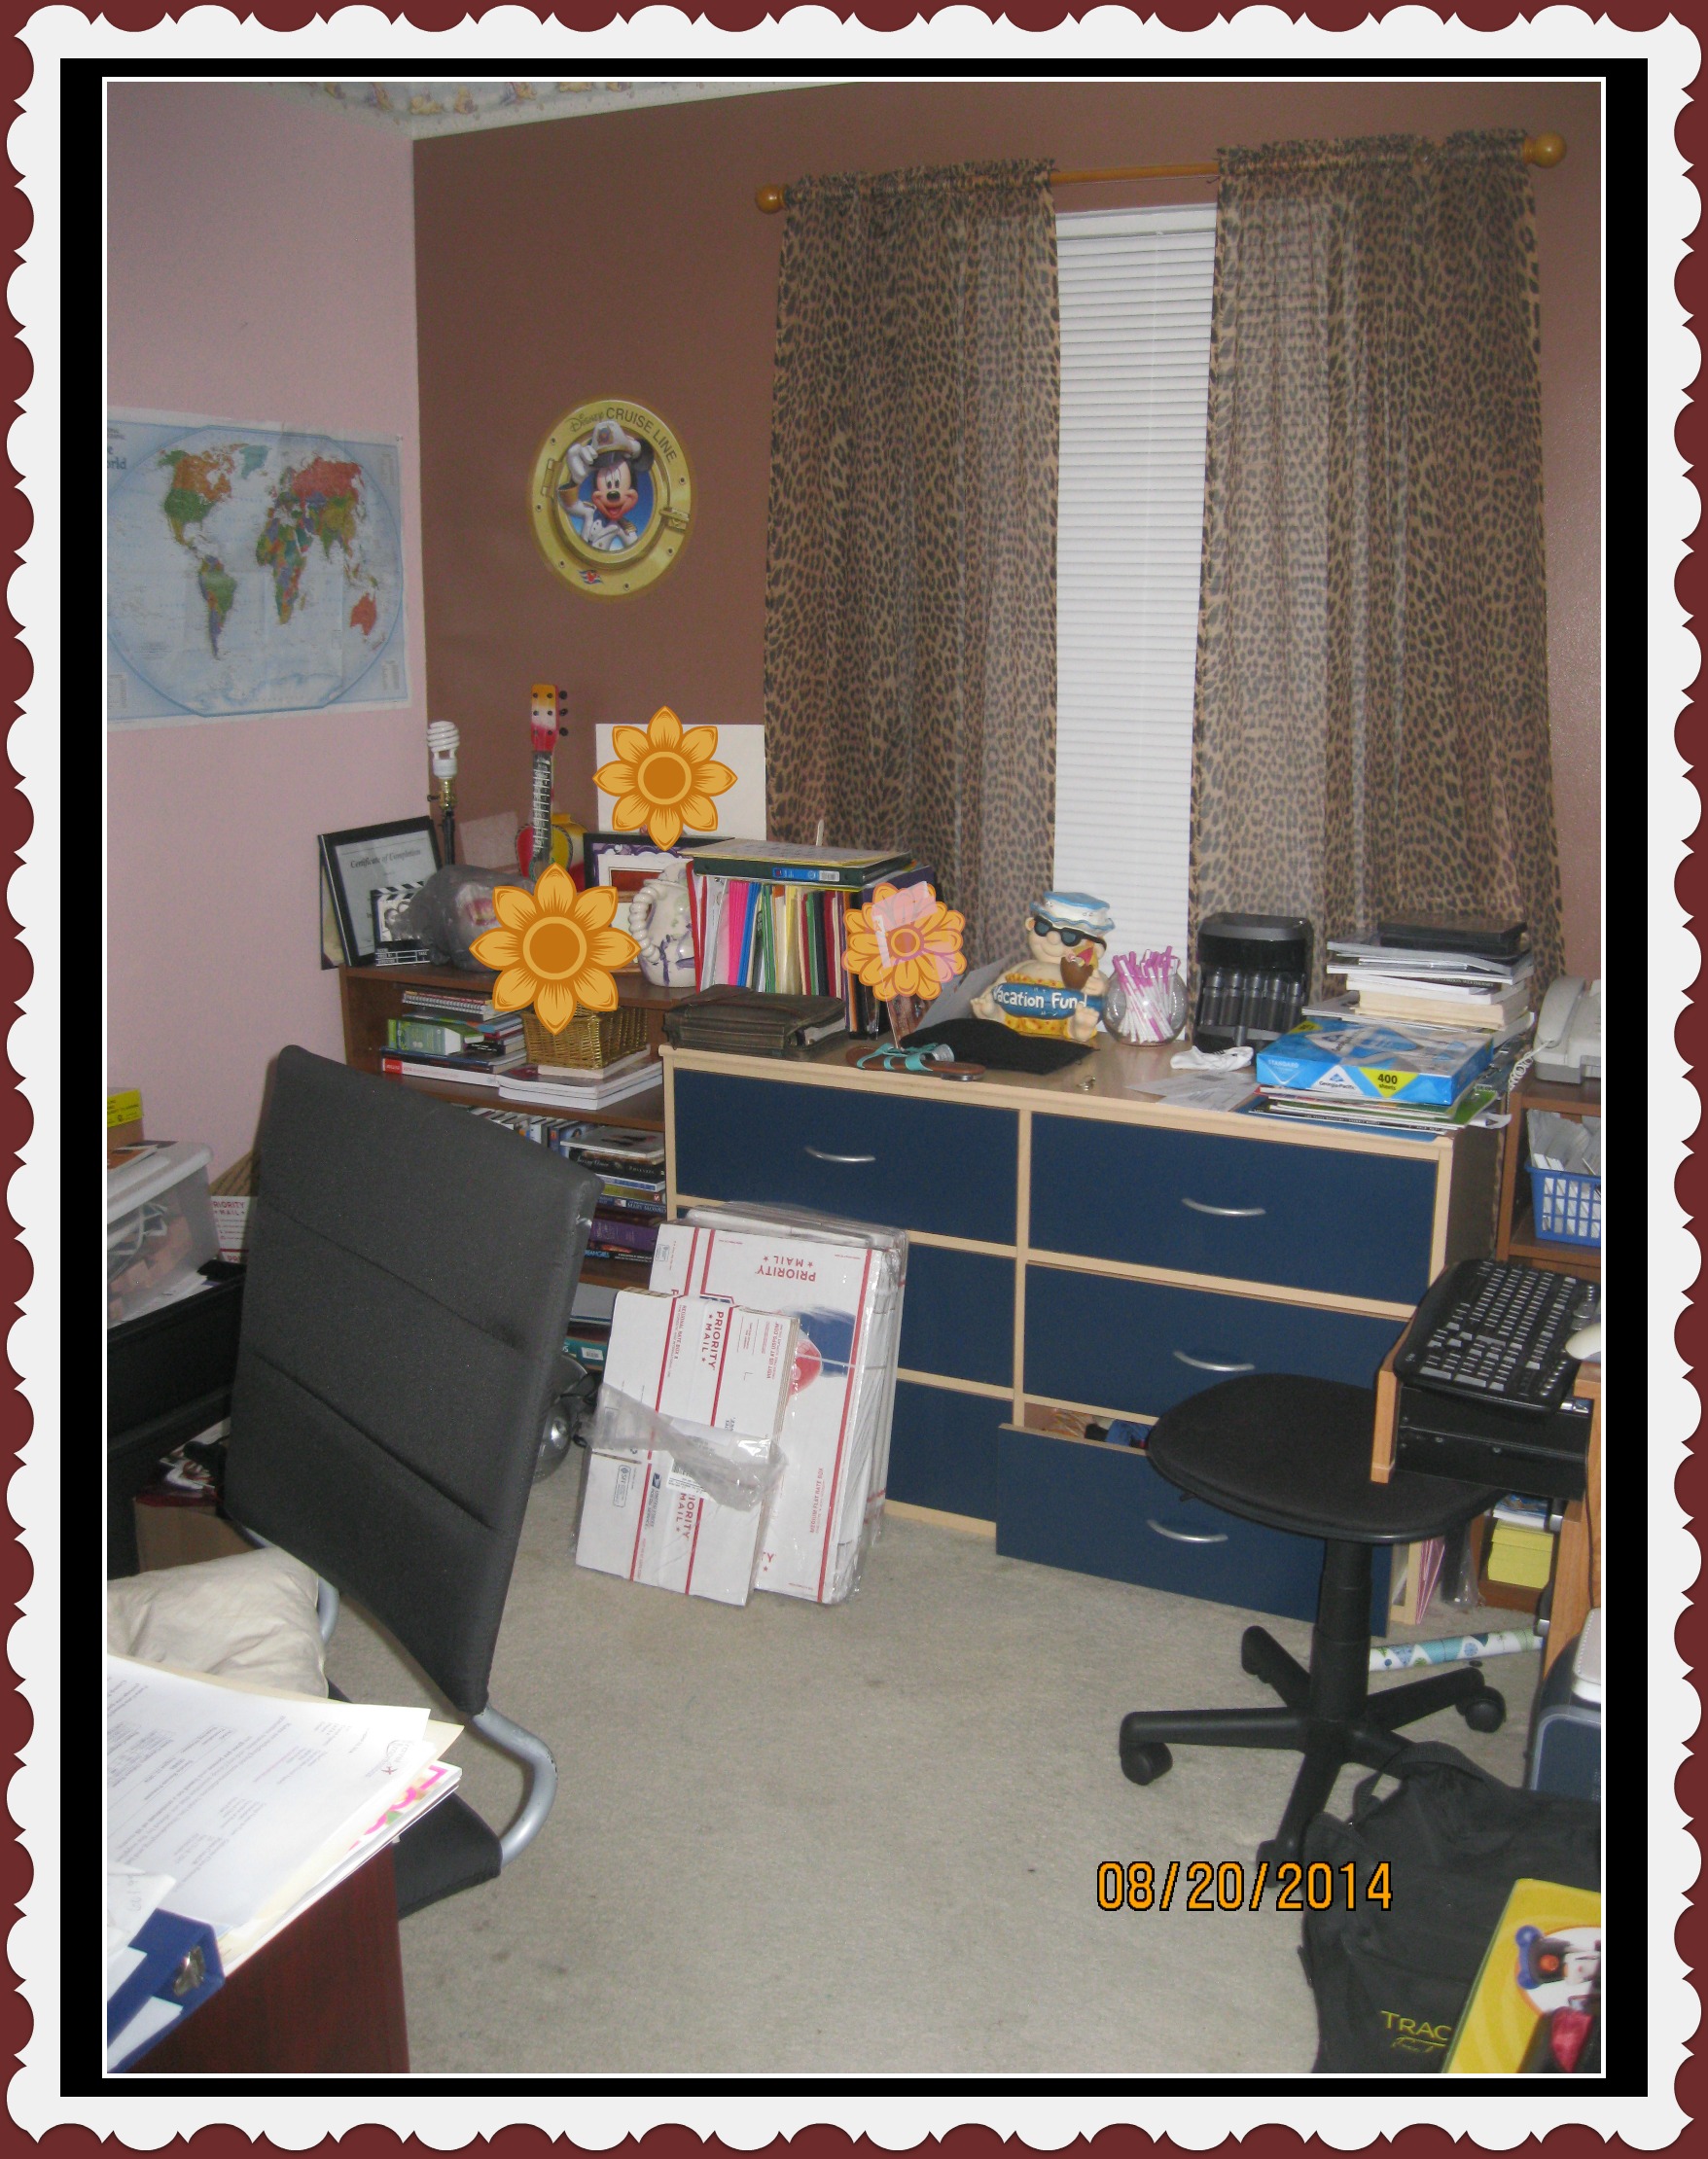
Because my client lives in another city, we did the prep work via email, texting, and instant messaging. Don’t you love technology? My client sent the first set of pictures to give me an idea of the size of the room, the condition of the room, the state of disorganization and of course so I could get a peak at the furniture we would be using in the space.
I suggested pulling everything out of the room and painting the walls as prep work and my client did an excellent job. I also suggested that she should begin the purge process. The room was filled to capacity and I knew all that stuff was not going back into the room. When I arrived, the room was painted and the only items in the room were a 4 drawer filing cabinet, the desk, 2 small bookshelves and a dresser we decided to use for storage. My client was very engaged in the process and we were on a role. However; there was still a lot of purging to do. She thought she had completed the process but there was a lot more to purge. I understand. It’s difficult to purge your own things, but the keen eye and soft persuasion of an organizer will help you reach the desired result. Thus, one of the reasons to hire an organizer to help.
Filing System – Step One:
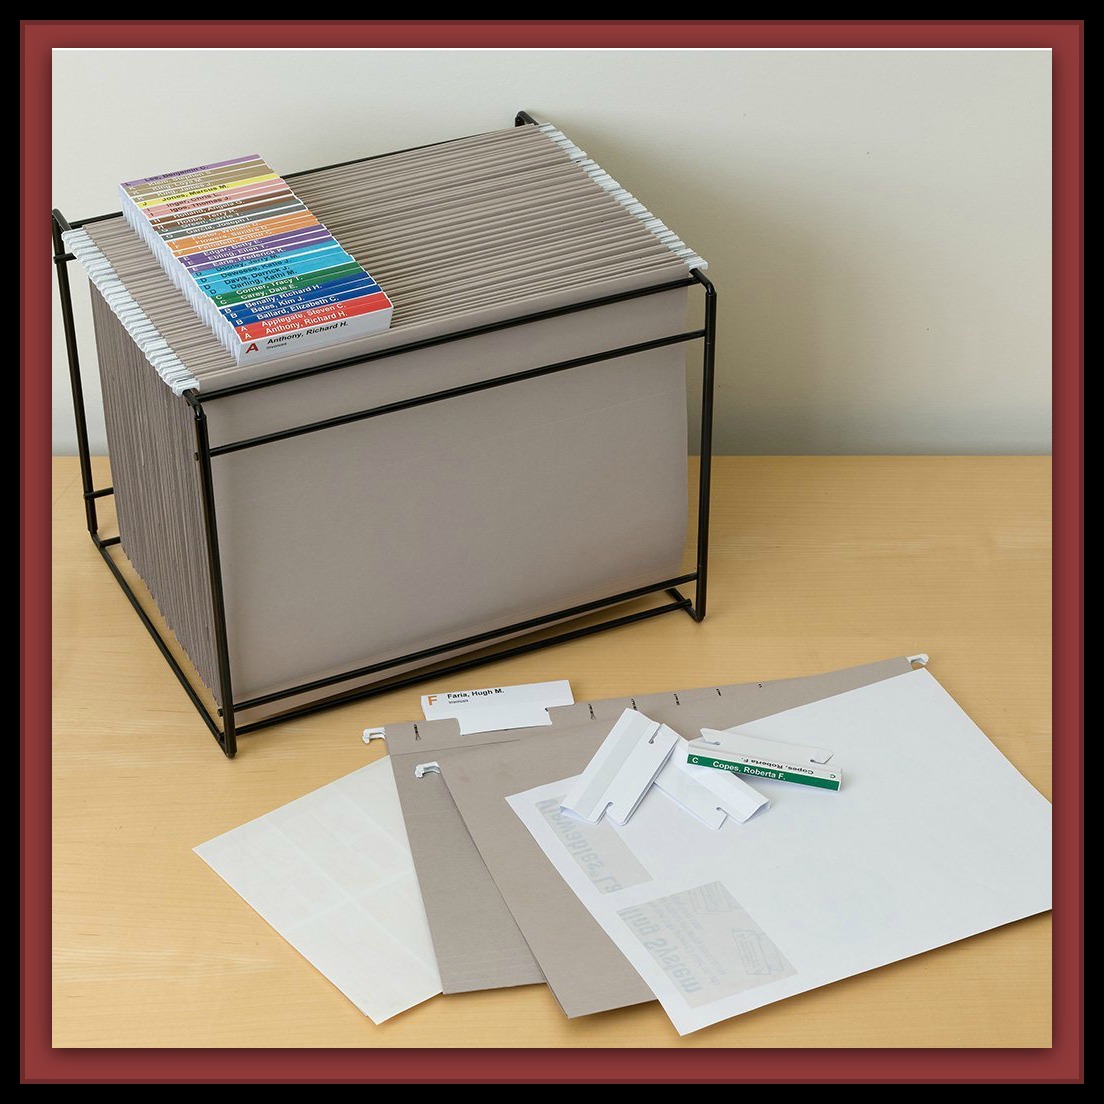
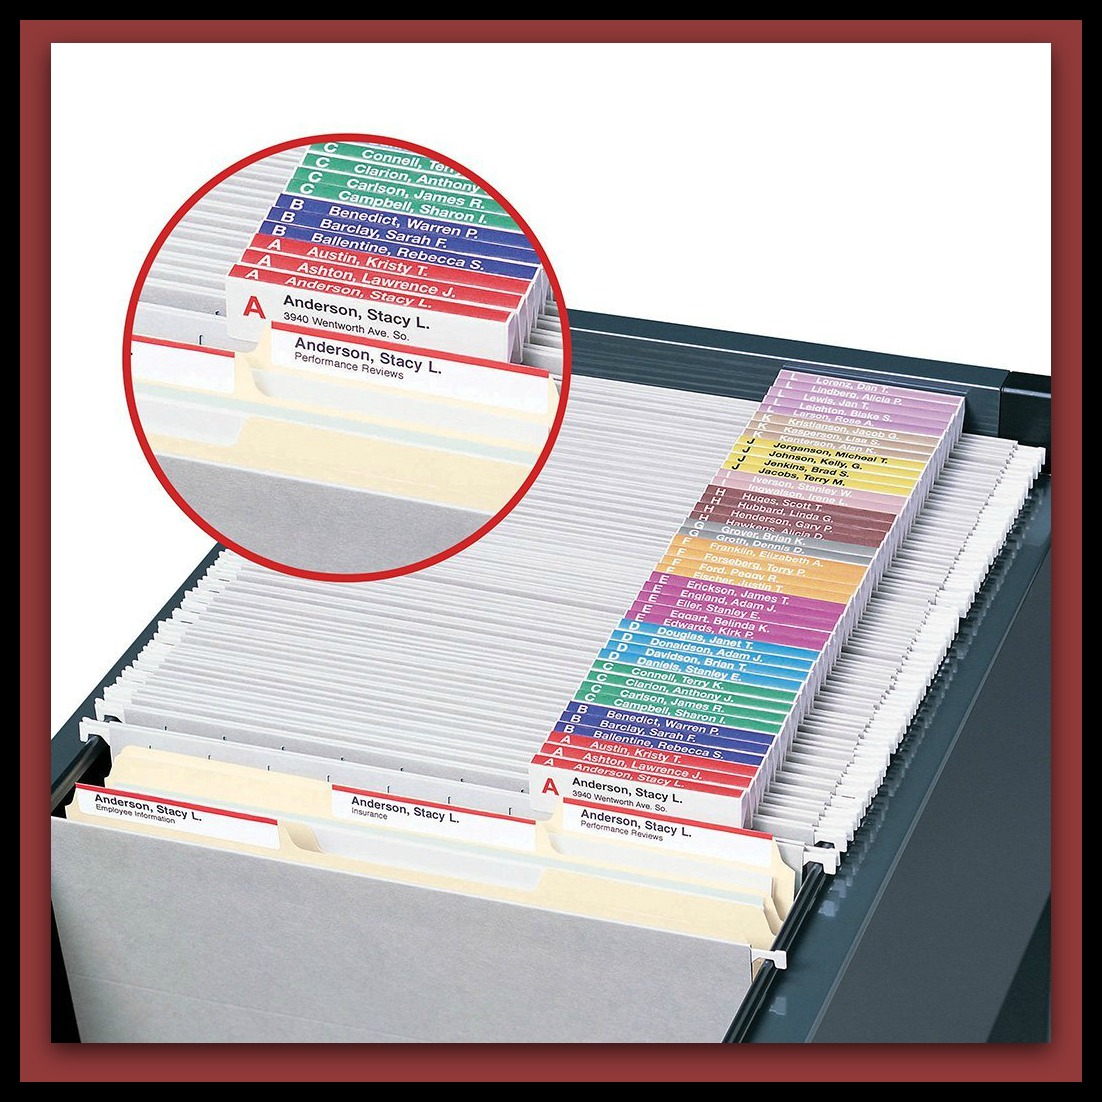
When I arrived, we first arranged the furniture, filing cabinets, and repositioned the modem/wifi system to a place that was much more efficient and less of an eye sore. Then it was on to setting up a filing system. My client is a visual thinker, therefore I had to figure out a way to keep her current projects out and in a place where she could easily view them, while filing her personal files and business files away. For the file cabinets, I used the Smead Viewables filing system to create the filing system. This system is a three D system that allows me to color code the files and because the labels stand up and the titles are prominently displayed on three sides, it is easy to find the files and to manage the system. You can find this system at my organization aStore. And important to my client, the files are attractive and can be used inside a drawer or on top of the desk. My client and I decided to set this up prior to the day of the redesign as well. She sent me the list of her files and I printed and made the labels before going to the residence.


Filing System – Step Two:
Once I arrived onsite, we began the tedious job of organizing all of the paper in the office (part two of the dreaded purge). We set up an assembly line of sorts. I did take a helper with me and my client also invited a friend to assist. So while I organized the files, I sat my client in a chair to sort through all of the paper. She tossed the unnecessary papers and the items that were to go into the cabinets were passed to me. My helper and I also brought stack after stack of paper work to my client so she could concentrate on the separating and purging process. It was an affective course of action for this client. But remember, all clients are different and the process should be tailored to each individual client. This was the most tedious and time consuming part of the redesign. Separating and purging while deciding how files should be colored coded, titled and filed can take hours and it did. But it was very rewarding for both me and my client when it was done.
Replacing the Things – Step Three:
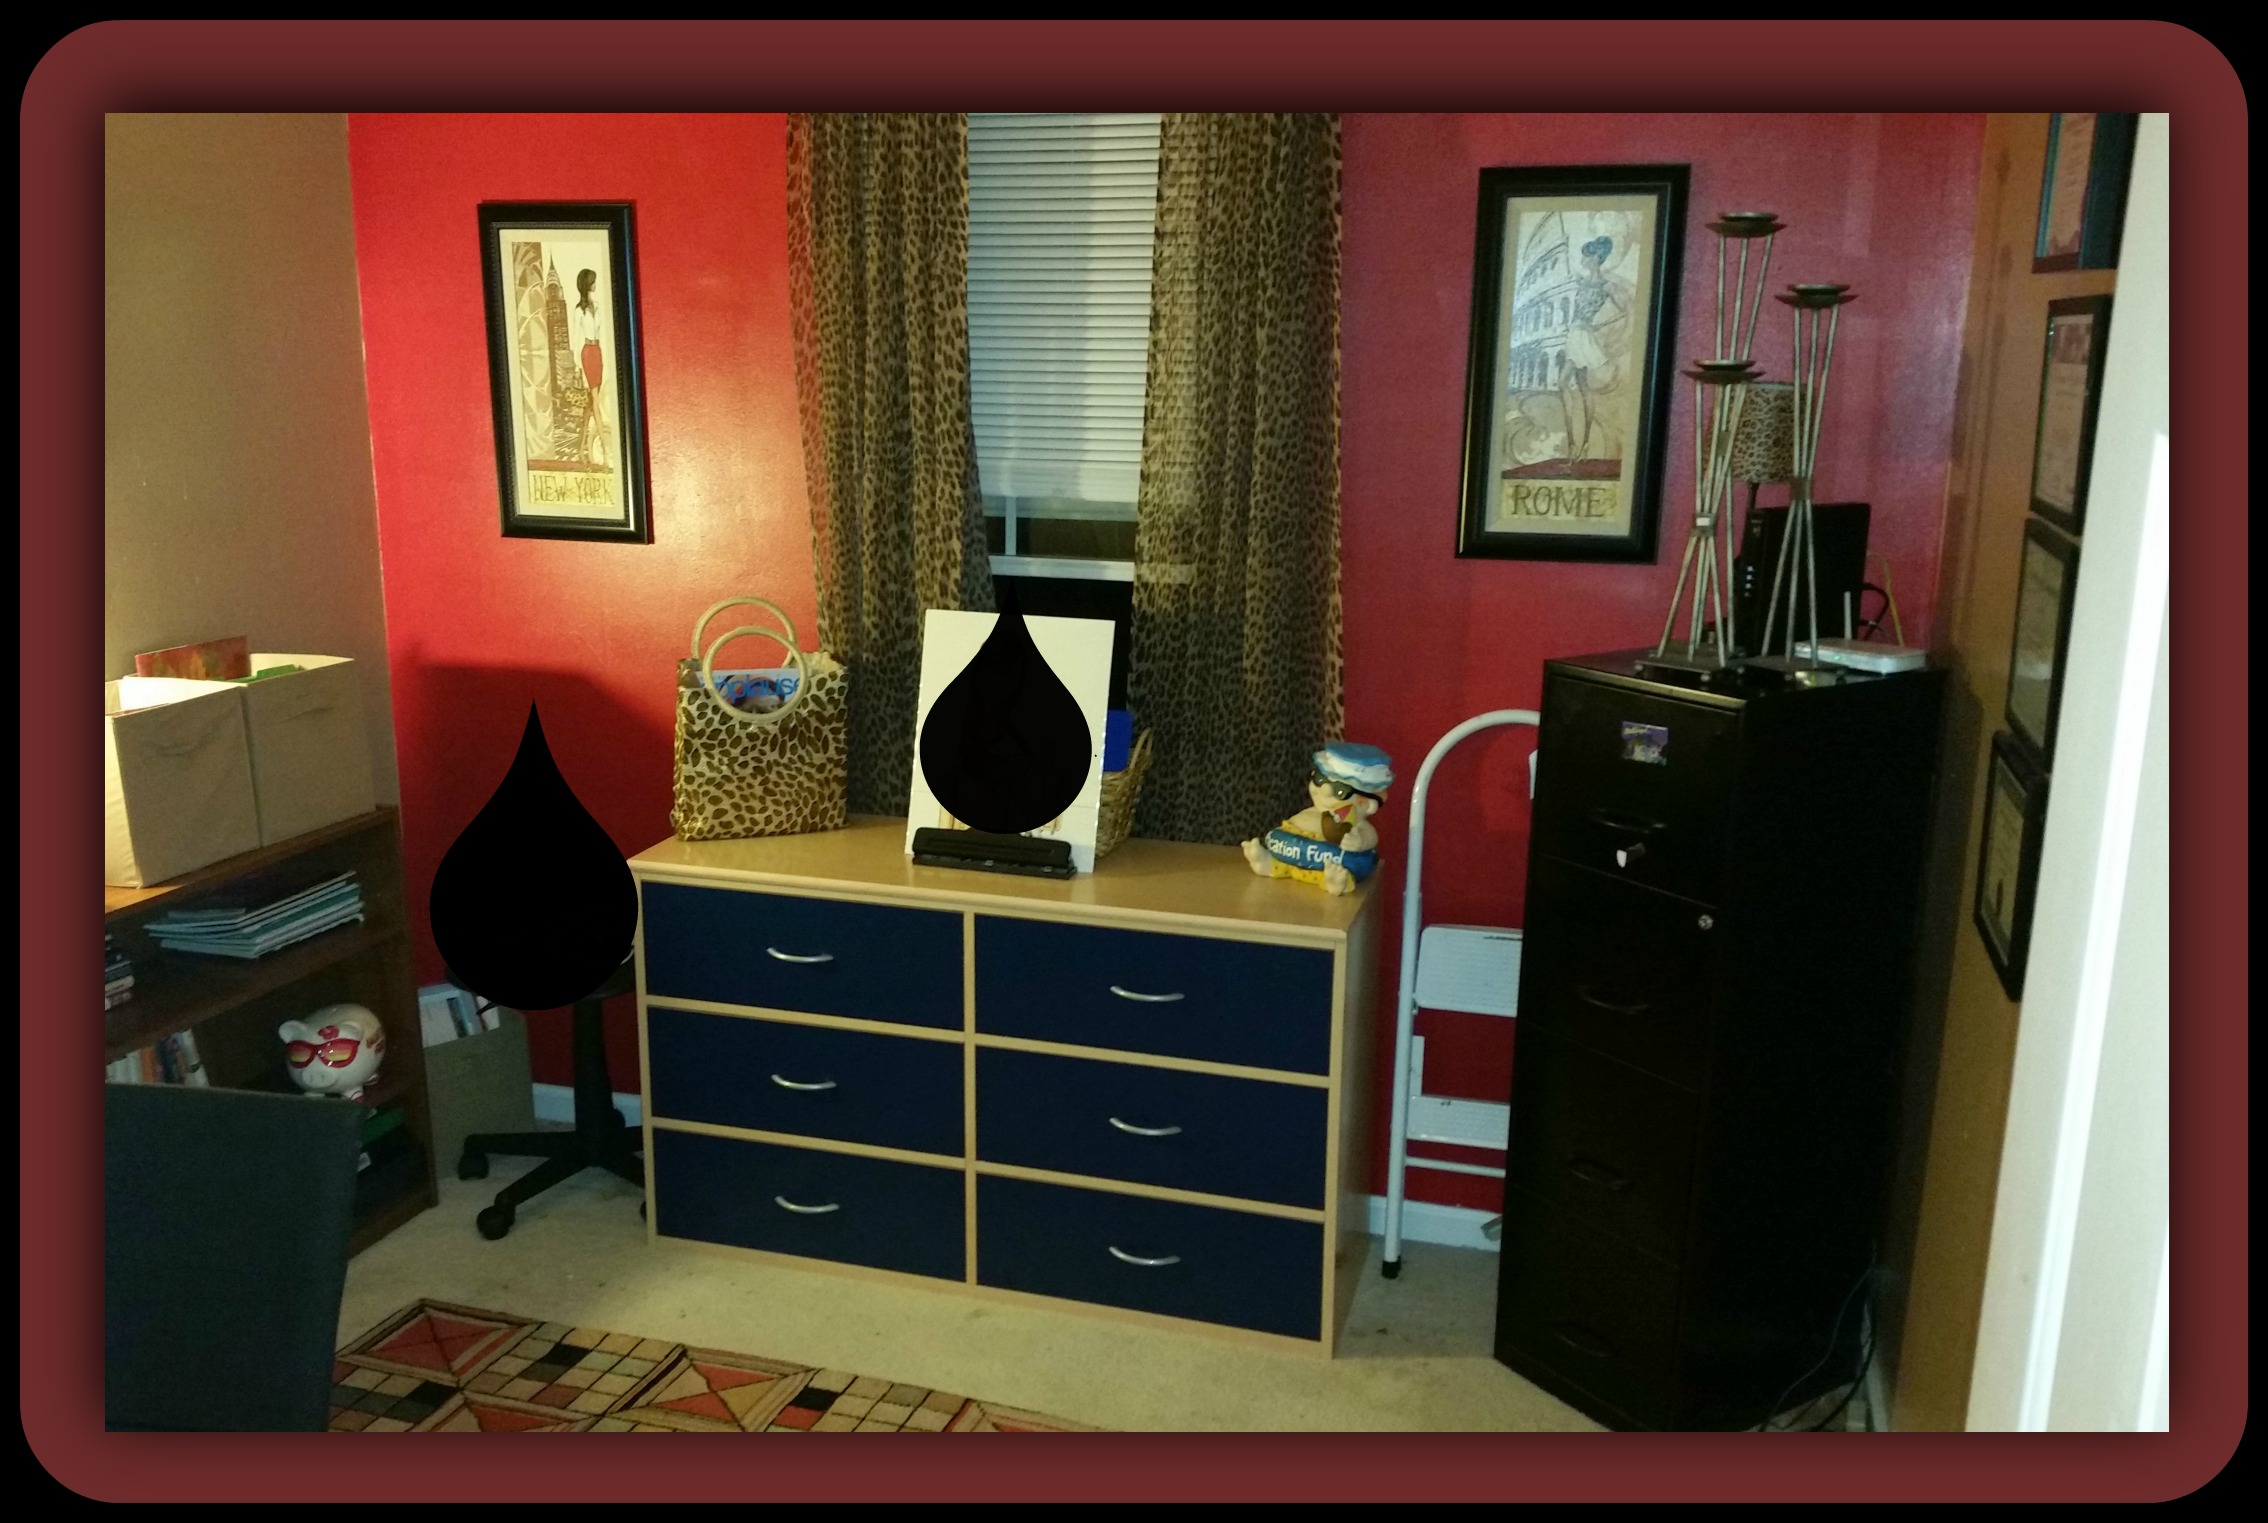
This is where my client got a break while I moved the books, decorative items and other odds and ins into the space. The room was really starting to take shape. This is also the time I shopped my client’s home for a few decorative items to place in the space and trust me, there was no shortage of decorative items in this client’s home. Always remember to shop your home when redesigning a space. You will be surprised at how different something can look in a different space. The room was beginning to come together.
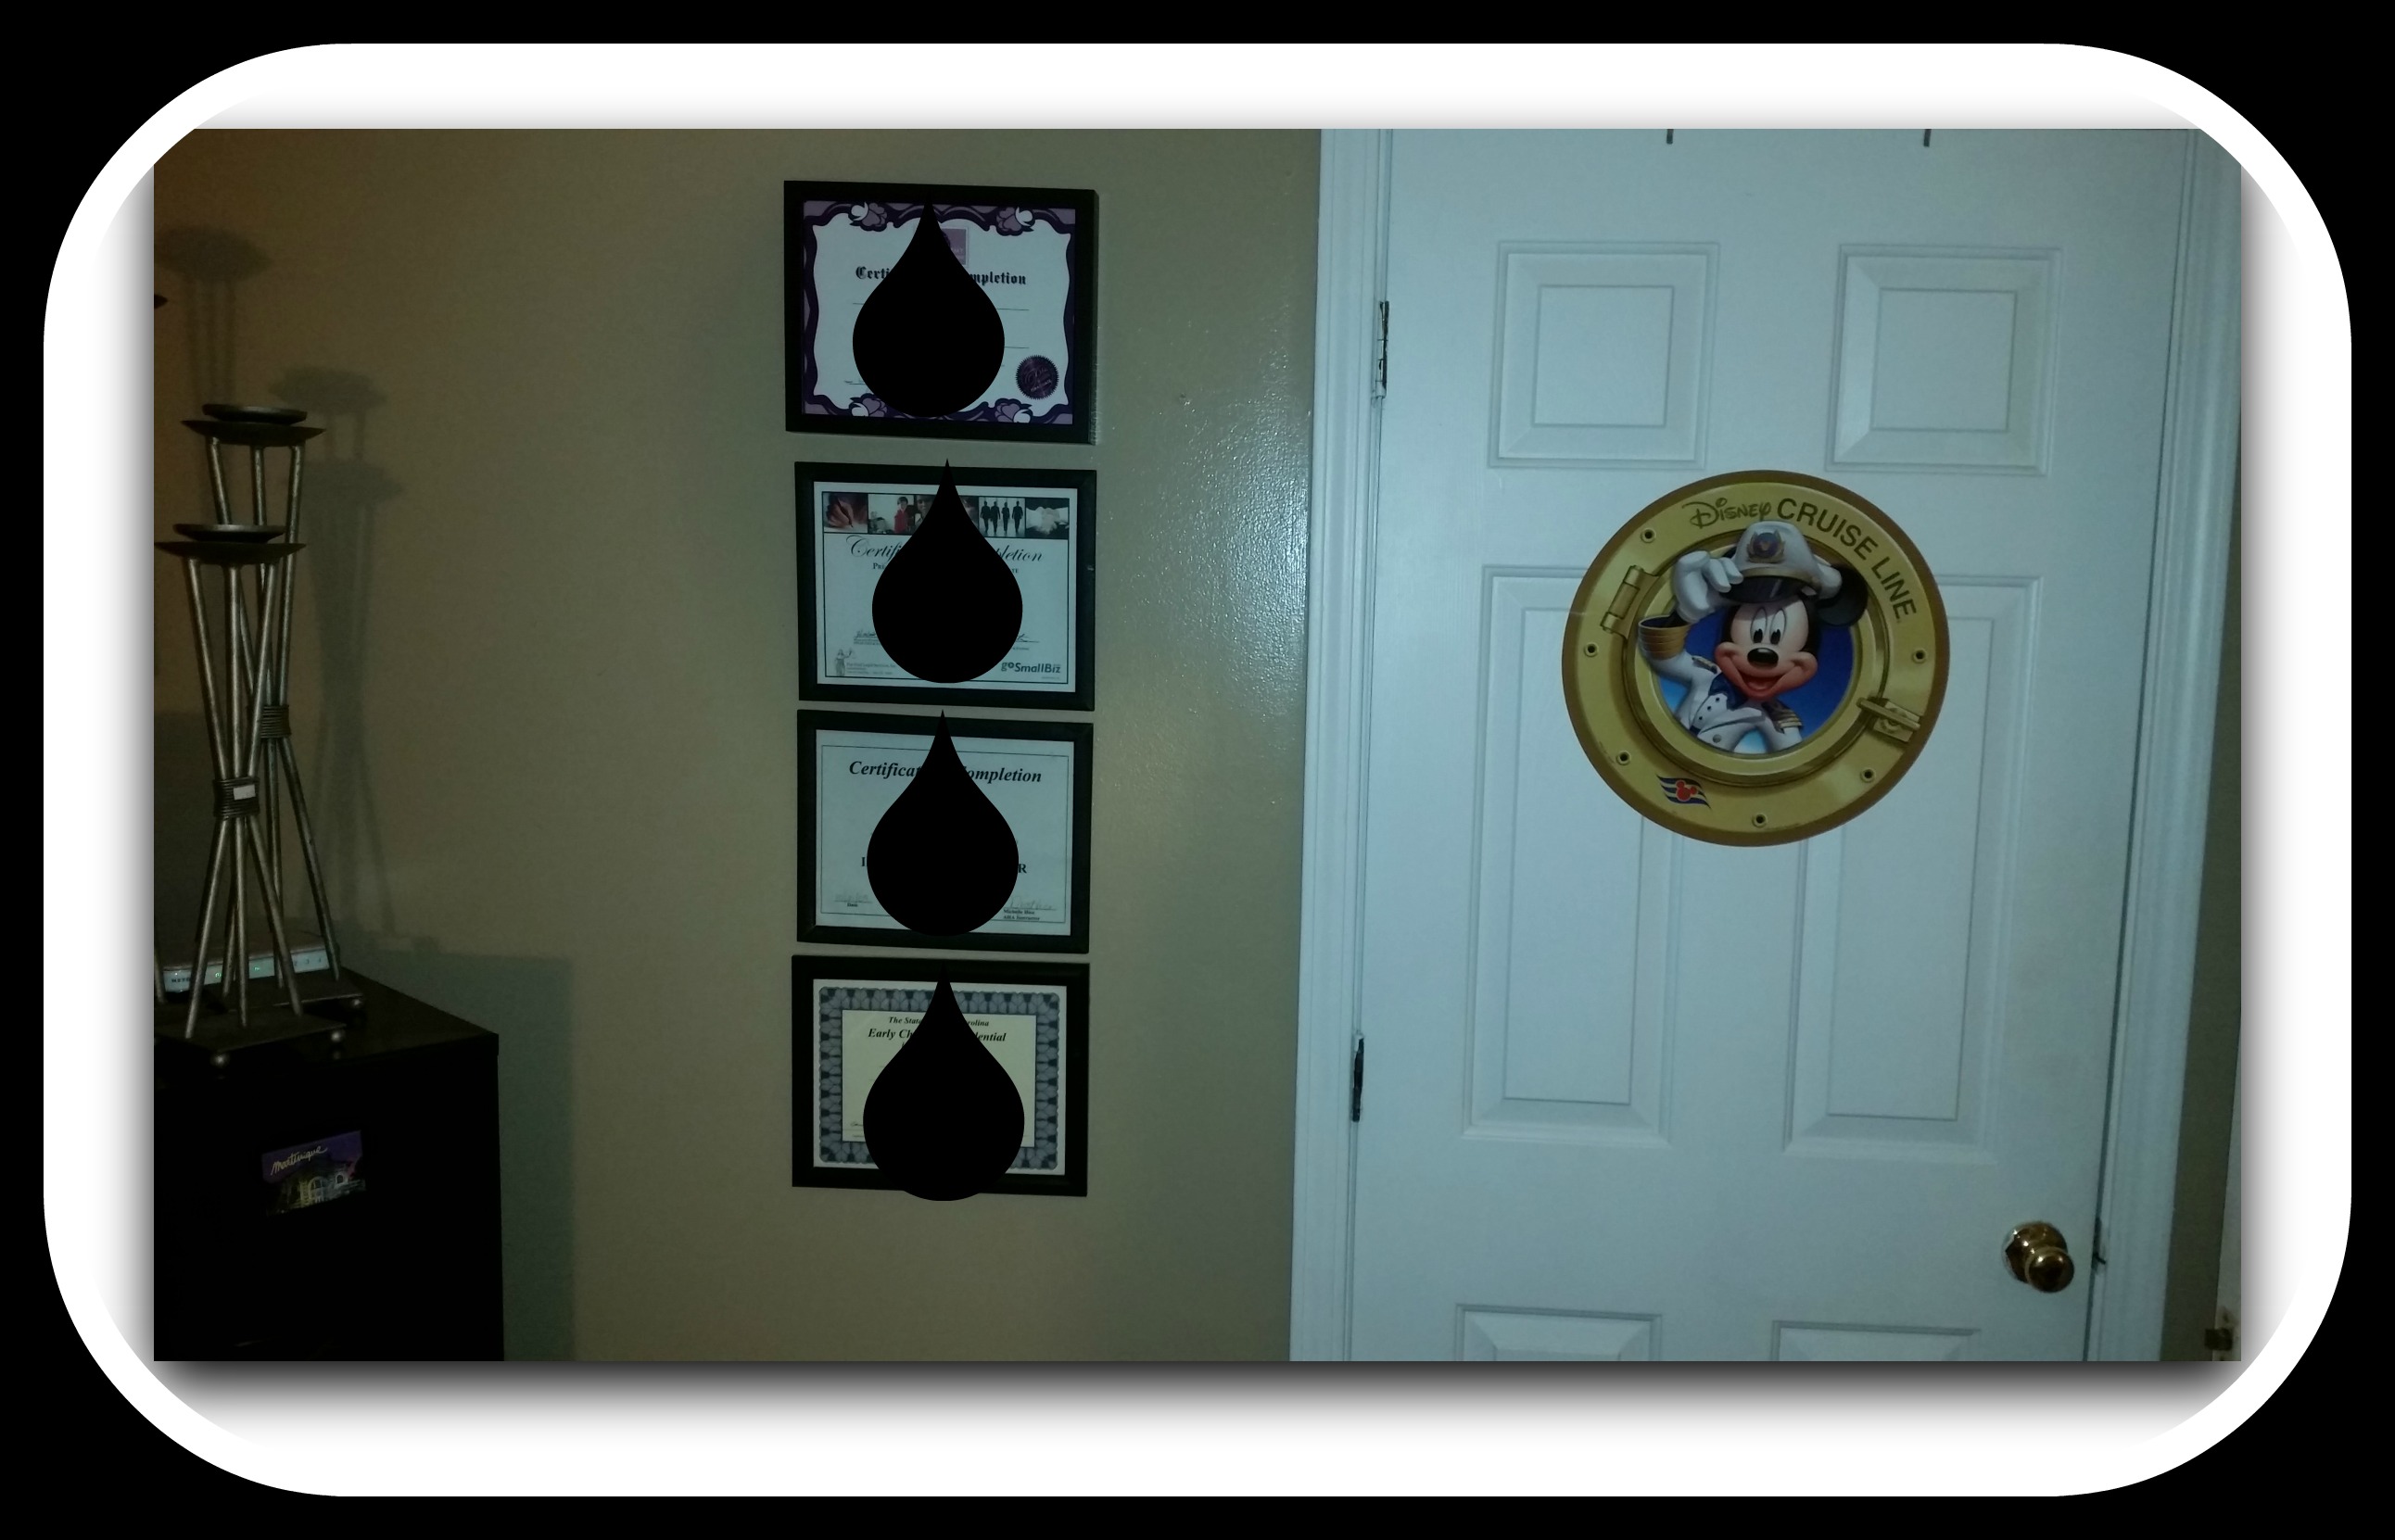
The Walls – Step Four:
Now it was time to embellish the walls. Remember I said earlier this client is a visual thinker and she had many and I mean many bulletin boards that she wanted to use but the room is small with a limited amount of wall space. Although I wanted to please my client, I knew we had to limit the number of bulletin boards going back into the space. I suggested three and my client agreed and that left room for a brag wall and room on the accent wall for beautiful artwork. It was a good compromise. We did clean up the bulletin boards and placed items on the boards in an attractive manner. My client promised to maintain the boards and because it is a system that works for her, I think it is more than possible she will do so. My regret here is that I did not have time to paint the frames and cover the boards in a coordinating fabric. But I am more than willing to go back and complete the process.
Storage – Step Five:
This was an easy chore. There was a six-drawer dresser in the room that held some out-of-season clothing. I convinced my client to find another space for the clothing and we used the dresser to store office supplies and miscellaneous items related to her businesses. We also took a break to purchase six storage boxes for brochures required for the business. We sat these on the book shelves. They are pretty and functional and they appeal to my client’s sense of style. They function well in the space because they allow her to have access to the brochures without hassle or having to search through drawers and this works for her. Remember she’s a visual thinker.

The Desk – Step Six:
The drawers were tidied up but most of my energy was spent on the desktop. I set up a filing system for my client’s current projects, added a couple of cute desk accessories and left the rest of the desk clean and uncluttered. I did suggest color coding the filing system on the desktop as well. I think it would be pretty to dress the files in folders that match the colors of the room. The room was almost done at this point and it was redesigned in a way that made it inviting. This room is now a place where creativity can soar.
Final Touches – Step Seven:
The final touches were added and the project was semi-complete. I added a couple more small decorative items. I was pleased but more importantly, my client was pleased. It was time to present her with my room warming gift. I gifted this client a chalkboard for her space. That is a tradition of mine…once the room is complete I gift the client with a room appropriate gift. It is just my way of thanking my client for their business.
Next Steps/What Now? – Step Eight:
My client is working in her new space and as she does, she is finding other things she would like to see organized. She is now working on client information that she would like for me to placed in a database to alleviate even more paper and to further organize her client list…Yaaay, the organization bug has bitten her. We are also researching programs to remind her of special days in her client’s lives. As you can see, I don’t leave you once the initial job is complete.
My Suggestions – Step Nine:
Once the project was complete I left my client with suggestions to make the space even more inviting.
- Color code the desktop files to match the colors of the room
- Paint the desk – it is a beautiful piece with good lines and a new paint job will turn it into a masterpiece
- Stain and/or paint the other pieces of furniture and filing cabinets in the room to develop a cohesiveness
- Eventually, change the flooring – my suggestion is hardwood or a good laminate
Finally – Step Ten:
Now that my client’s space is complete, she is relishing the change in the space. She is taking it all in and coming up with ideas for that space as well as other spaces in her home. We are texting or emailing often so she can share ideas with me and to get my opinion. I am so pleased that she is thrilled with the space and the spark it has ignited.
Take a look at the before and after pictures to see how far this little redesign has come. Organization may be difficult to start but once you begin, it can become addictive – and this, my friend, is a “positive” addiction. As I said in another post, begin small. Take baby steps and soon you’ll be sprinting.
Before Redesign


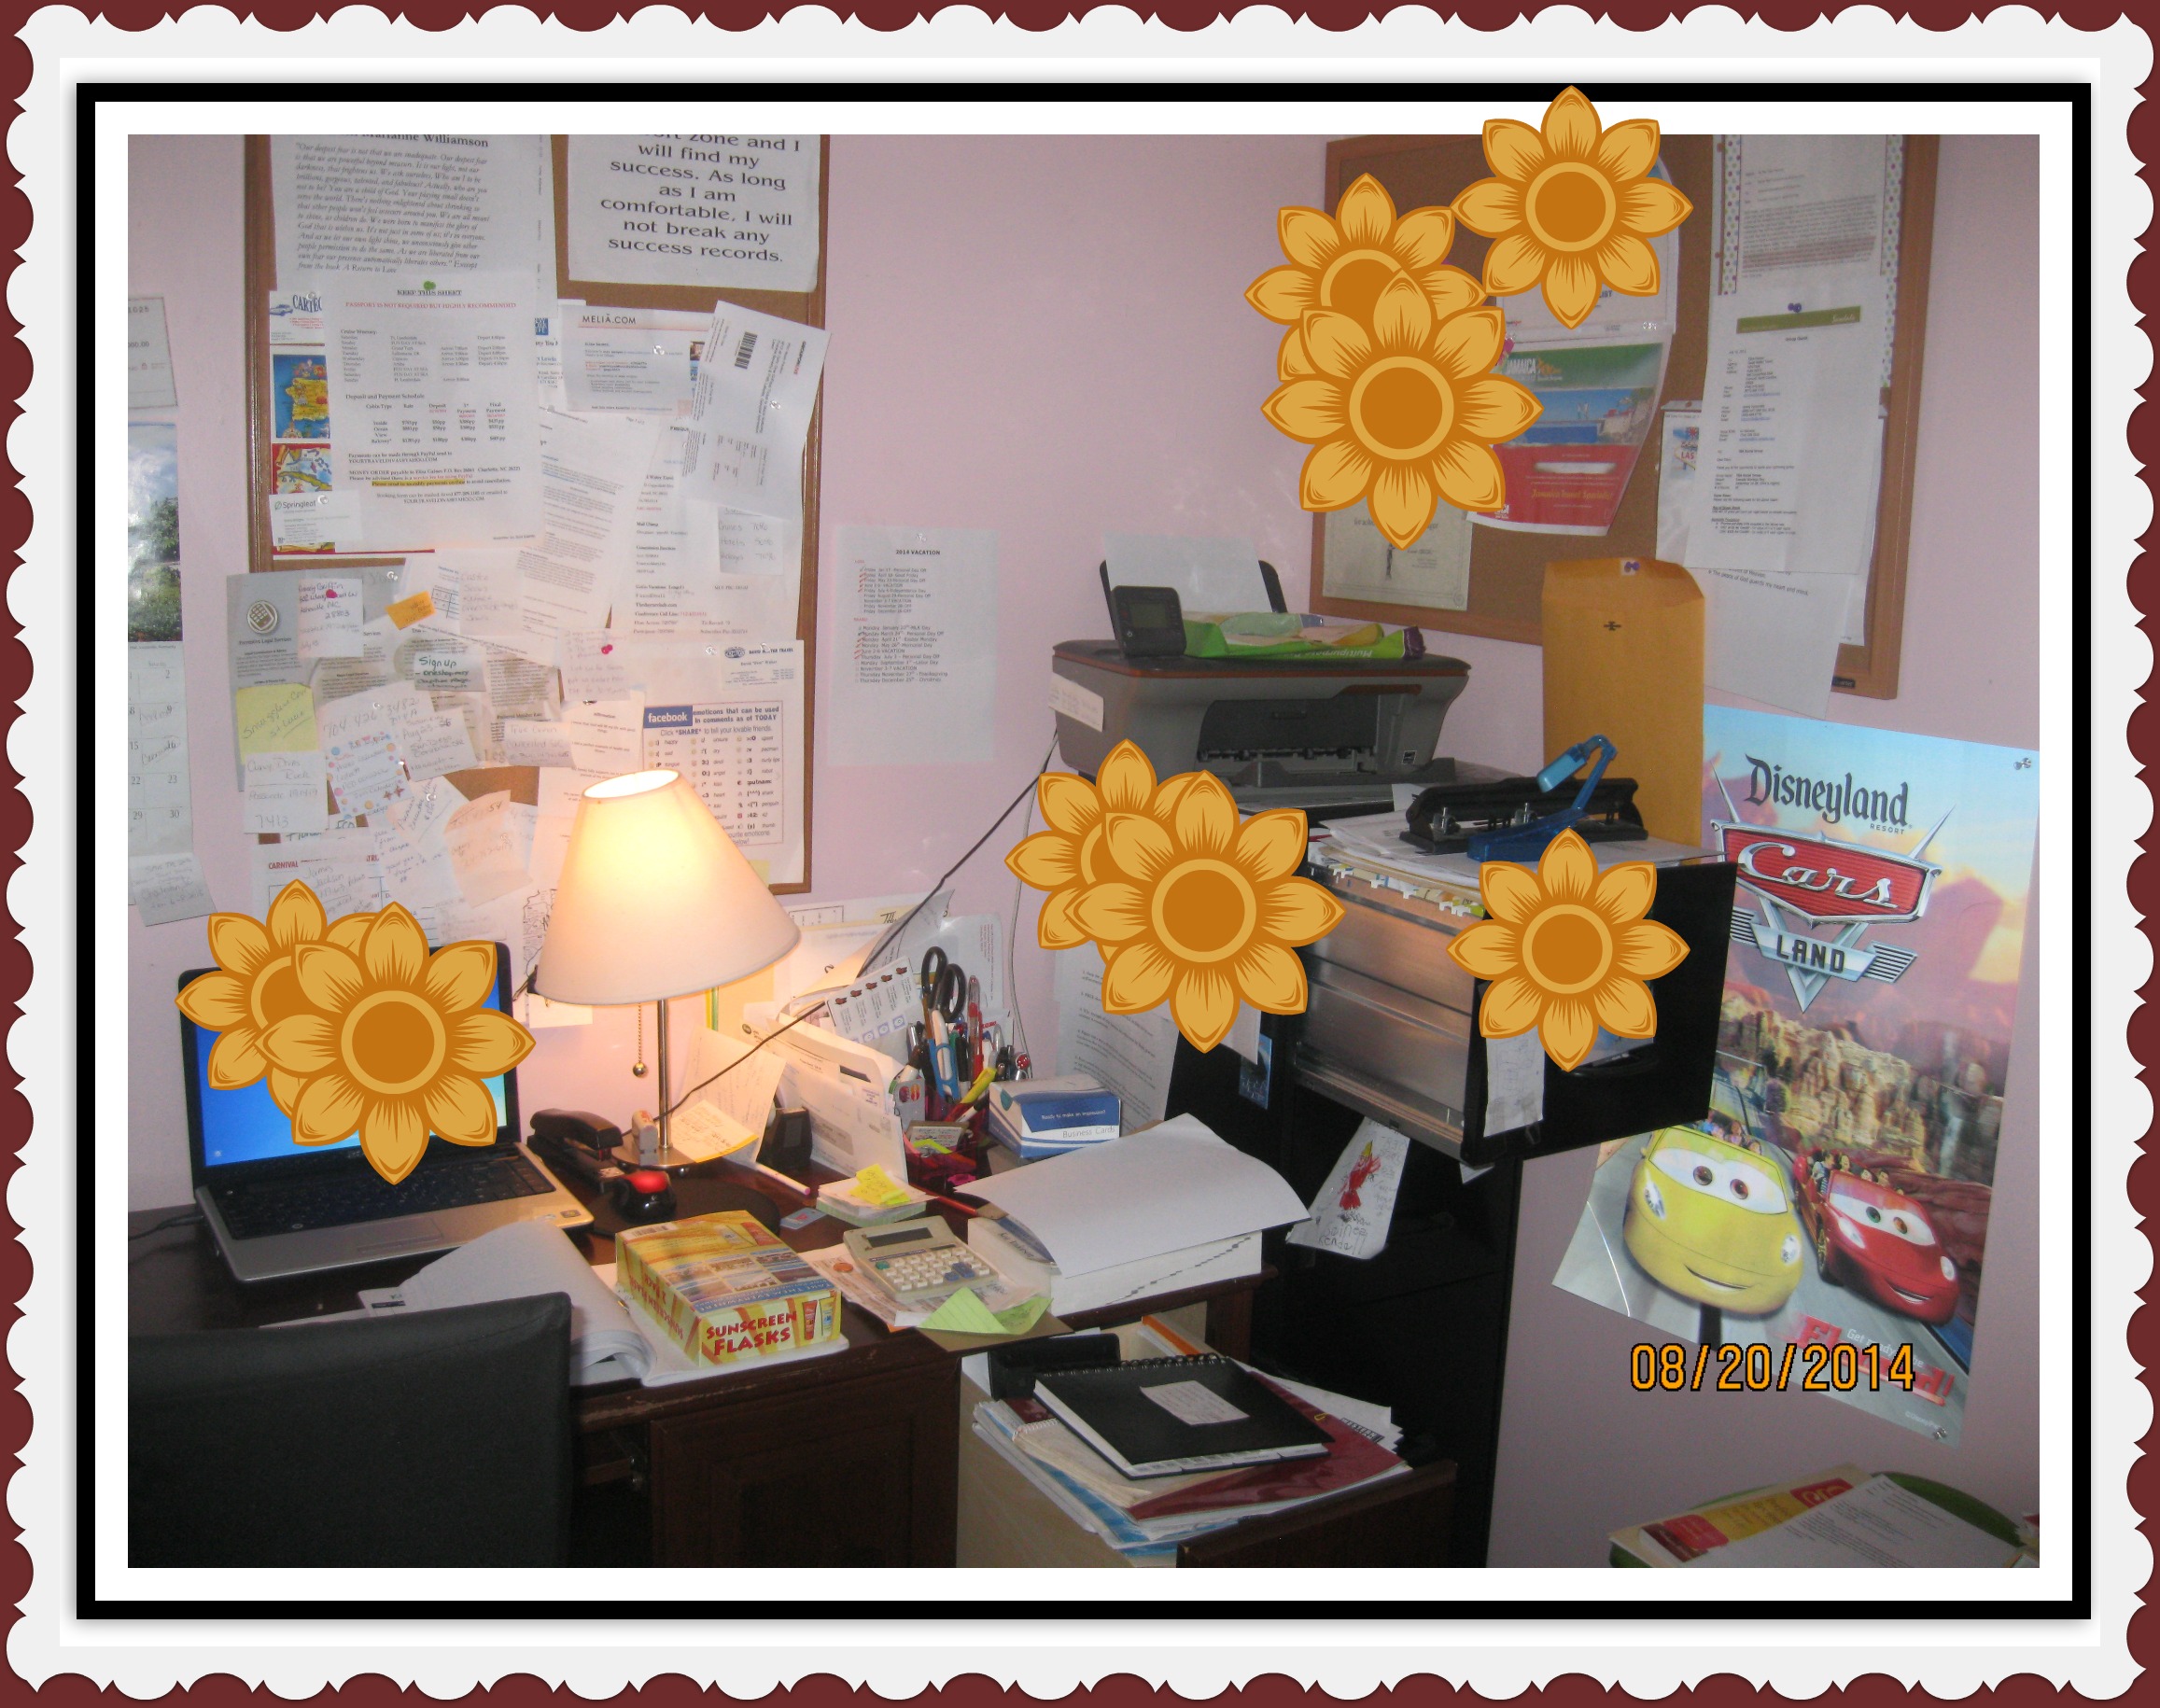
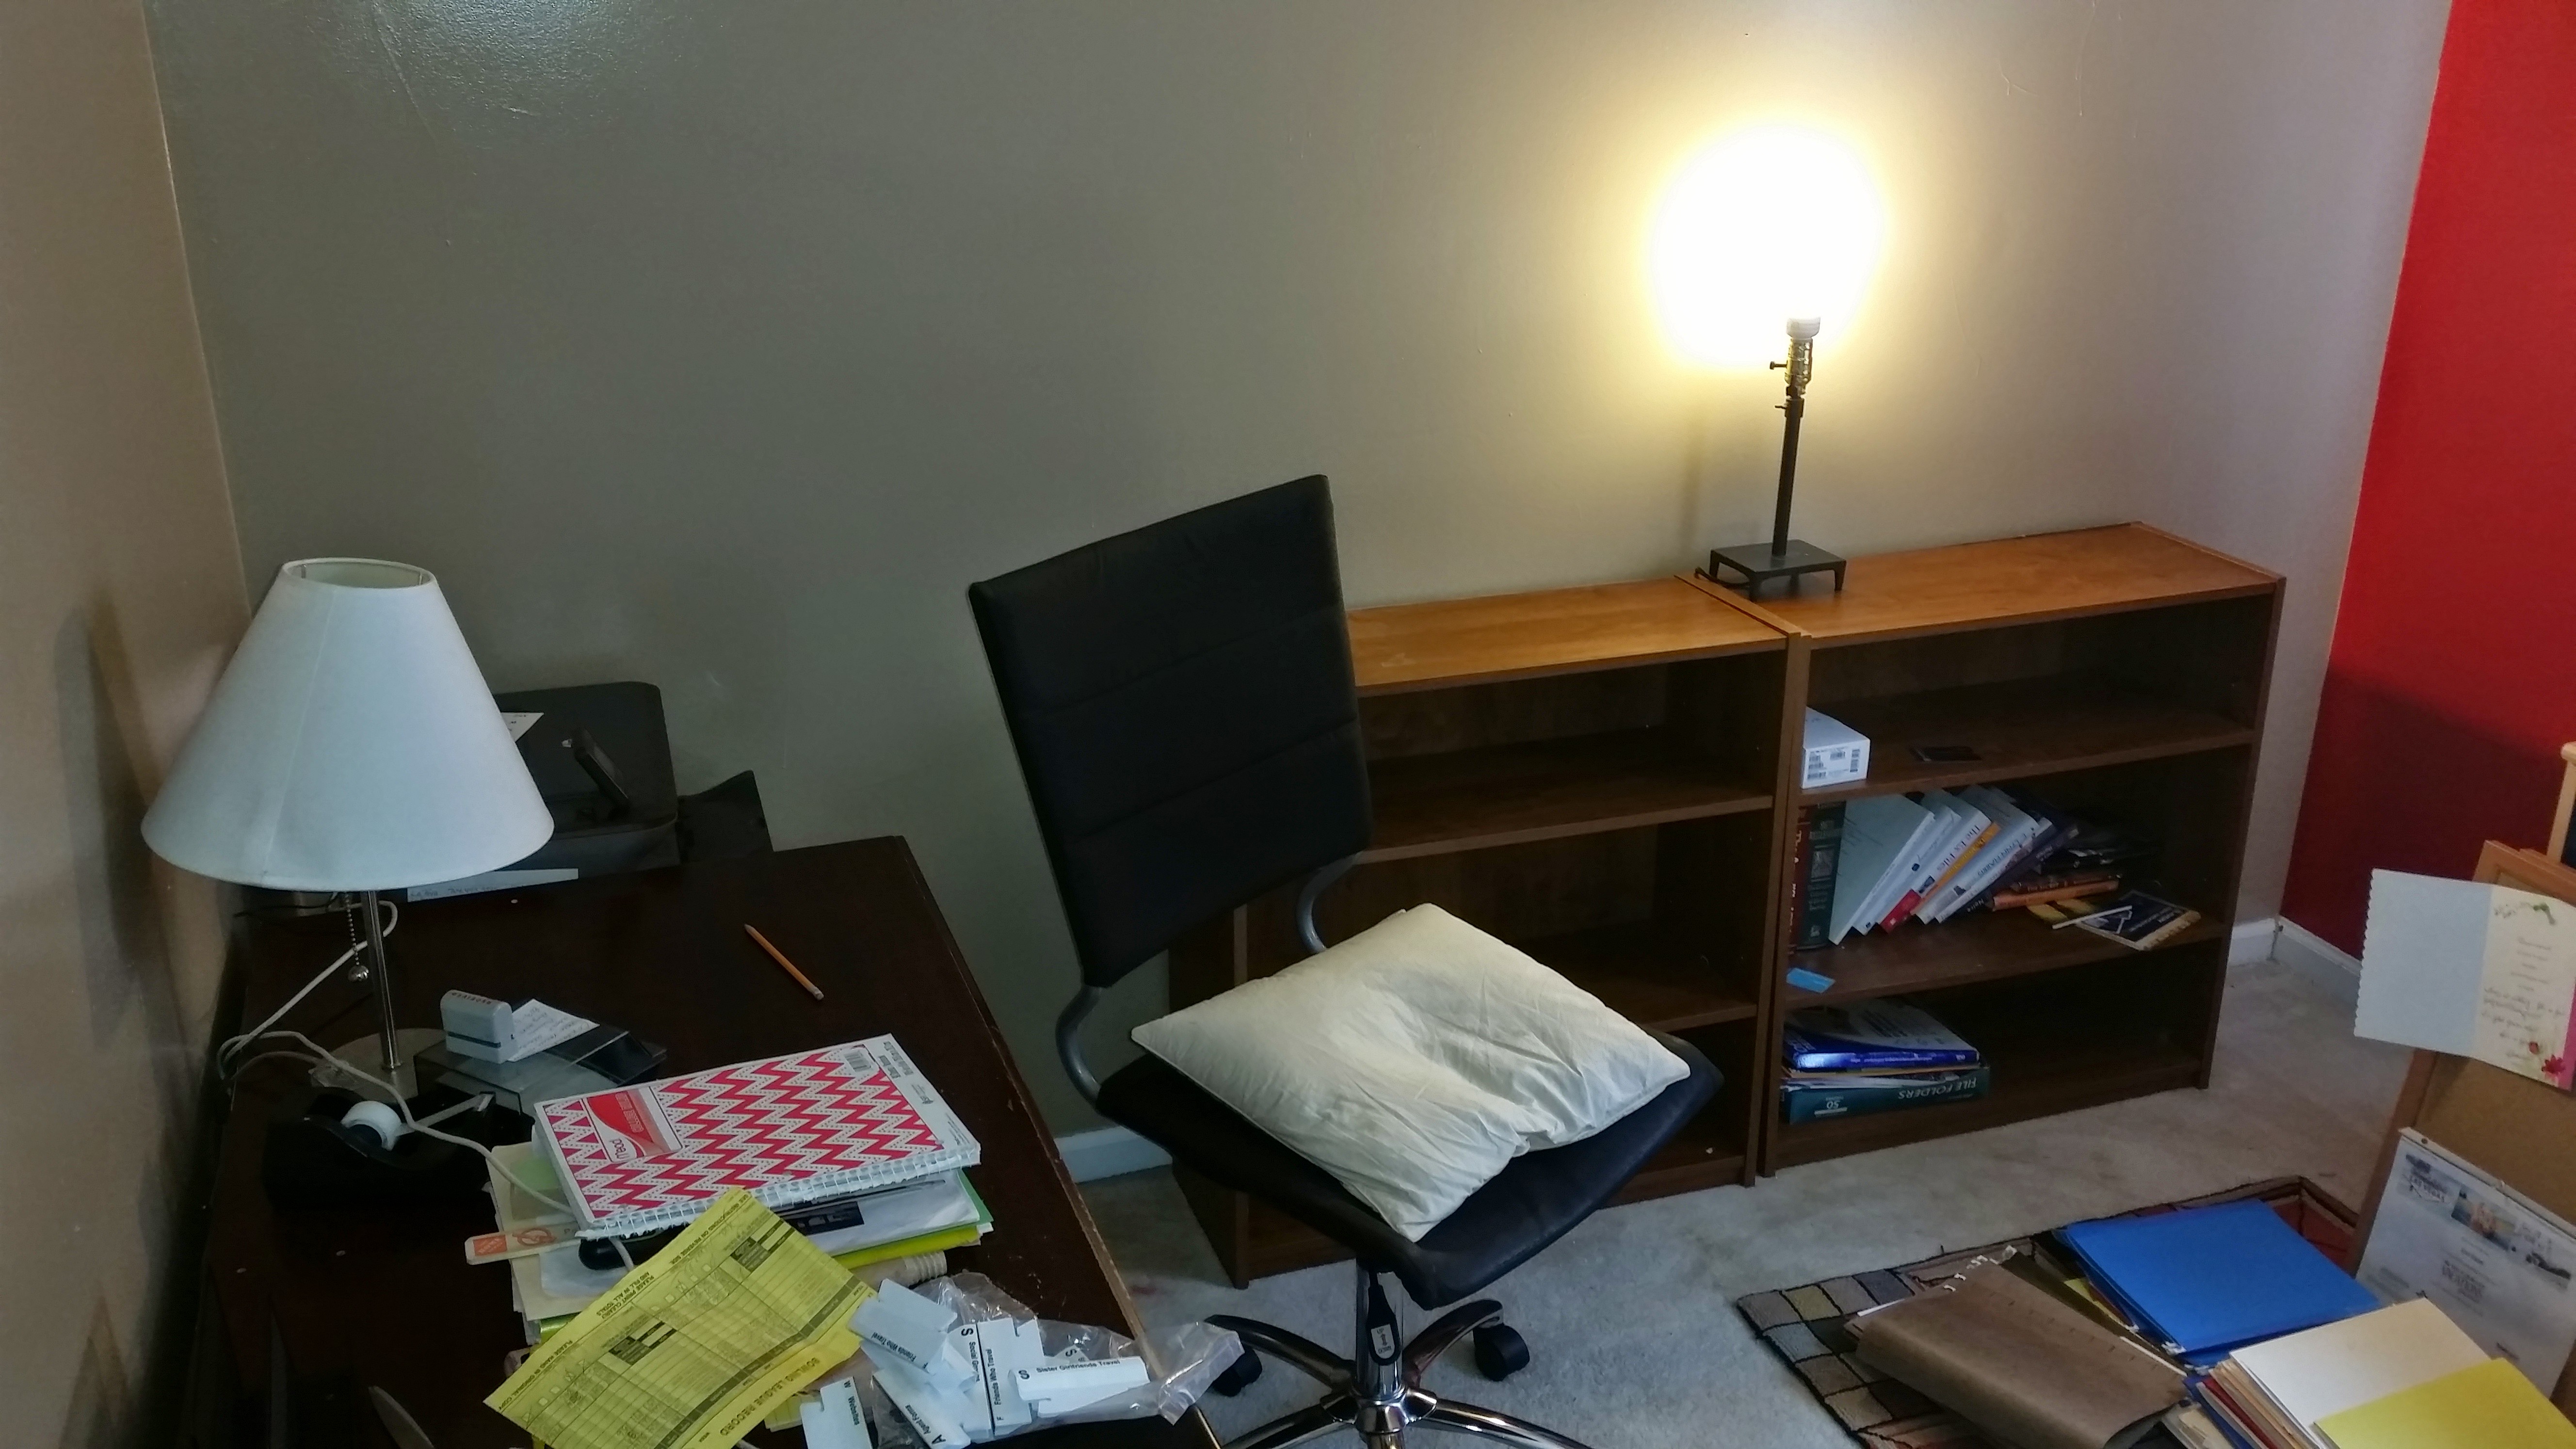
During Redesign/Progress

After Redesign


A place for everything and everything in its place
Remember to share…Sharing is Caring
#cccc #divinelyorganized #allthingsarepossible
