

From the Desk of Clearissa Coward’s Command Center
How I Upcycled A 30 + Year Old Night Stand
Upcycling a piece of furniture makes it new again. I have proven that over-and-over again. And this time I have taken a piece, night stand, that I have owned for over 30 years and upcycled it into something that I am once again proud to display in my home. That’s right, over 30 years.
There are affiliate links within this post. However, all opinions and ideas are my own. Clicking on and using the links to purchase products does not increase your cost at all. See my complete policy here. I appreciate your support.
![]()
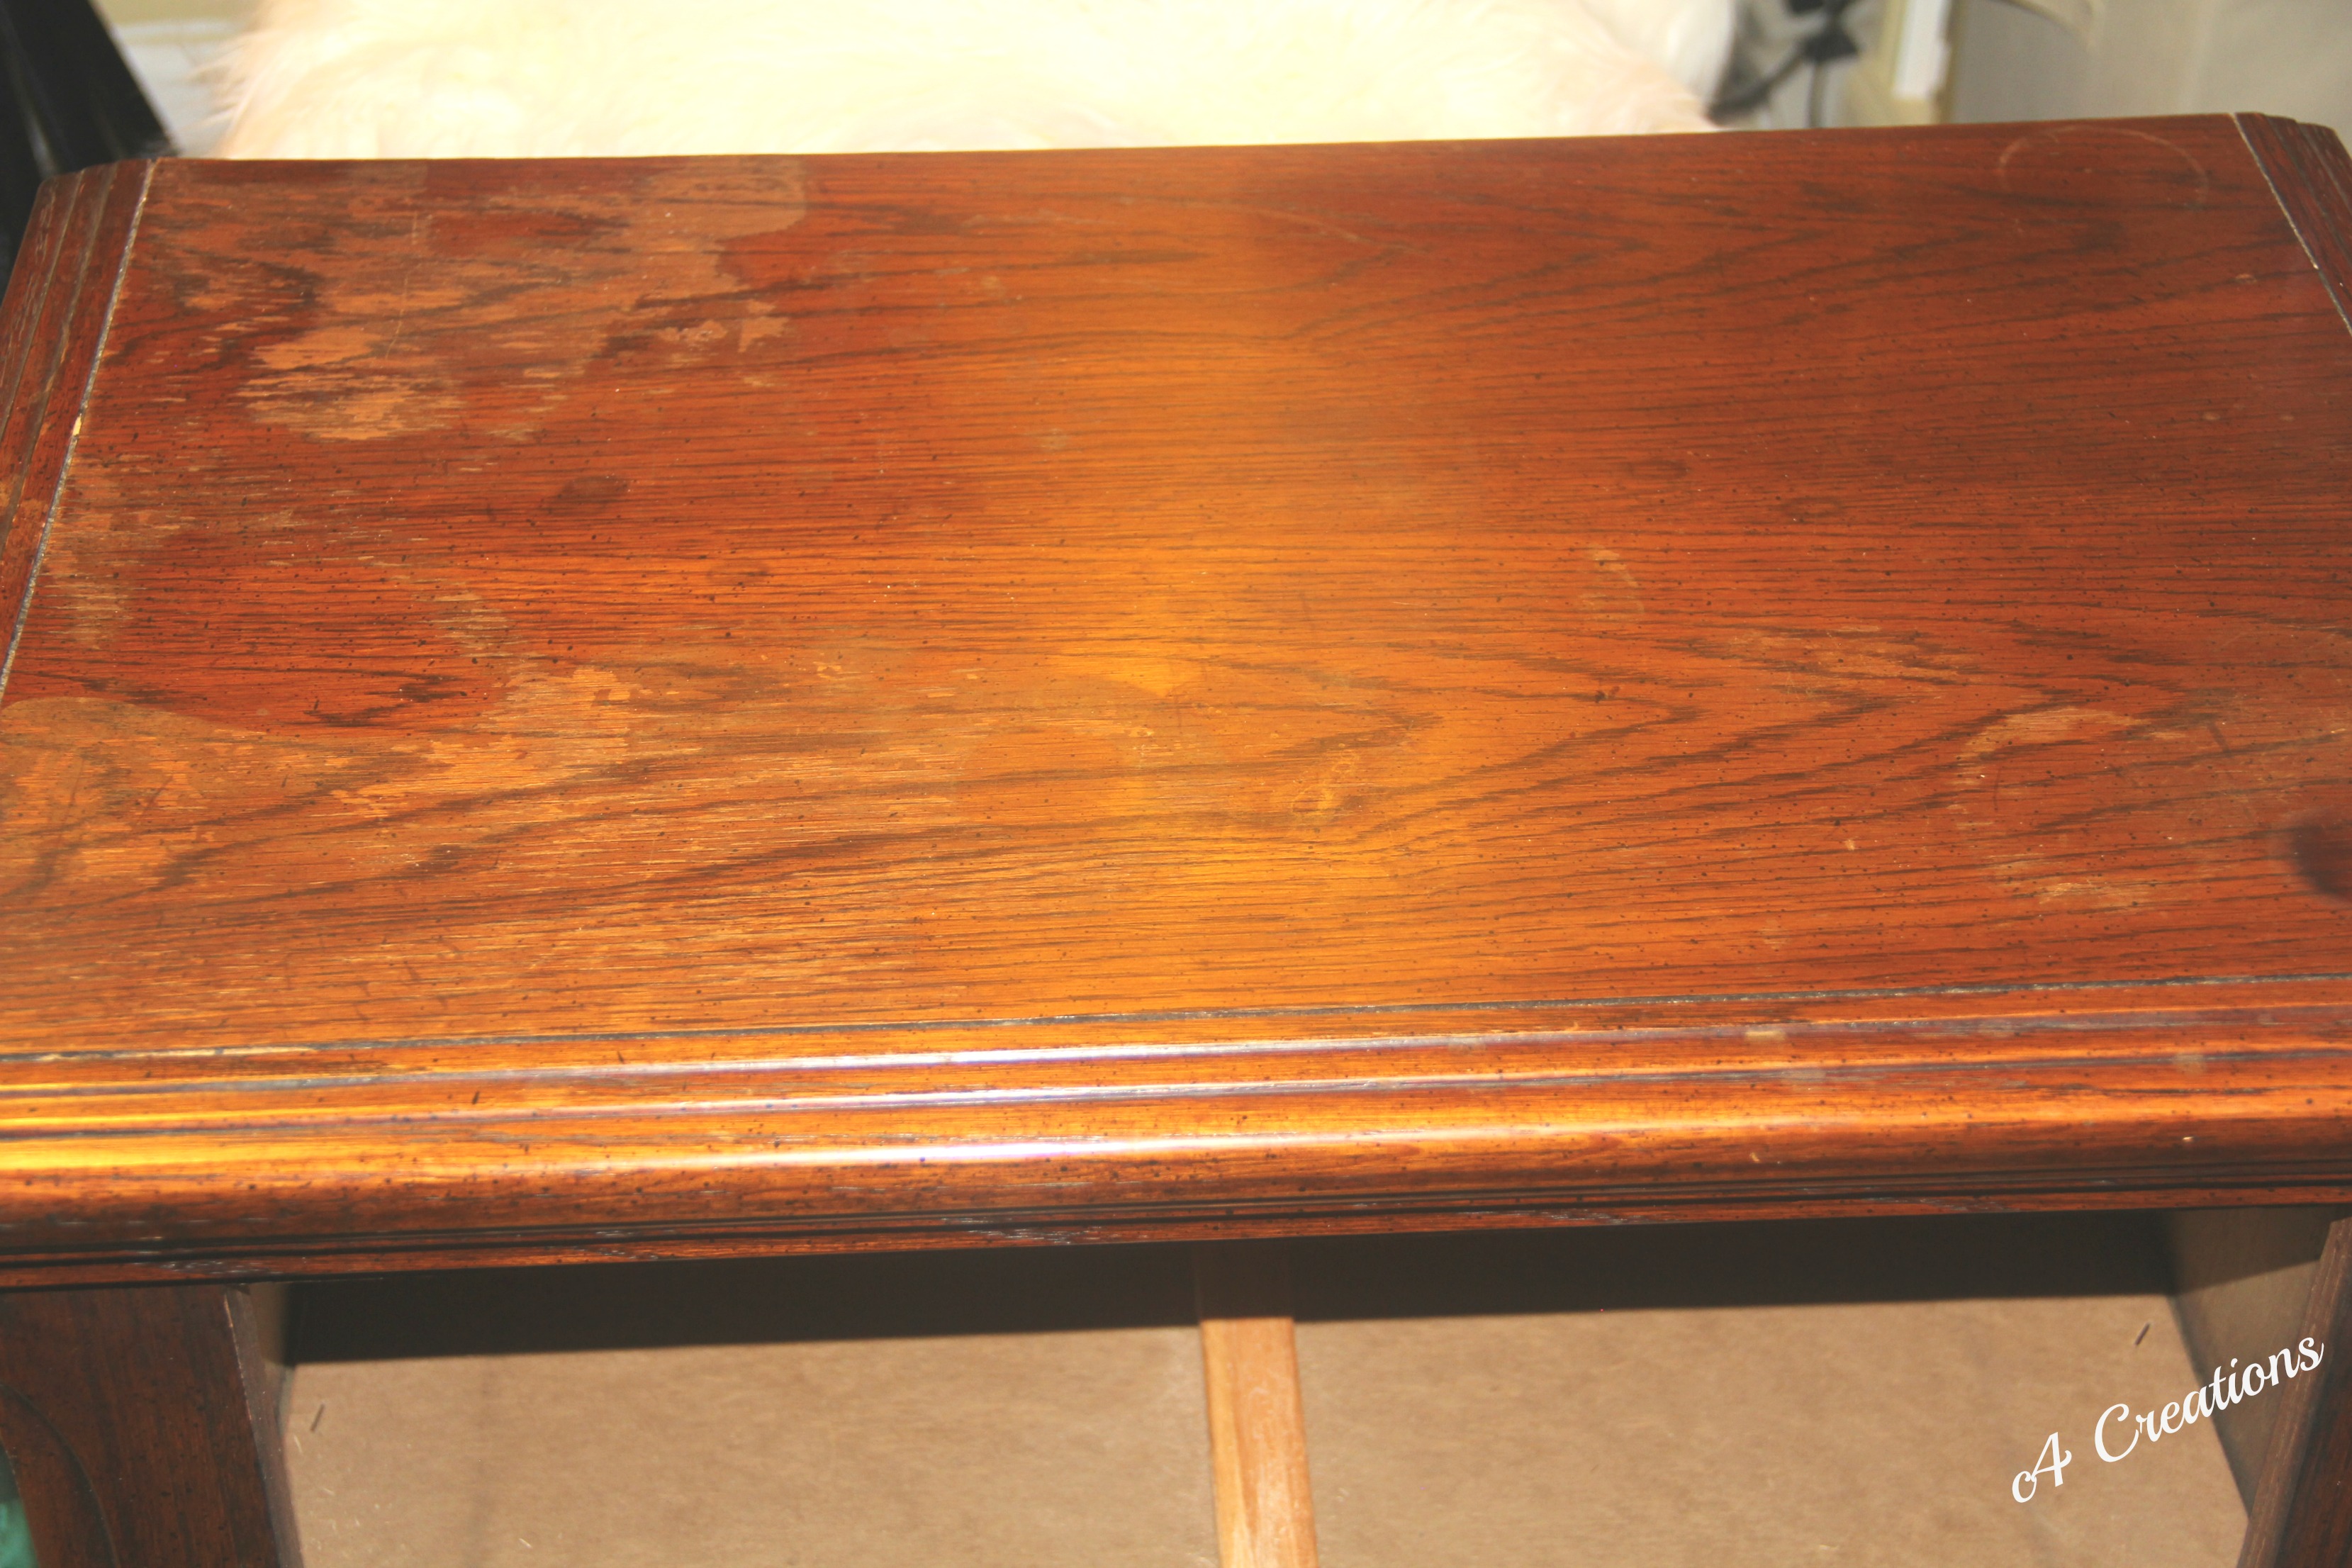
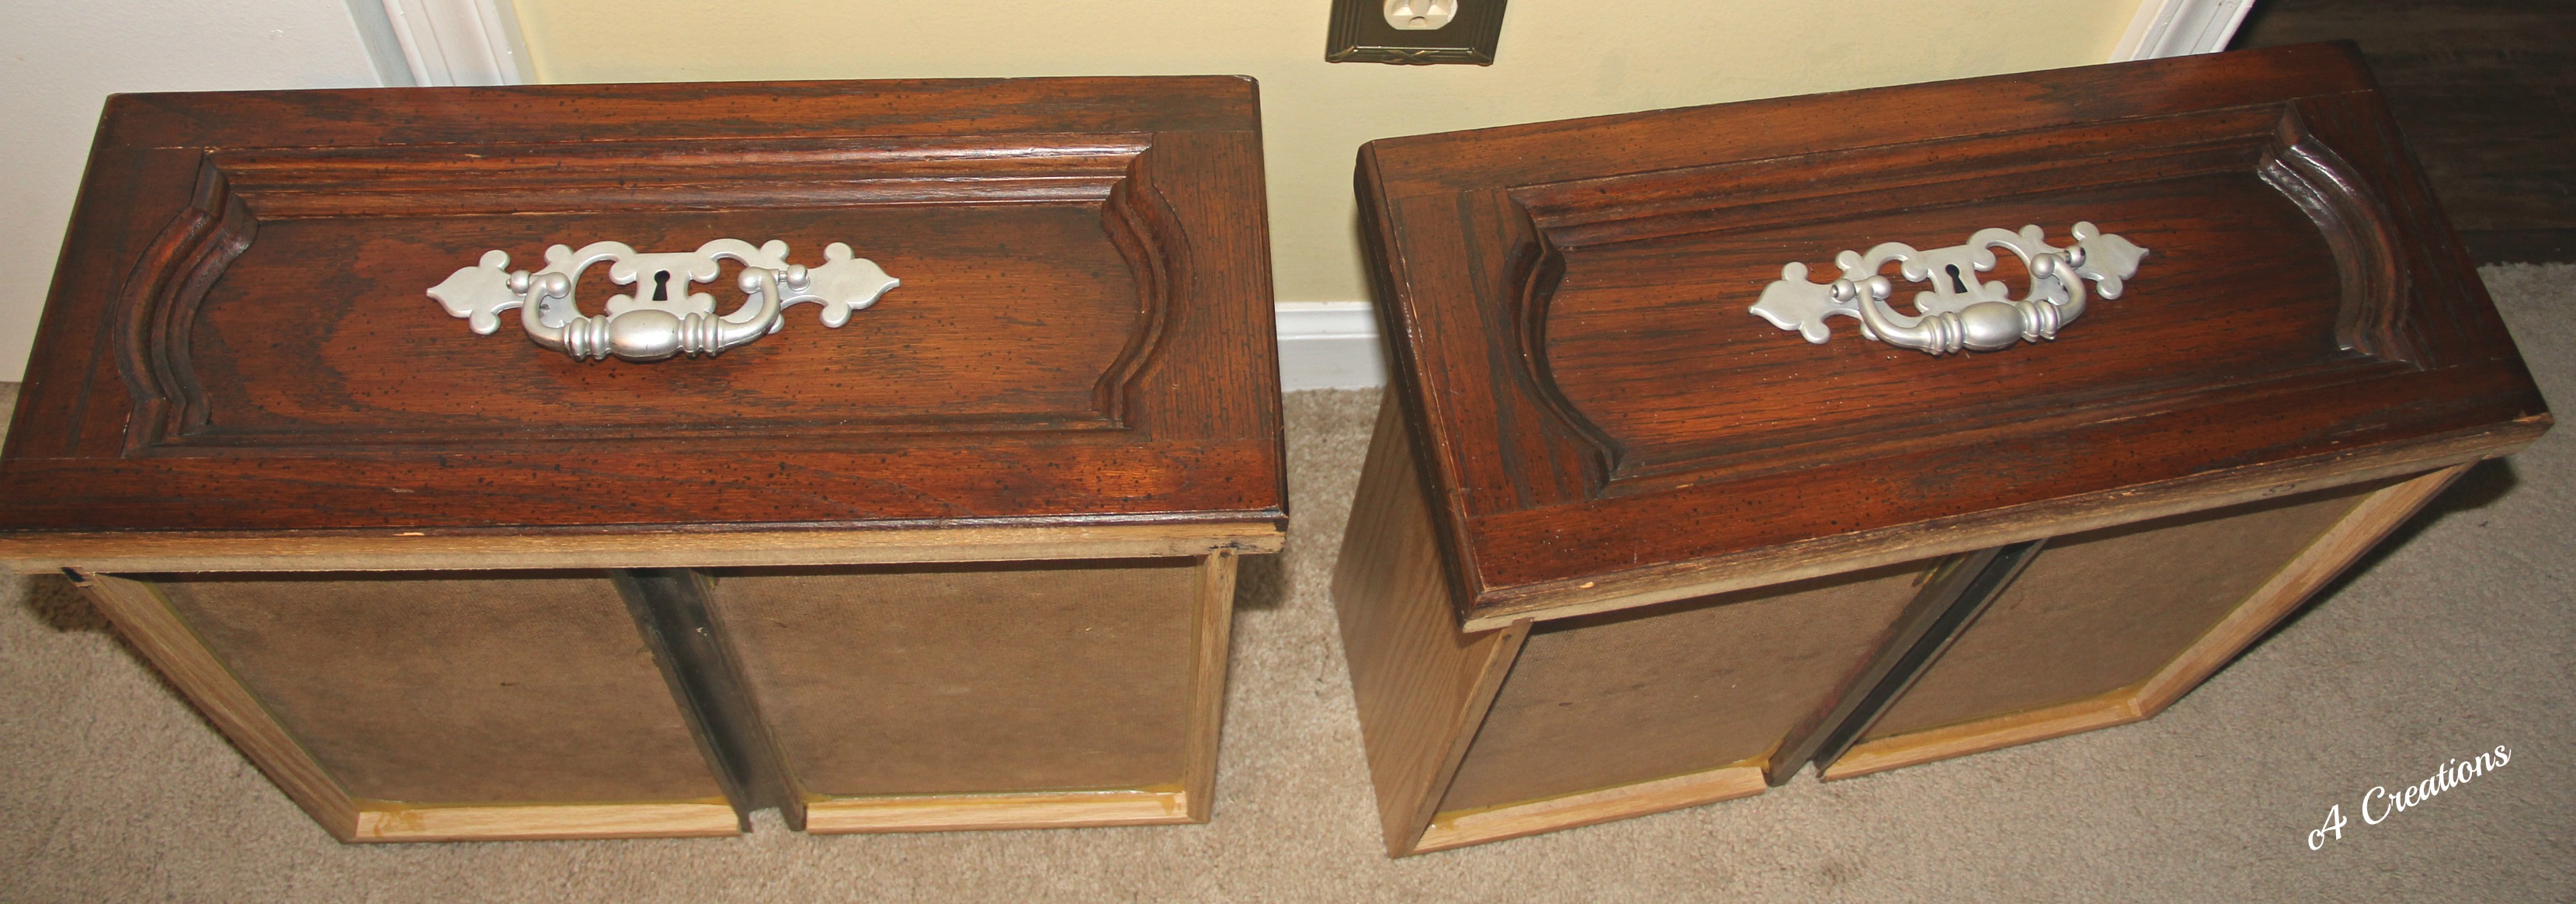
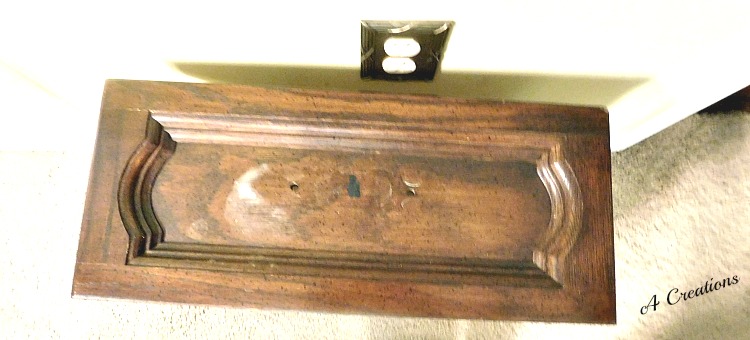
The night table was purchased for my daughter when she was a little girl around the age of 5. It was part of her bedroom set which included canopy bunk beds, a dresser and a chest of drawers. The furniture was/is wood and not pressed wood and although roughed up with water stains and such, it was/is in good shape except for the finish. So, what do you do…why paint of course.
The inside of the night table is almost like new. However; the finish can use updating. Updating is what happened.
As usual, I like to give you a step-by-step process so that you can replicate the process if you need to and I will also include a supply list. Furthermore, there will be a video up this week that will actually show you how this process progressed.

Supplies:
Regular Rubbing Alcohol
Soft Rag (dish towel or old tee shirt)
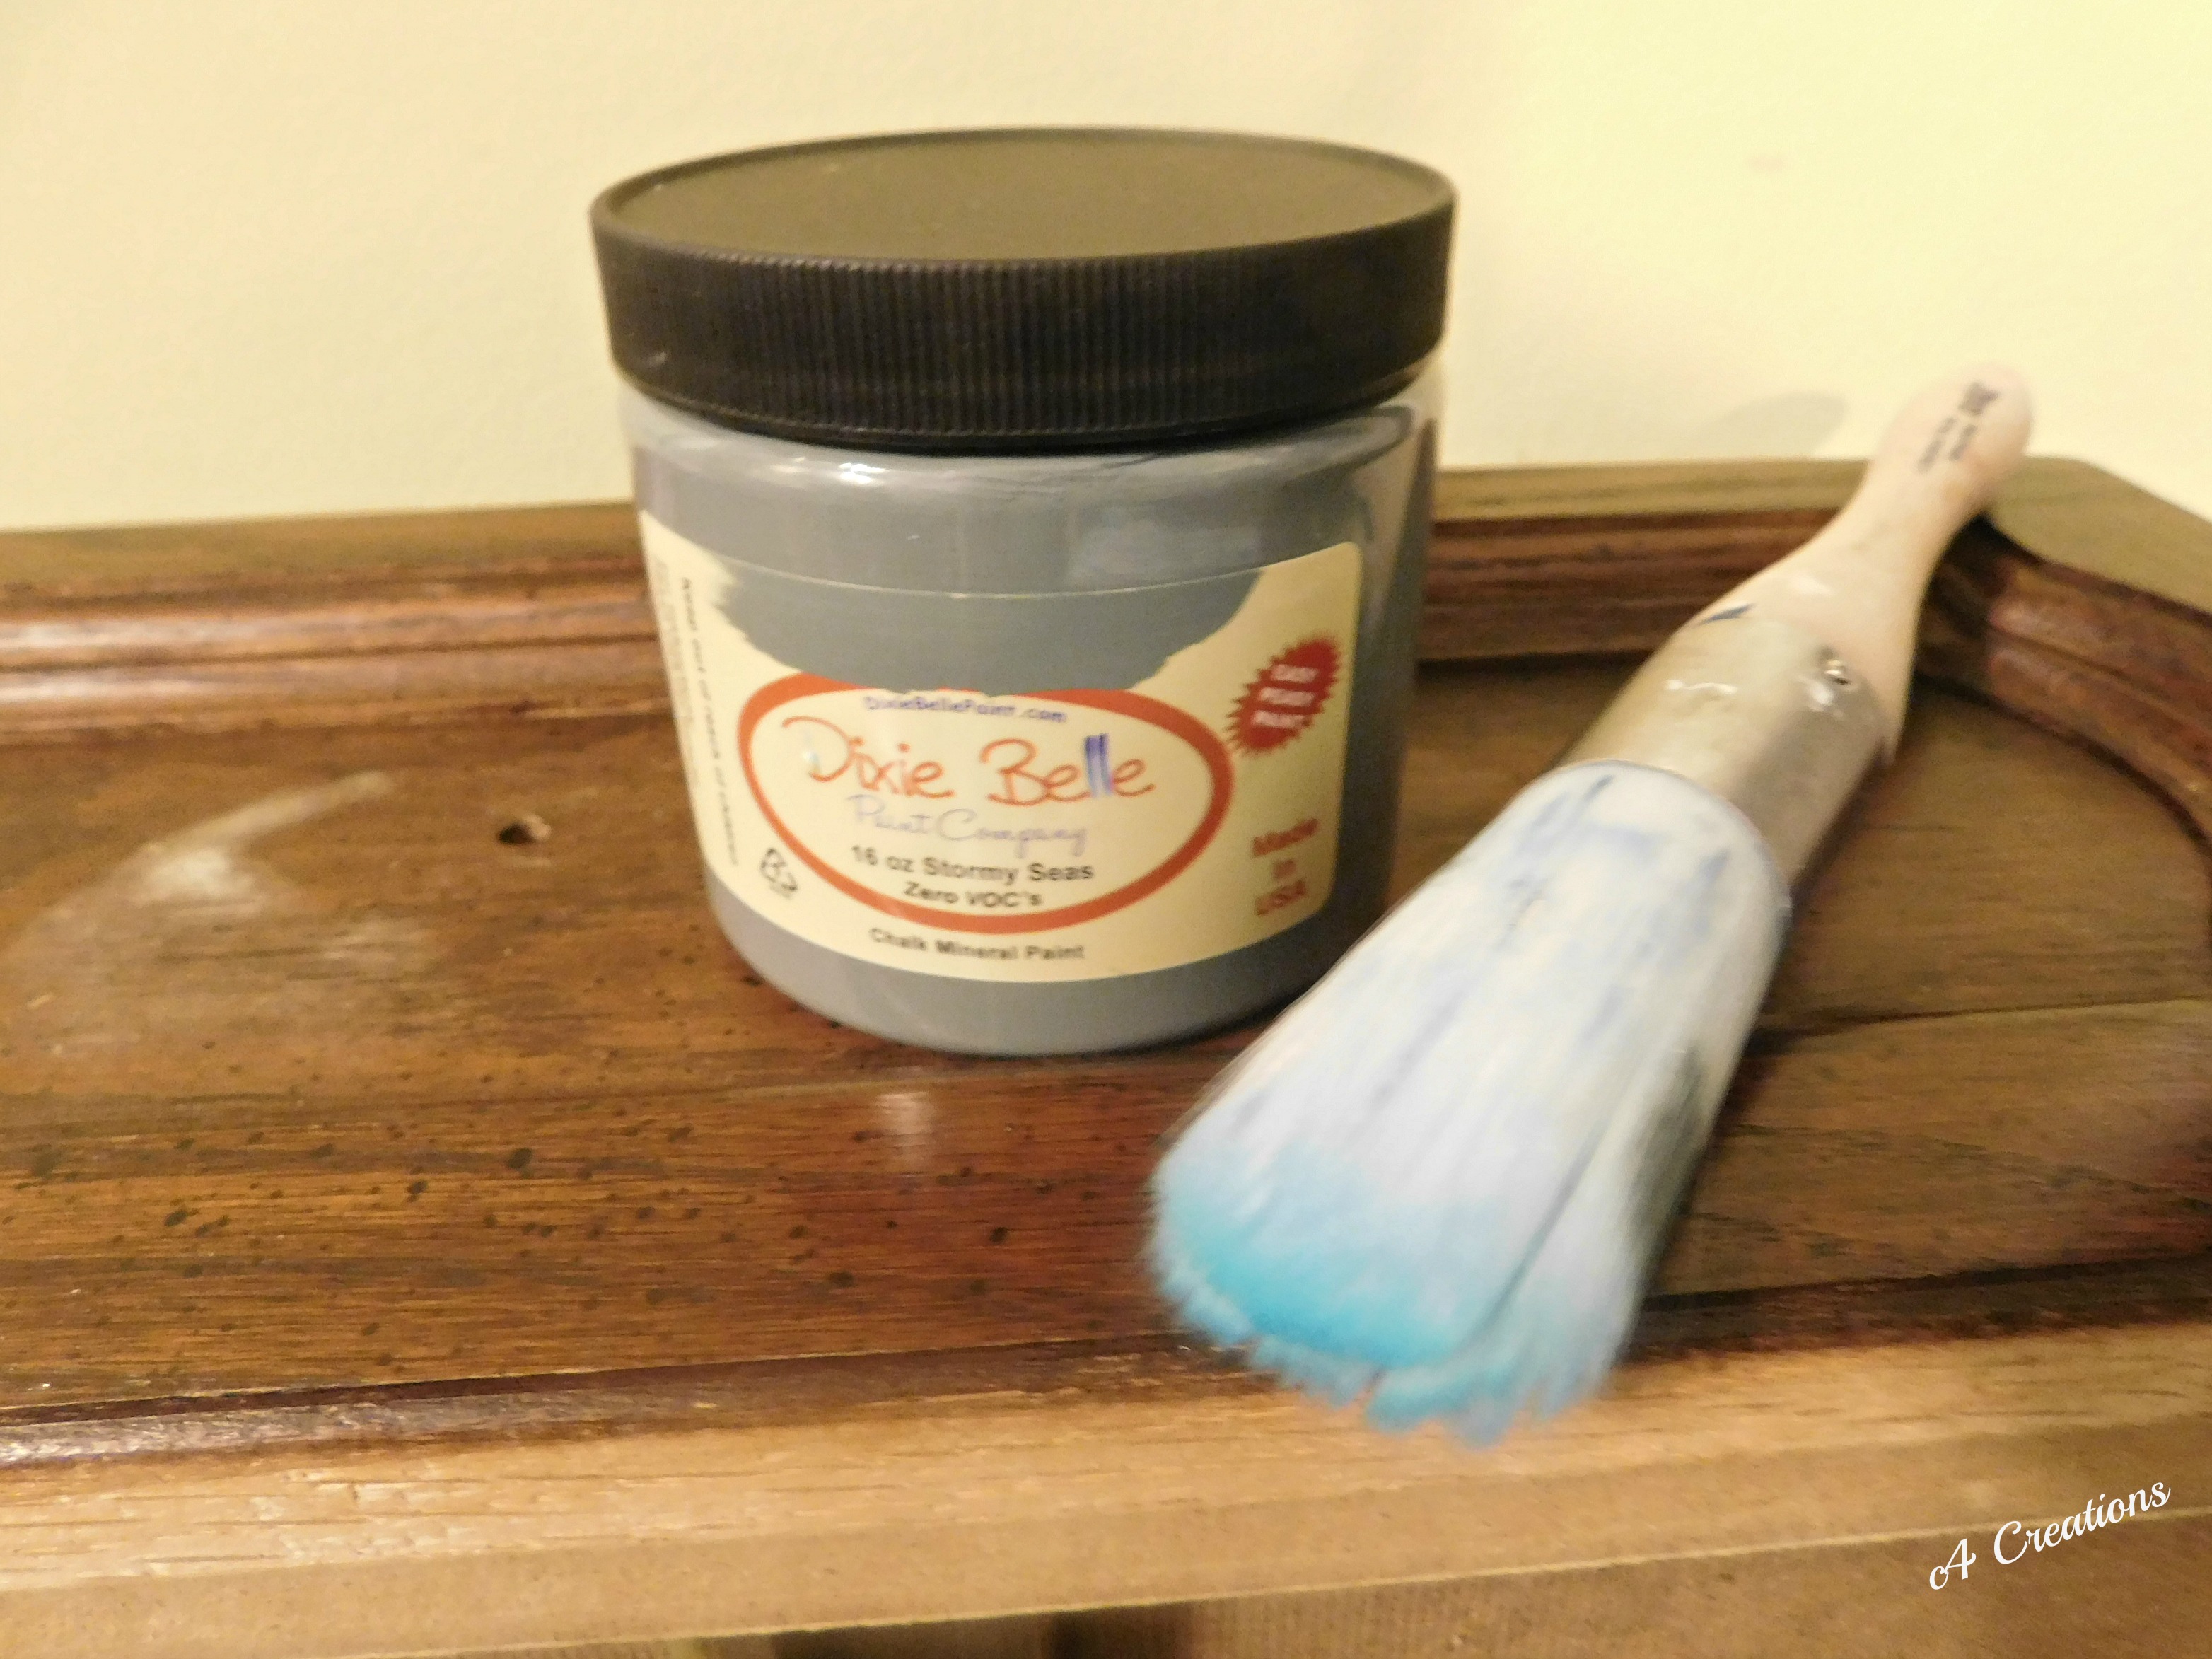
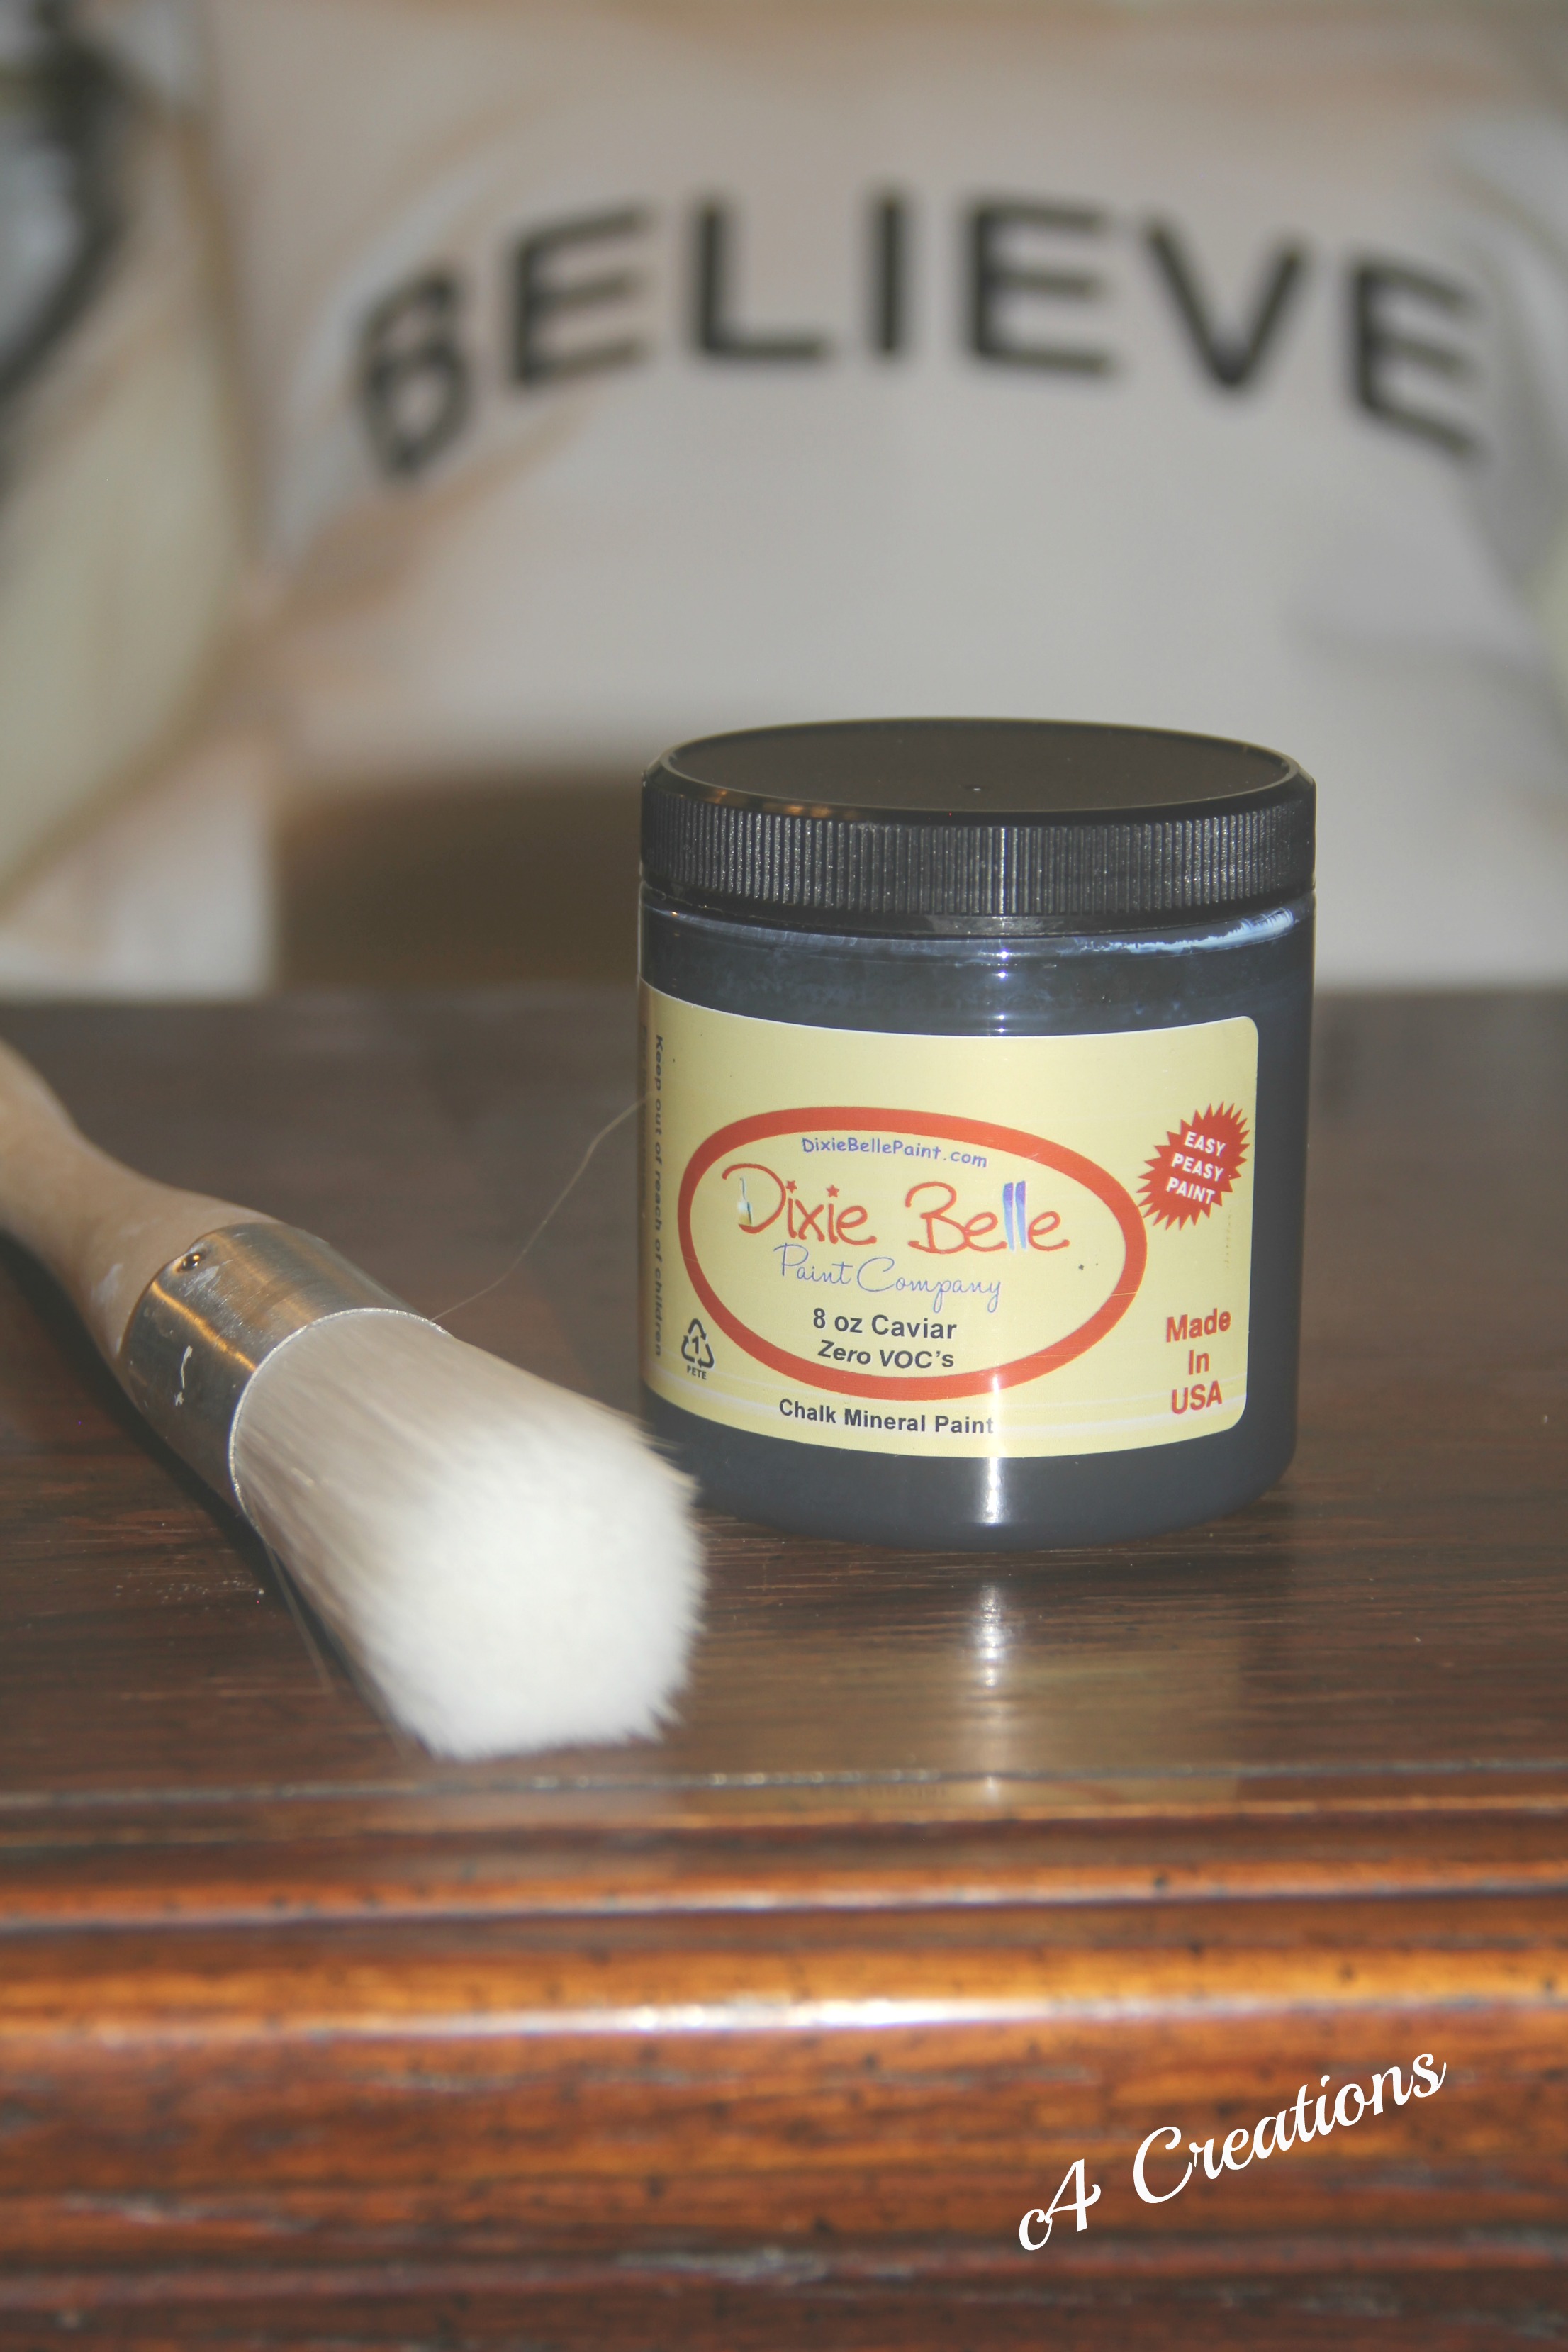
Paint (for this project I used 2 different colors) – Dixie Belle Paint
Stormy Seas
Bunker Hill Blue
Paint Brush – Round for paint and chip brush for satin finish and Polyacrylic
Satin Finish – Dixie Belle Paint
Polyacrylic (optional)
Steps:
Remove hardware.
Clean the piece with alcohol. Alcohol will remove all dirt and grime from the piece and dries almost immediately.
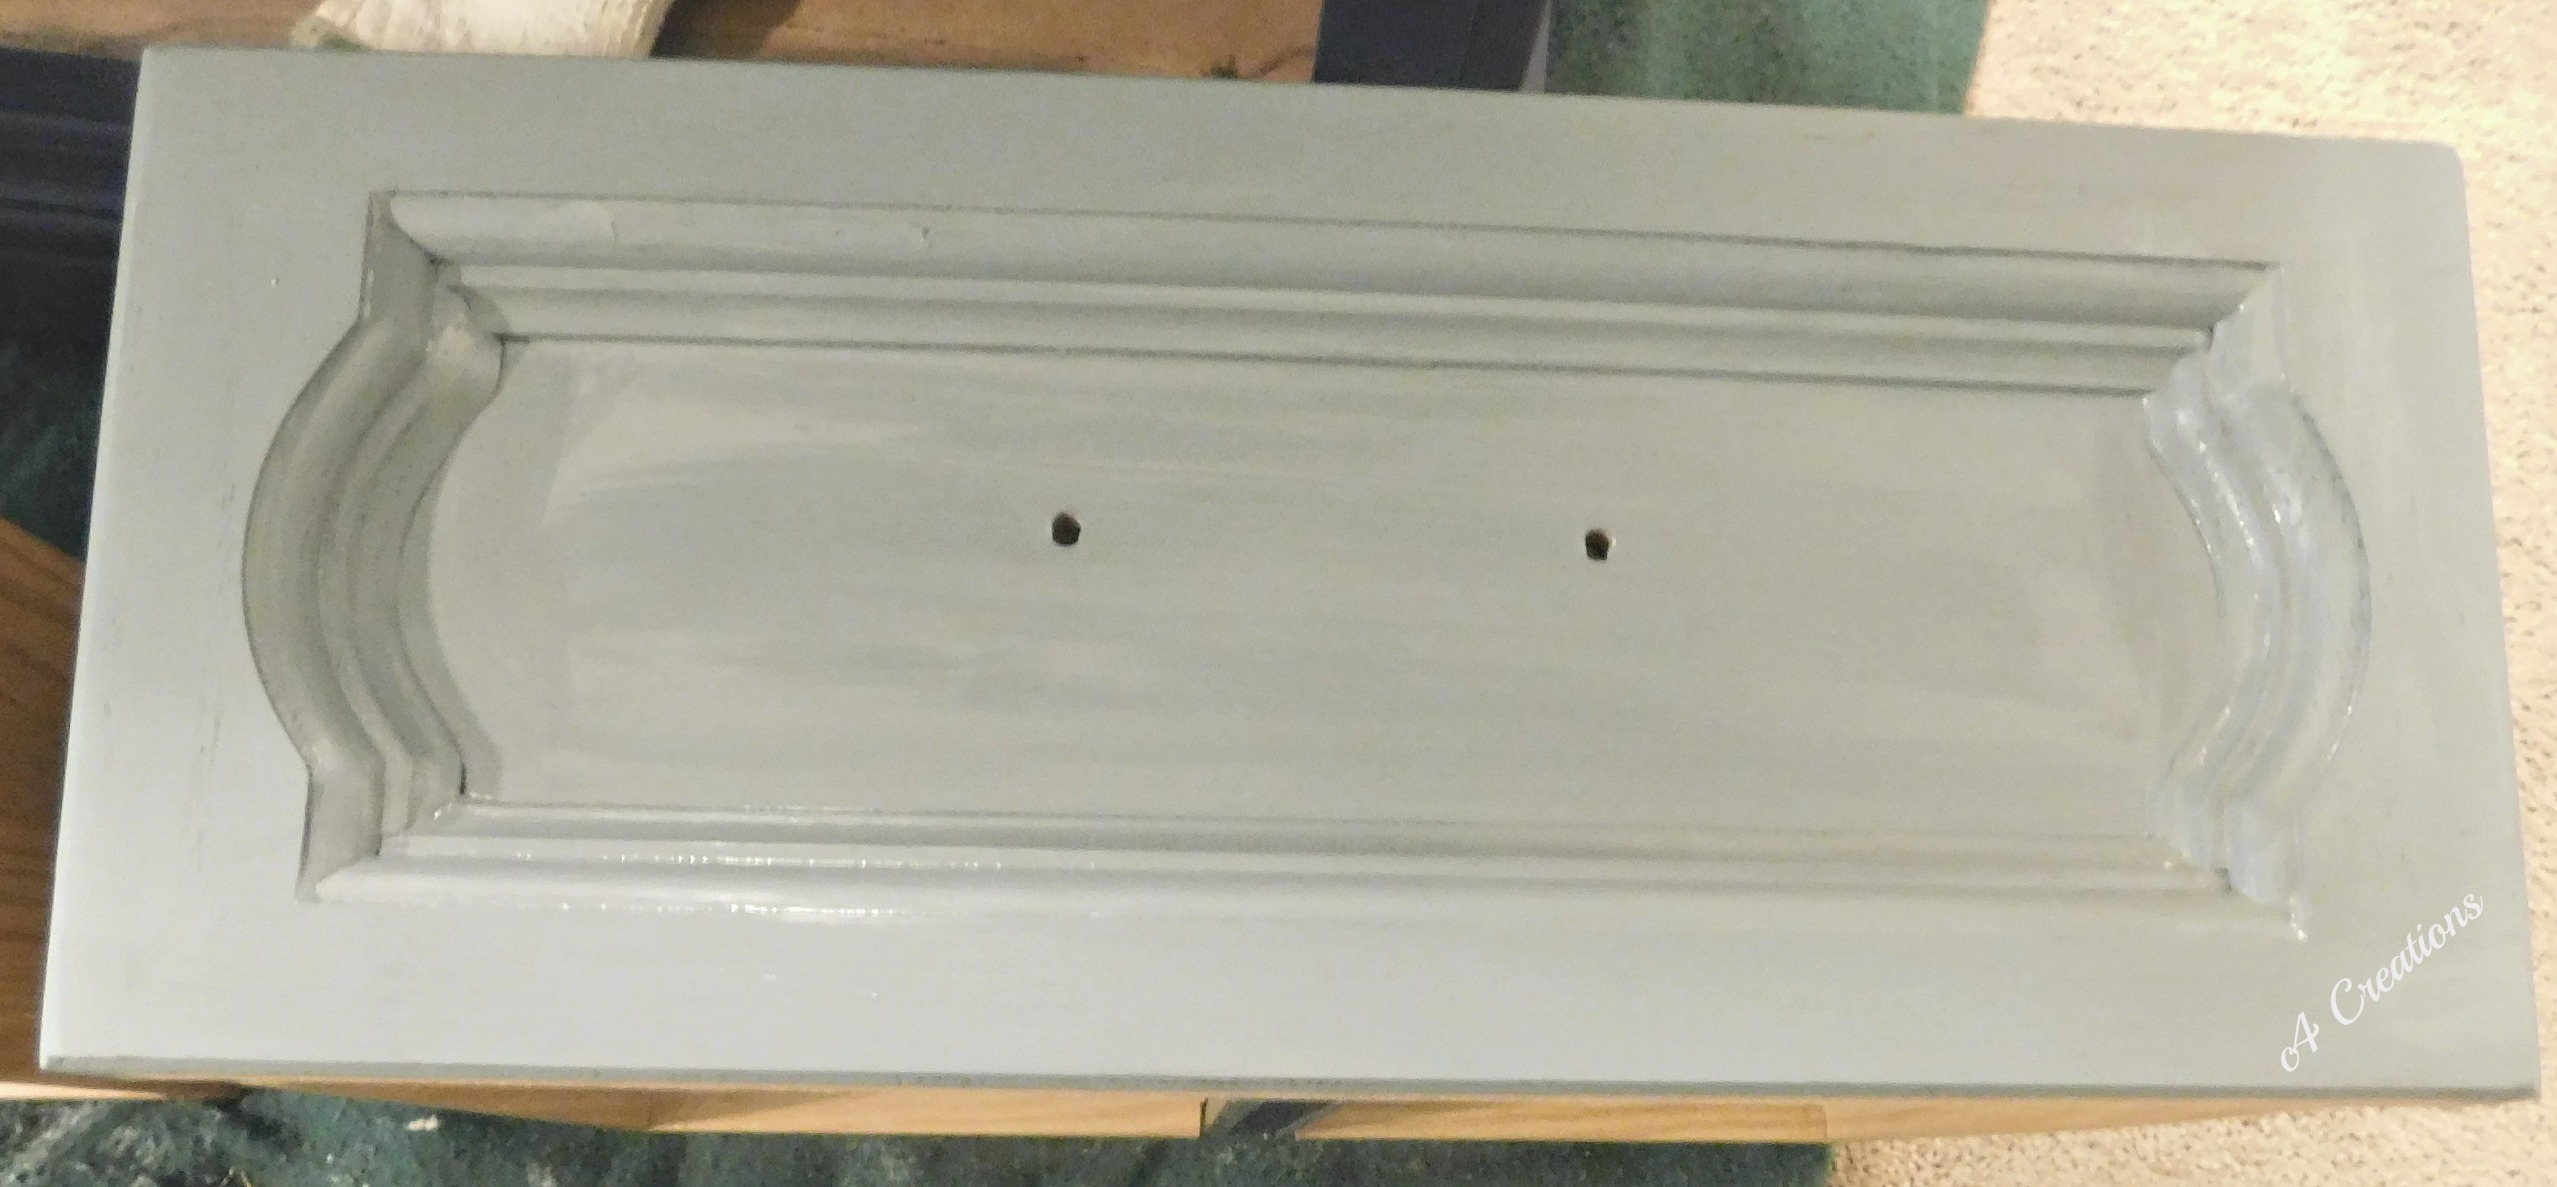
Begin painting. Because I am using chalk paint, I did not prime.
Paint the first coat of the Bunker Hill Blue on the top and sides of the night table.
Allow to dry (approximately 30 minutes)
Paint the drawers of the night table the secondary color – Stormy Seas.
Put aside to dry (approximately 30 minutes)
Paint the second coat of the Bunker Hill Blue on the top and sides of the night table.
Allow to dry (approximately 30 minutes)
While the piece is drying…
Paint the second coat on the drawers
Allow to dry (approximately 30 minutes)
Check all of the painted pieces and touch-up where necessary
Allow to dry completely (approximately 2 hours)
Add the Satin top coat to protect the piece.
Allow to dry completely (approximately 2 hours)
Because this is a piece that will get heavy use, I also sealed with Polyacrylic (optional)
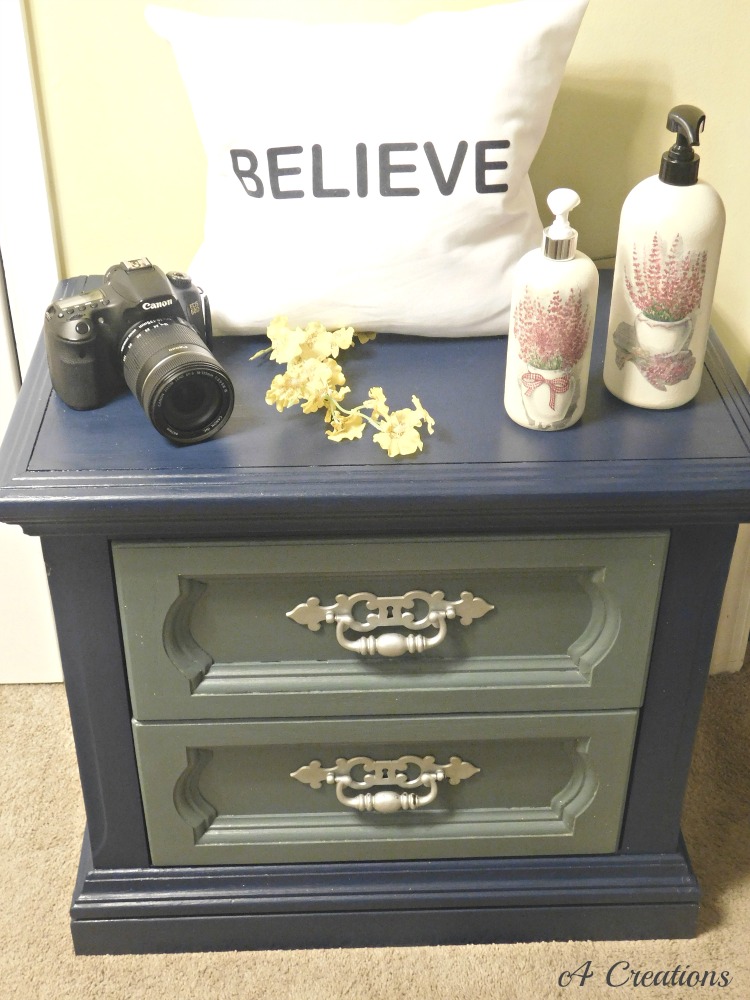
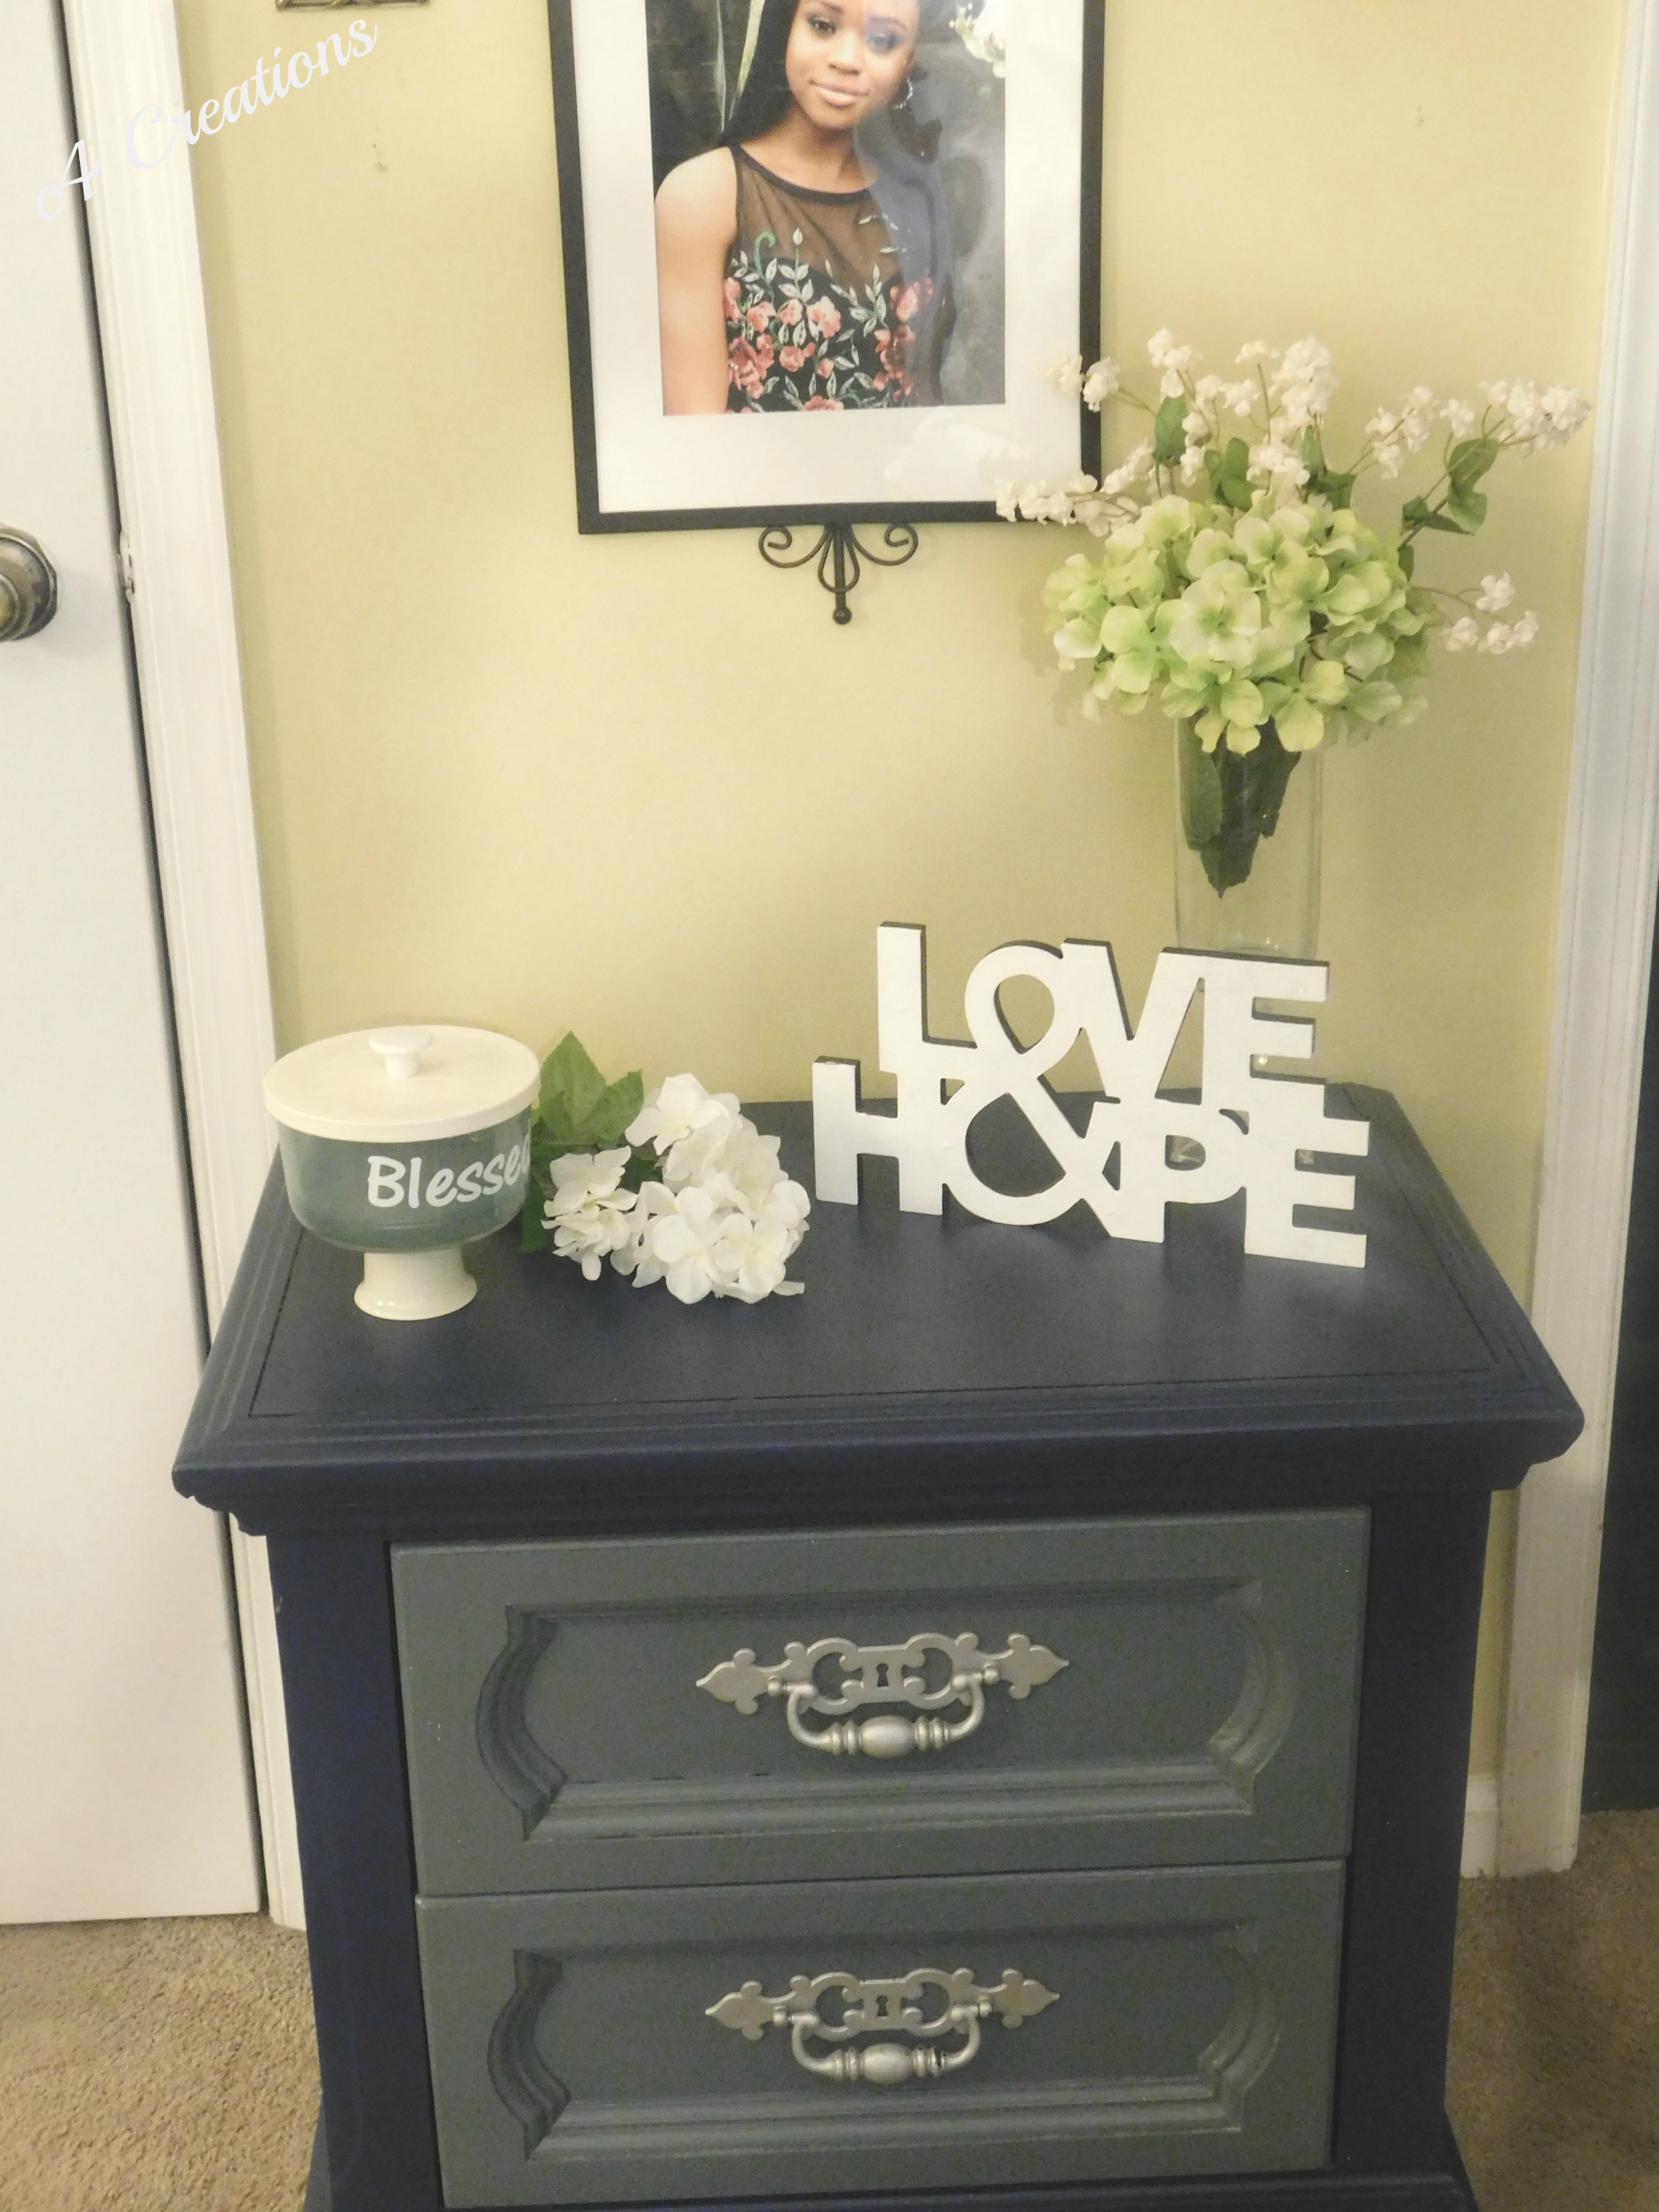
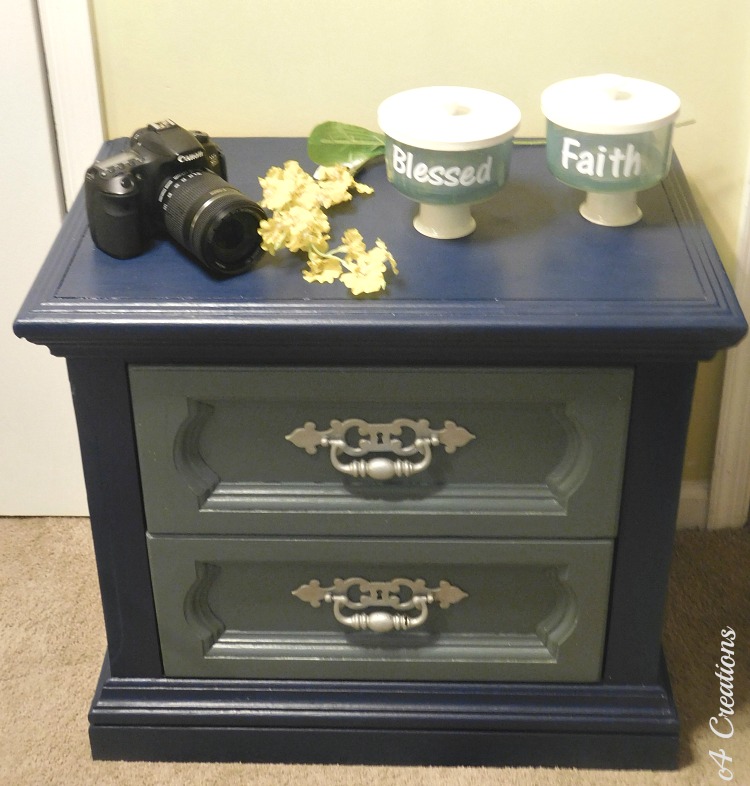
…And this is how the bedside table turned out. The colors make it a bit masculine to me. But that is what my husband wanted. And the piece is for him. I think I hit the mark. What do you think? Of course, I can fem it up with accessories, but for the use, we have in mind…it is perfect.

Do you have any questions about the process? Would you have done something differently? What about the paint colors? Do you think they work well together? I love hearing from you guys.
We are all loving the same style but we realize there are so many different ways to get there.

Don’t forget to check out my eBook; Organize Your Life in 21 Days. It is available for download and has a variety of small projects to help you take on and complete organizational projects. Some you may not have even thought of. Get your copy today.
Never miss another article, tip or project. Get them delivered directly to your email. Subscribe today! And let’s stay connected.
Thank you guys for all of the support you show to me and my blog. I feel so blessed to be able to share my passions with you.
 Until next time…I remain in my Element – God Bless!
Published:

Interviewed/Featured:
Don’t forget to share this post with your friends. I greatly appreciate it.
Thank You for Stopping By!

To Grandma’s House We Go
XOXO,
![]()

looks amazing, love the combination of colours
Thank you Linda. 🙂
It came out so nicely Clearissa! Good work!
Hi Helen and thank you. It was fun to do.
This nightstand turned out amazing! I love the colors! You got me to thinking of a project I could use this technique on!
It is such a blessing when someone says that because of you, they are thinking of a project they can do. Thank you for that. And enjoy your project. I would love to see it when you’re done.
Oh it looks beautiful Clearissa! You have done a wonderful job of making something old, new again. I love the colours too. Thanks for sharing your DIY at #BloggingGrandmothersLinkParty and I might even try it myself following your instructions.
Hi Sue,
Oh that is a compliment! I hope you do try it and please send pics when you do.
This turned out to be a wonderful accent piece! I admired it on your Instagram page this morning. Nice job!
Thank you so much Pat. I appreciate the encouragement. 🙂
The nightstand looks great. I like the 2 toned look, it adds pizzazz to the piece.
Thank you so much. I appreciate that. 🙂
It turned out great! Thanks for sharing on To Grandma’s House We Go!
Thank you and I love your link party.
I love the colors! You did a fantastic job on what started out as an unattractive piece!
Thank you so much. The piece has been around for a very long time and because of paint, it will be around for a while longer. Thank you for stopping by.
Love how this piece of furniture got a new wonderful makeover!! Looks lovely!!
Thanks so much for taking the time to stop by!!
Hugs,
Deb
Thank you Deb. I appreciate the support. Please stop by again.