From The Desk of Clearissa Coward’s Command Center
Old Windows – New Love
This is going to be a relatively short post, but I just had to share this easy project with you. And when I say easy…I really mean it. Even more important, other than windows, you probably have everything else laying around your home and if you are like me, you may even have old windows.
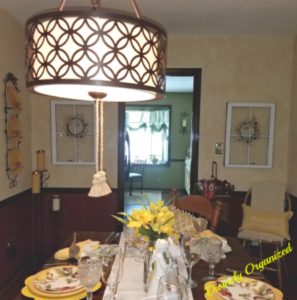
In my last post, I sort of gave you a peek at the change in the dining room. So let’s get this party started (today is my birthday, thus the reference to partying). If you have been with me for a minute, you know that I love switching things up in my dining room, and over the years, it has changed quite a bit. Everything has changed except for the pictures on the wall. They have been the same for at least six or moe years. Yes, I know that is quite a while and a change was needed. I am also trying to brighten up some of the colors in my home as well.
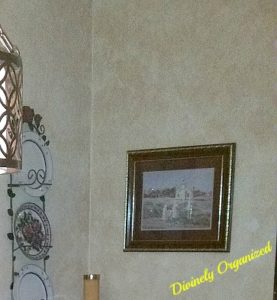
These are the pictures that were on the wall before the change. There were two – one on each side of the entry into the dining room. Not bad, right? I wish you could actually see the picture up close and personal. It’s African American art of an old country church with folks walking to the church on what I am assuming is Sunday morning. I assume it’s Sunday because of the way they are dressed. The background is a Tuscan burgundy and a bit dark but the picture is still one of my favorites. But, it was time for a change.
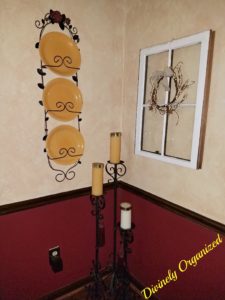
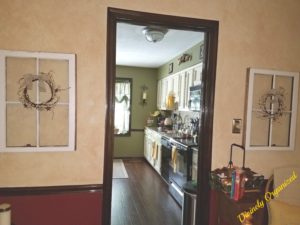
And this is that same corner. Brighter, right? The difference is amazing.
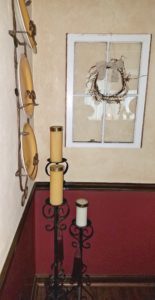
This is the view of both windows.
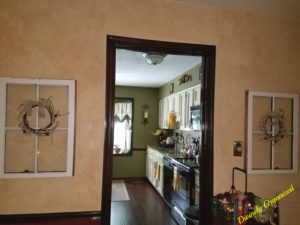
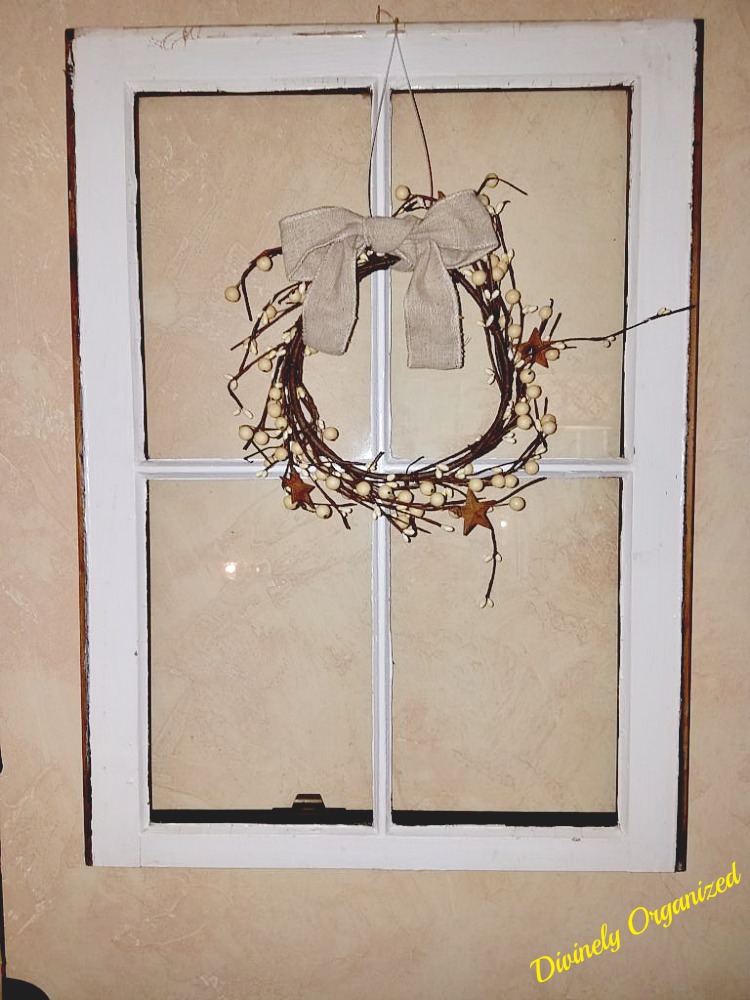
A couple of years ago, we had new windows installed and I kept 6 of the old windows. So although I say the project cost me nothing, it really did cost the price of a whole house of replacement windows. 🙂
As I said, this was an inexpensive project.
Supplies
- Windows – ($0.00 )
- Fishing wire – ($0.00) hubs is a fisherman
- Small wreaths (2) – ($0.00) had in my stash
- Ribbon (I used burlap 2″) – ($0.00) had in my stash
- Varnish – ($0.00) Had in my stash
- Window cleaner – ($0.00) homemade w/vinegar and water
- clean rags – ($0.00) had in my stash
- Varnish – ($0.00) had in my stash
- Paint brush – ($0.00) had in my stash
- Picture hangers – ($3.00)
- Eye hooks
- Paint (only if you want to paint your windows – I did not use)
Steps
- Clean the windows
- Touch up the paint (I sanded my windows in some areas and left the paint as it was because I wanted the rustic look but you may not)
- Varnish the windows to seal whether you paint or not
- Allow to dry
- Add eye hook to the back of the window to hold the fishing wire
- Make your bow for your wreaths and secure to the wreath with the fishing wire
- String the wreath with fishing wire and secure to the back of the window (draping the wreath over the front of the window) I hung mine half way the window
- Add the picture hanger (I used the one with teeth)
And that’s that. A new lighter and brighter look. My next step is to brighten up the wall color below the chair rail. I am looking for a good color that will blend well with the Venetian plaster I have above the chair rail. I’m not ready to give that up yet because I love it.
You can shop this project here.
I found the perfect color to replace the paint in our master bedroom and bathroom. I will share that later.
Would you ever use old windows as decor in your home? If not why? If yes, where would you hang them?
There may be affiliate links within this post. However, all opinions and ideas are my own. Clicking on and using the links to purchase products does not increase your cost at all. I appreciate your support.
Never miss another article, tip or project. Get them delivered directly to your email. Subscribe today! And let’s stay connected.
Until next time…Organization is my element and it can be yours too
Published:
MomsMagazine.com
IBA.com
Blogher.com
Hubpages.com
Interviewed/Featured:
IBA.com
Don’t forget to share with your friends. I greatly appreciate it.
Thank You for Stopping By!



That looks really good, I like the way you added it to both sides, I think it evens out the space.
Nice! Love that you used something old and make it new!
Hello,
Great Post! Thank you for sharing. I love the idea of upcycling.
Thank you so much. I think so too. It’s wonderful when great minds think alike. 🙂 I appreciate you stopping by.
Thank you Laura. Upcycling is my love. It really helps the budget too. 🙂 Thank you for stopping by.
Thank you Christy. I love upcycling too. I have always had to decorate on a budget and upcycling allows you to change things without spending a fortune. Thank you so much for reading along. I hope you will again.
What a great idea! It brings such a visual treat to the space and I love the symmetry around the door. Great job!
Thank Sarah. I always love it when you read along. I love it too. I also love to take something that is supposed to be tossed and make it useful again.
oooh! I would love to do something like this. I have the perfect spot in mind. I just need to find the right window.
Awww thank you Audrey. I love it when you like it. Please stop by again.
No gonna lie I’m a huge fan of seeing all those zeros for the prices.
Mihhaela, you are a girl after my own heart. I love the zeros as well. 🙂 I hope you enjoyed the project as well.
I love creative, simple and inexpensive project. Your ‘window love’ hits all three categories. Thank you for sharing this, Clearissa.
Thank you Donna. I appreciate your kind words. I agree…upcycling is very fulfilling.
Thank you Clearissa for linking up and co-hosting at the #BloggingGrandmothersLinkParty. I shared this post on Facebook, Google+, Pinterest, and Twitter.
My pleasure Dee.
It’s been fun co-hosting #BloggingGrandmothersLinkParty with you. I shared this post on Twitter and Pinterest.
I appreciate it Christie. It is my pleasure to collaborate with you as well.
Thanks for this info. I have an old window and now I know what to do with it. I found you through the Blogging Grandmothers Party. I’m sharing this on Pinterest. Thanks for stopping by Gail-Friends.
Those look amazing, so pretty and modern! Thank you for sharing at BloggingGrandmothersLinkParty. I’ve shared on social media.
The wreaths look nice on the old windows. They have more presence than the pieces of artwork, so they fill out the space. Thank you for sharing at #BloggingGrandmothersLinkParty. I’m sharing your post on social media.
Hi Gail. I’m glad you liked the windows. I have two more that I am going to do something with as well. Thank you for hanging out with us at the Blogging Grandmothers Party.
Hi Lori, Thank you. I’m happy you liked the windows project. Thank you for sharing.
Hi Carol, I agree. I loved the artwork but I like this look even better. At least for now. 🙂 Thanks for stopping by and sharing.
Always so creative Clearissa. Thanks so much for sharing with us at #BloggingGrandmothersLinkParty. I’ve shared on social media.
Thank you Sue.
Pingback: 15 DIY Projects with Old Windows That Make Stunning Farmhouse Decor – My Blog
Thank you for the link. I appreciate it.