

From the Desk of Clearissa’s Command Center via Divinely Organized
How do you store your makeup? Is your vanity area organized? I tried last year; however, per usual, I was not happy with the outcome and it was a perfect project for my Organize on a Budget series. So come along.
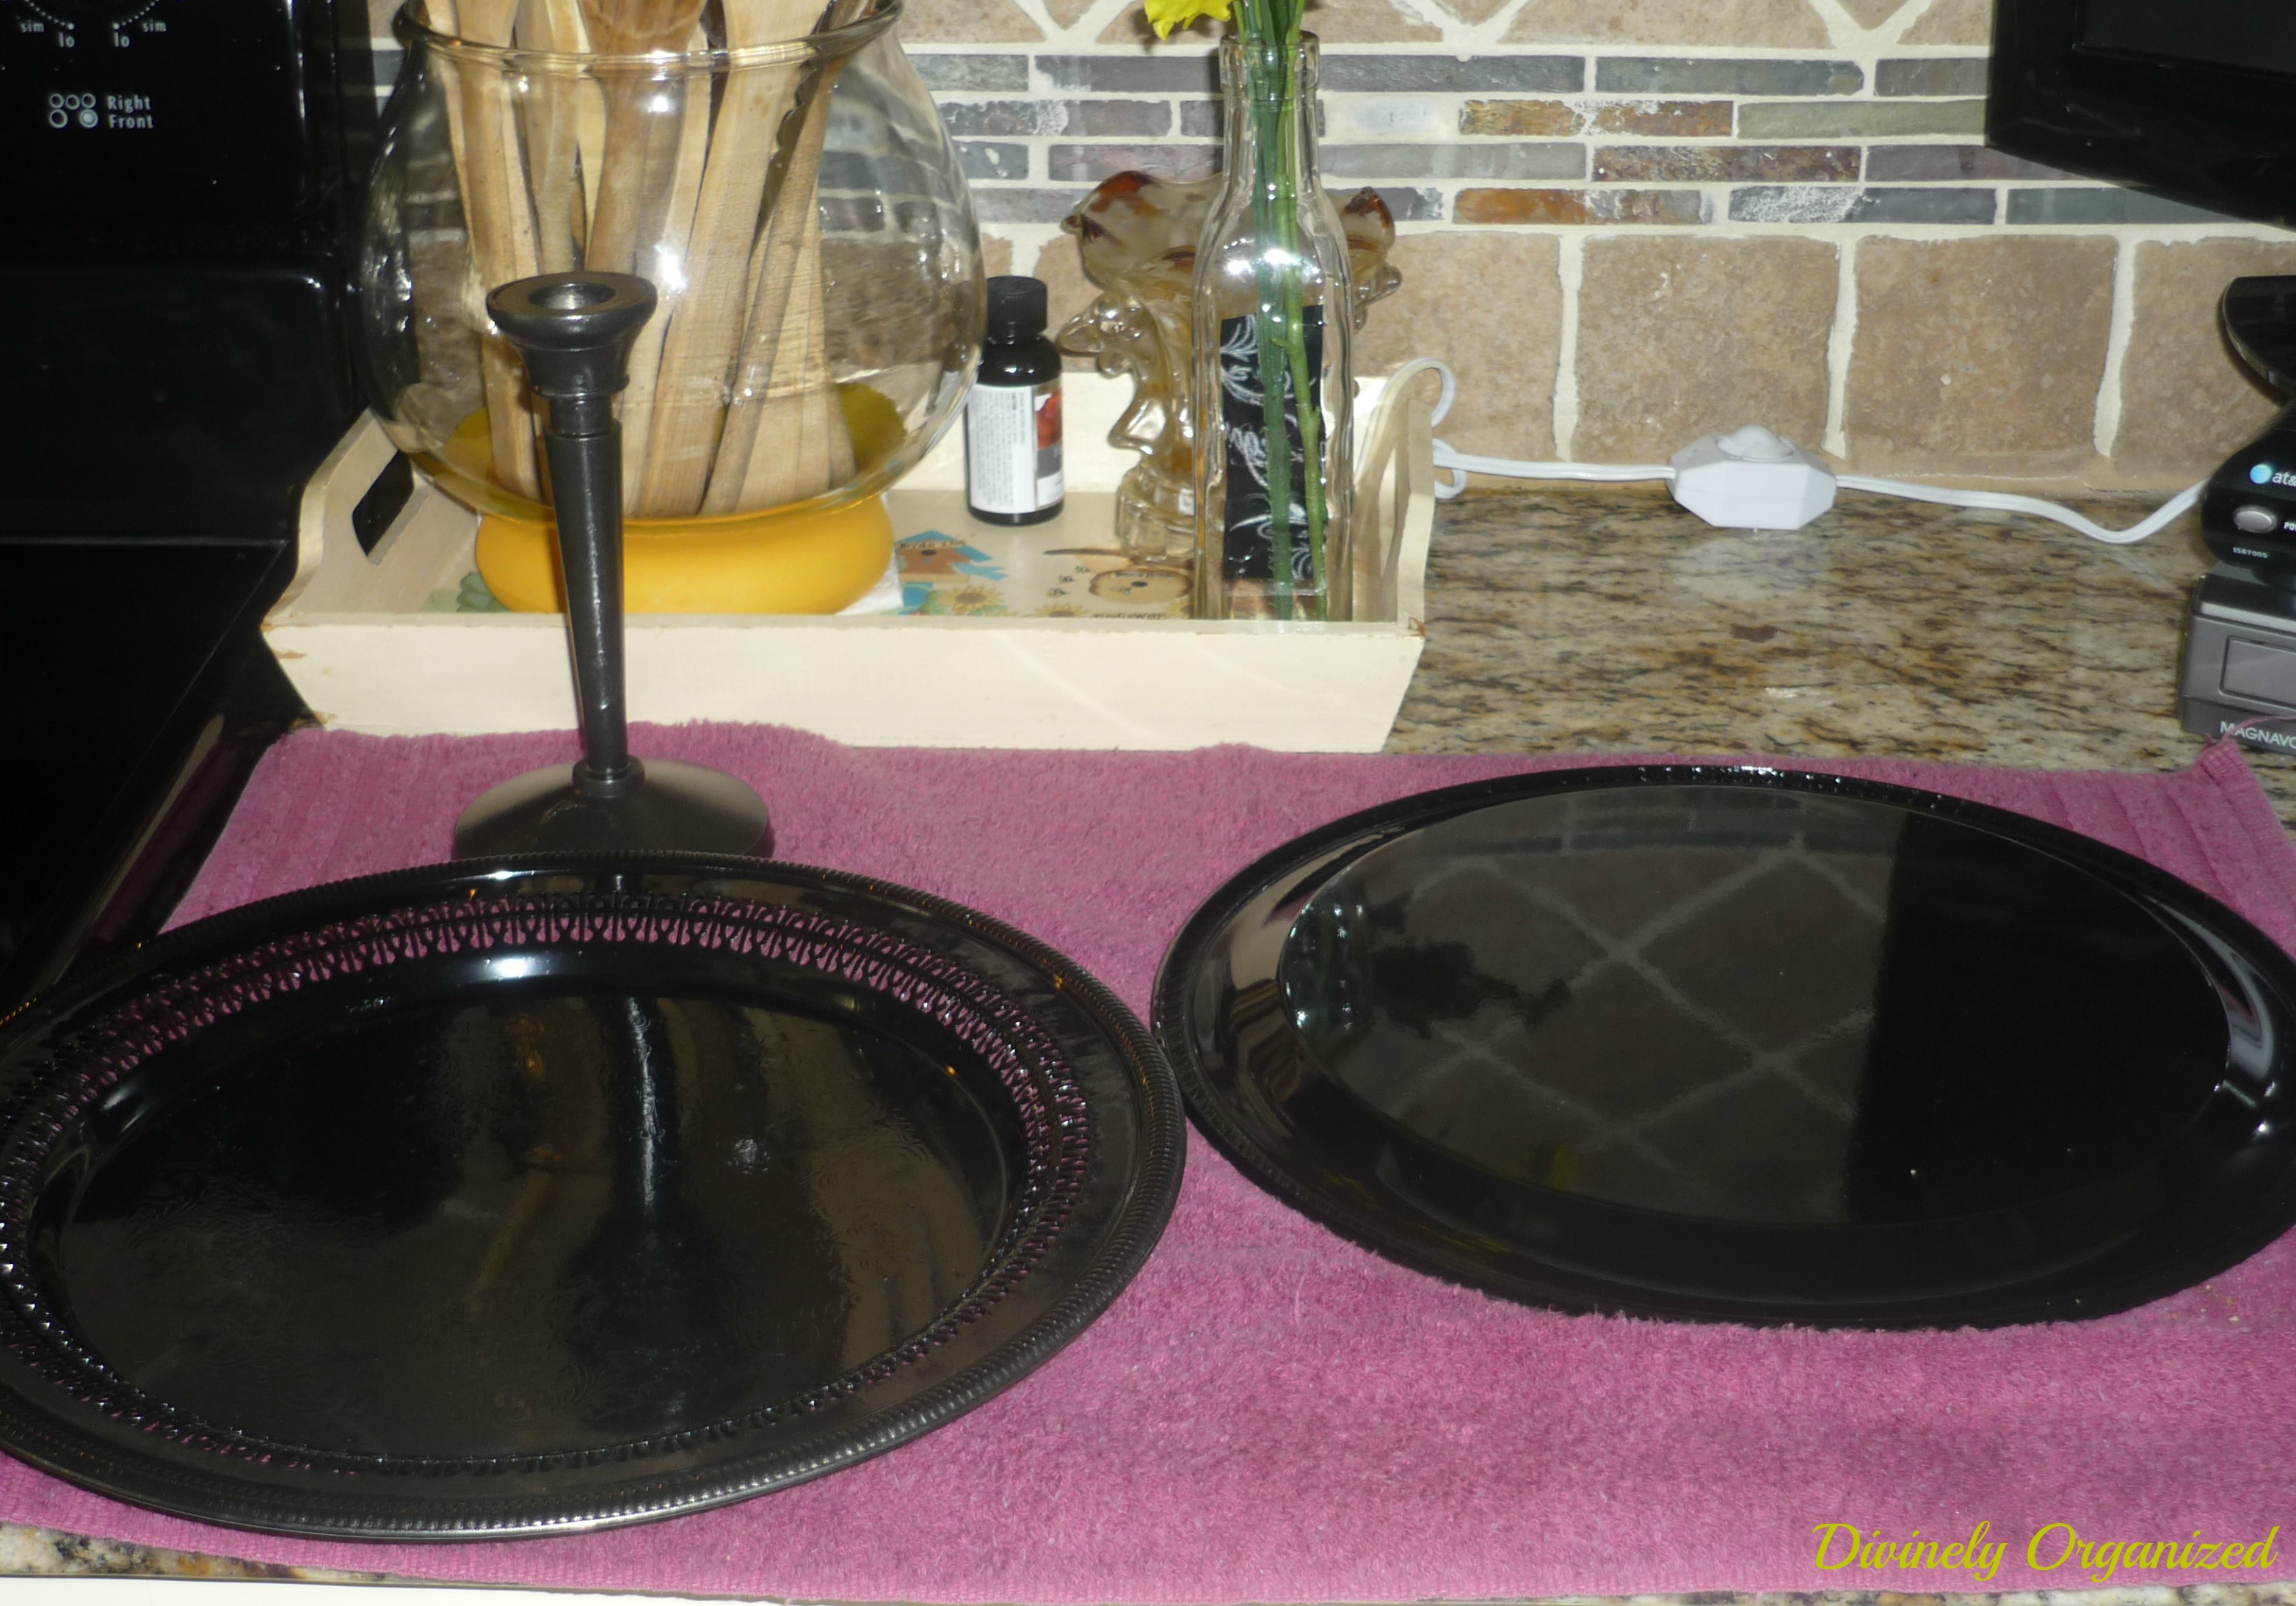
The purpose of this series is to show that decorating/upcycling/refreshing can be completed without spending an enormous amount of money. Thusly my vanity project. If you follow my blog, you know I recently had some fun thrifting and although I had no idea how I was going to use all of the silver trays I purchased that day, something told me to bring them home and I did. You can read my thrifting post here.
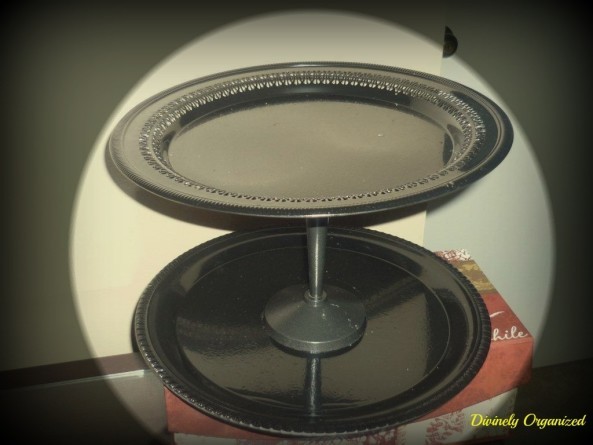
I turned 2 of the trays and a candle stick into a double tray for my vanity. The steps for this project are simple. See below:
- Spray paint the silver trays and the candle stick
- Glue the 3 pieces together with E-6000
- Allow the glue to dry overnight
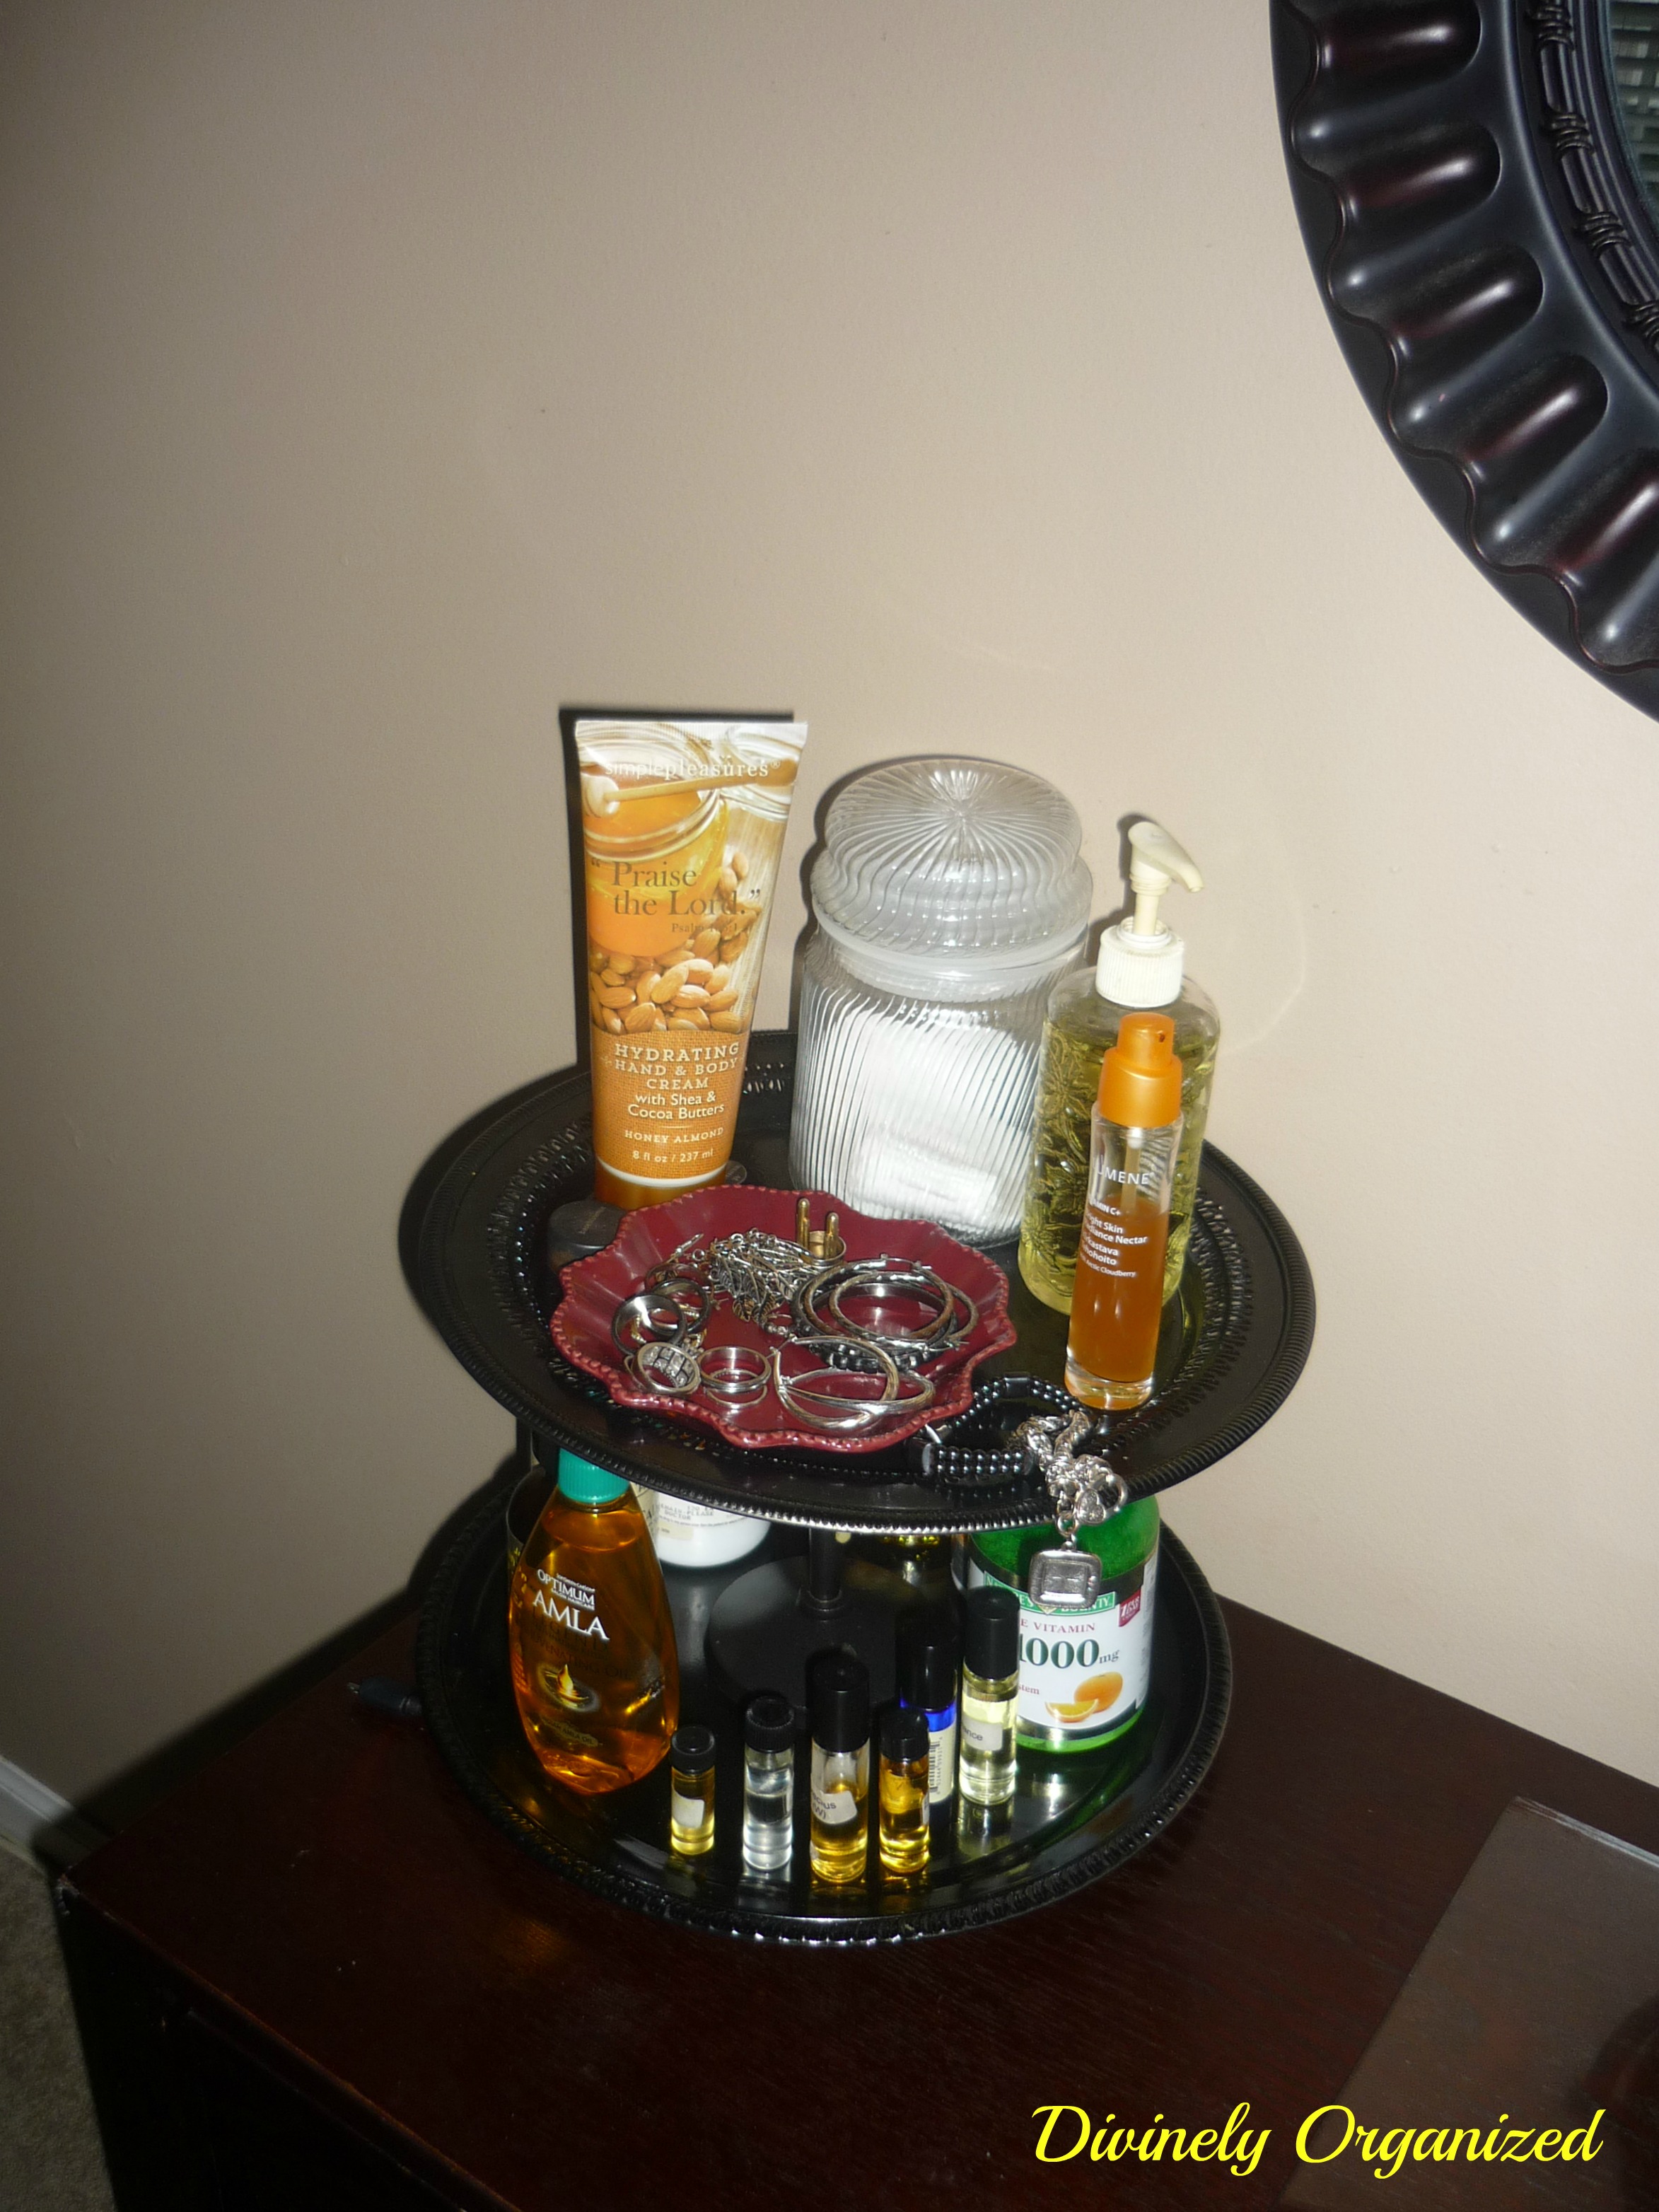
A simple project that will take much of the clutter from the top of your vanity. The tray catch-all can also be used on the bathroom or kitchen counter to alleviate clutter.
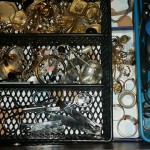
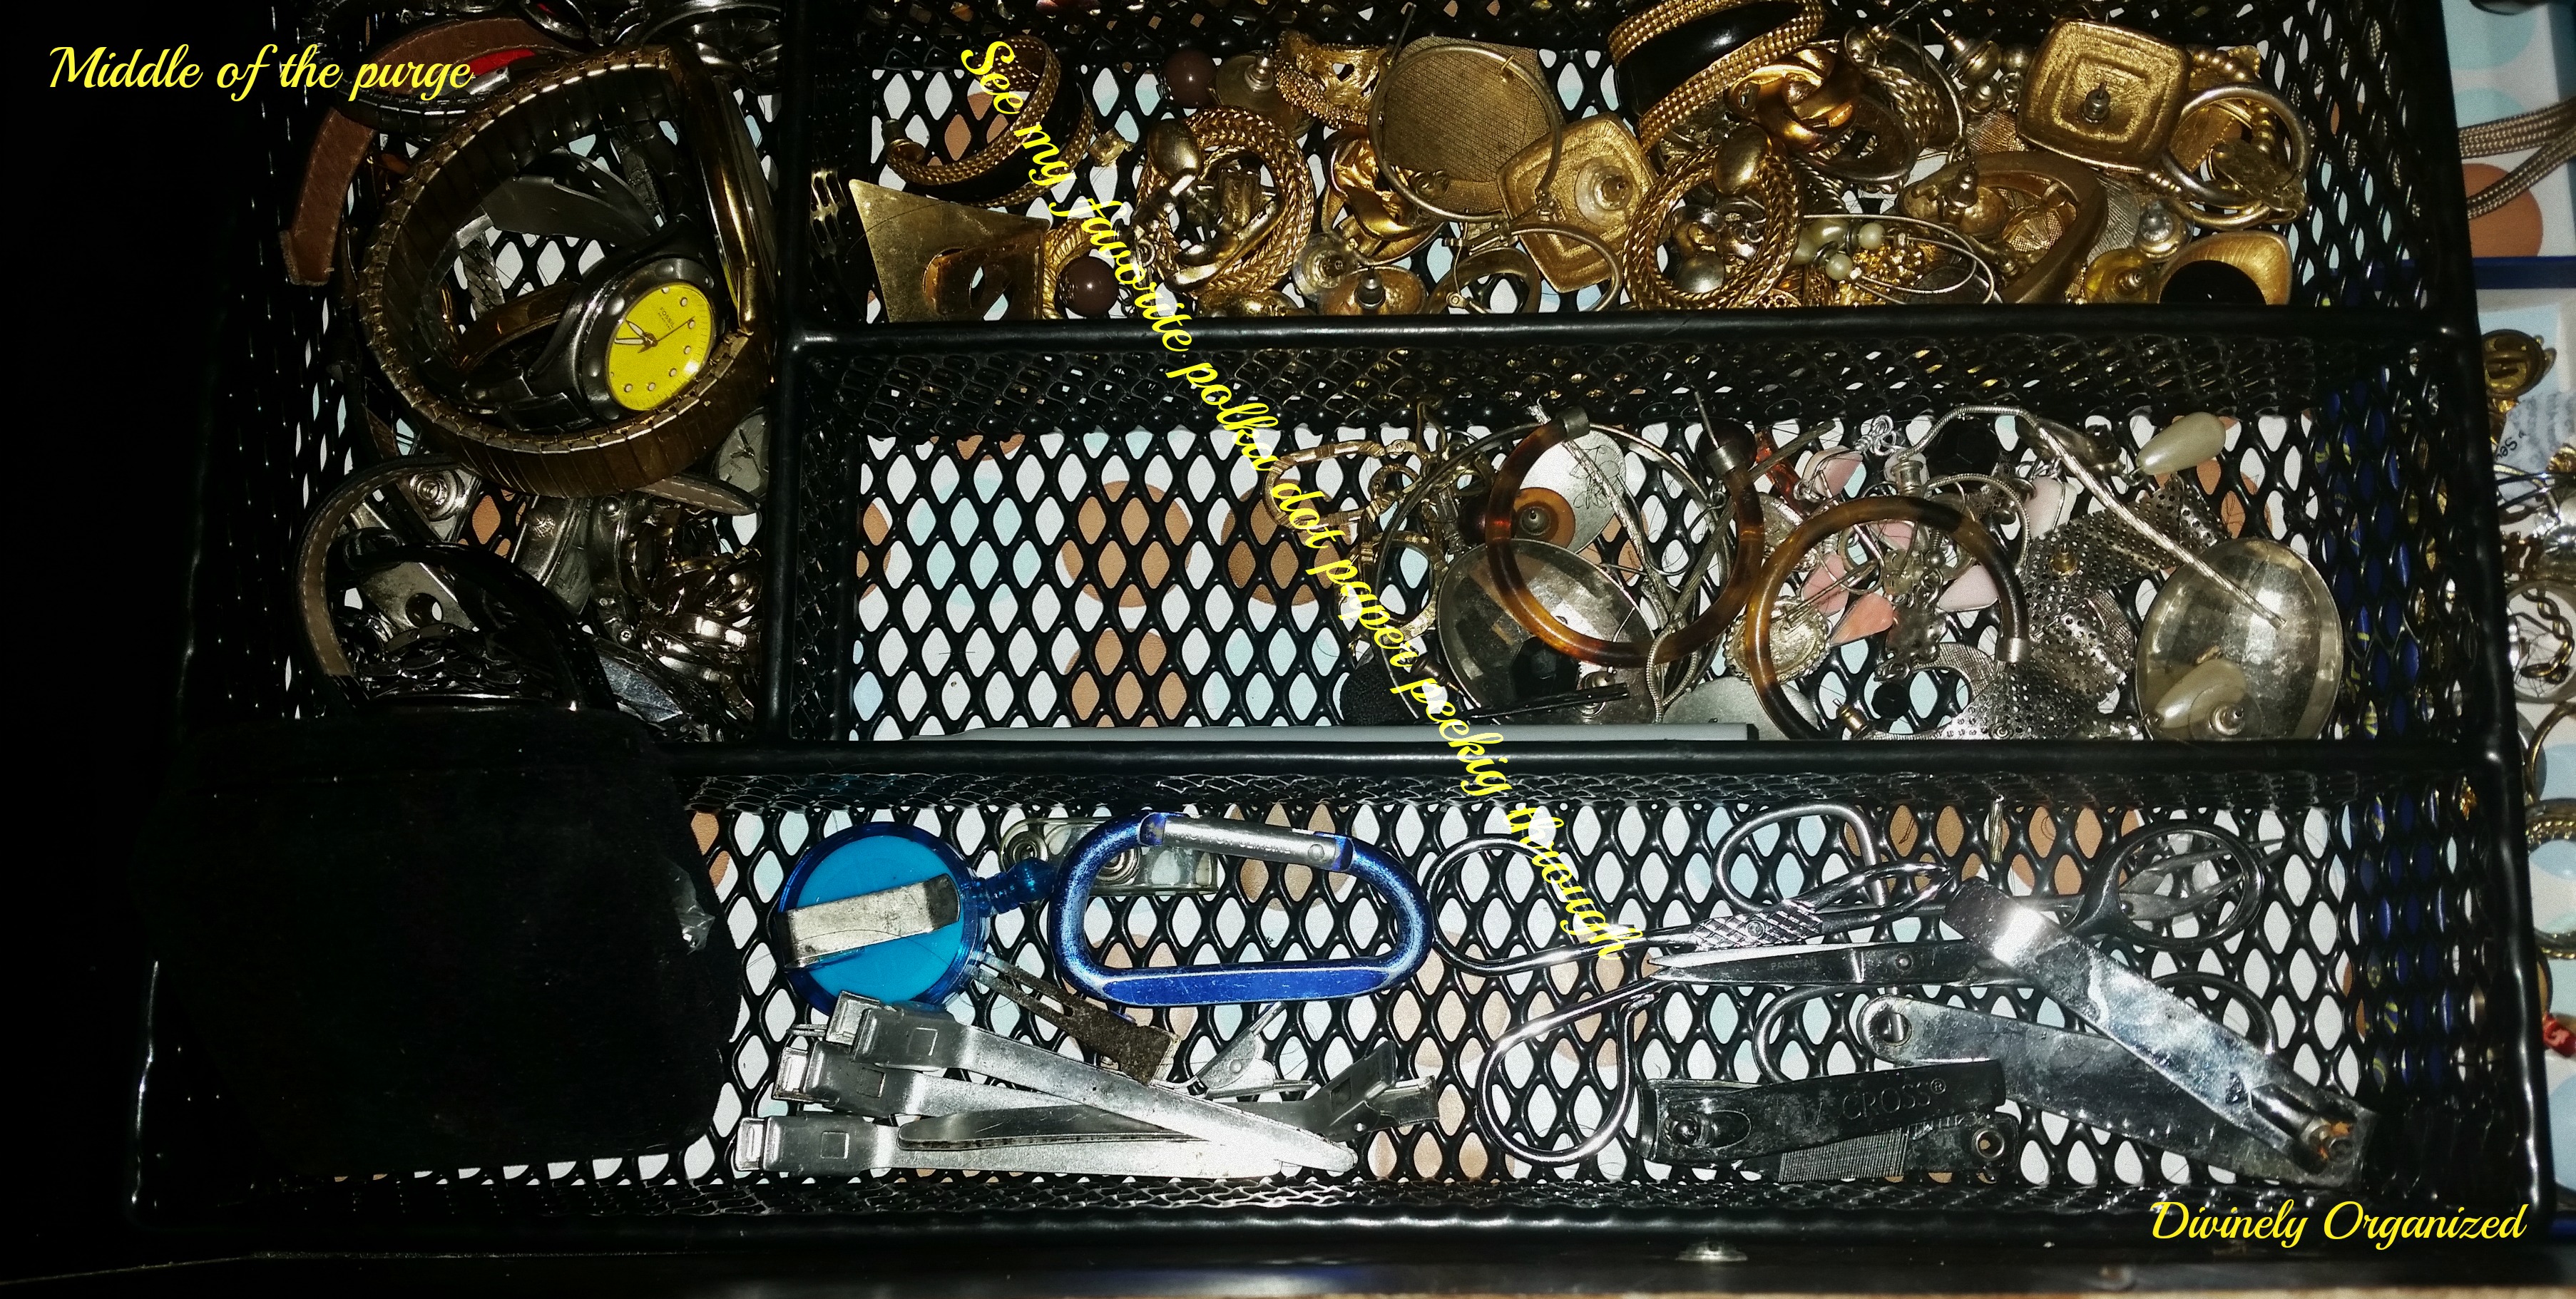
Next it was on to the inside of the vanity drawers. As you can see from the photos, I tried using drawer organizer for both the jewelry and make up drawer. It worked okay for the jewelry drawer but not so much for the make-up drawer. But both drawers were over-flowing and due for a purge. Giving you my embarrassed look.
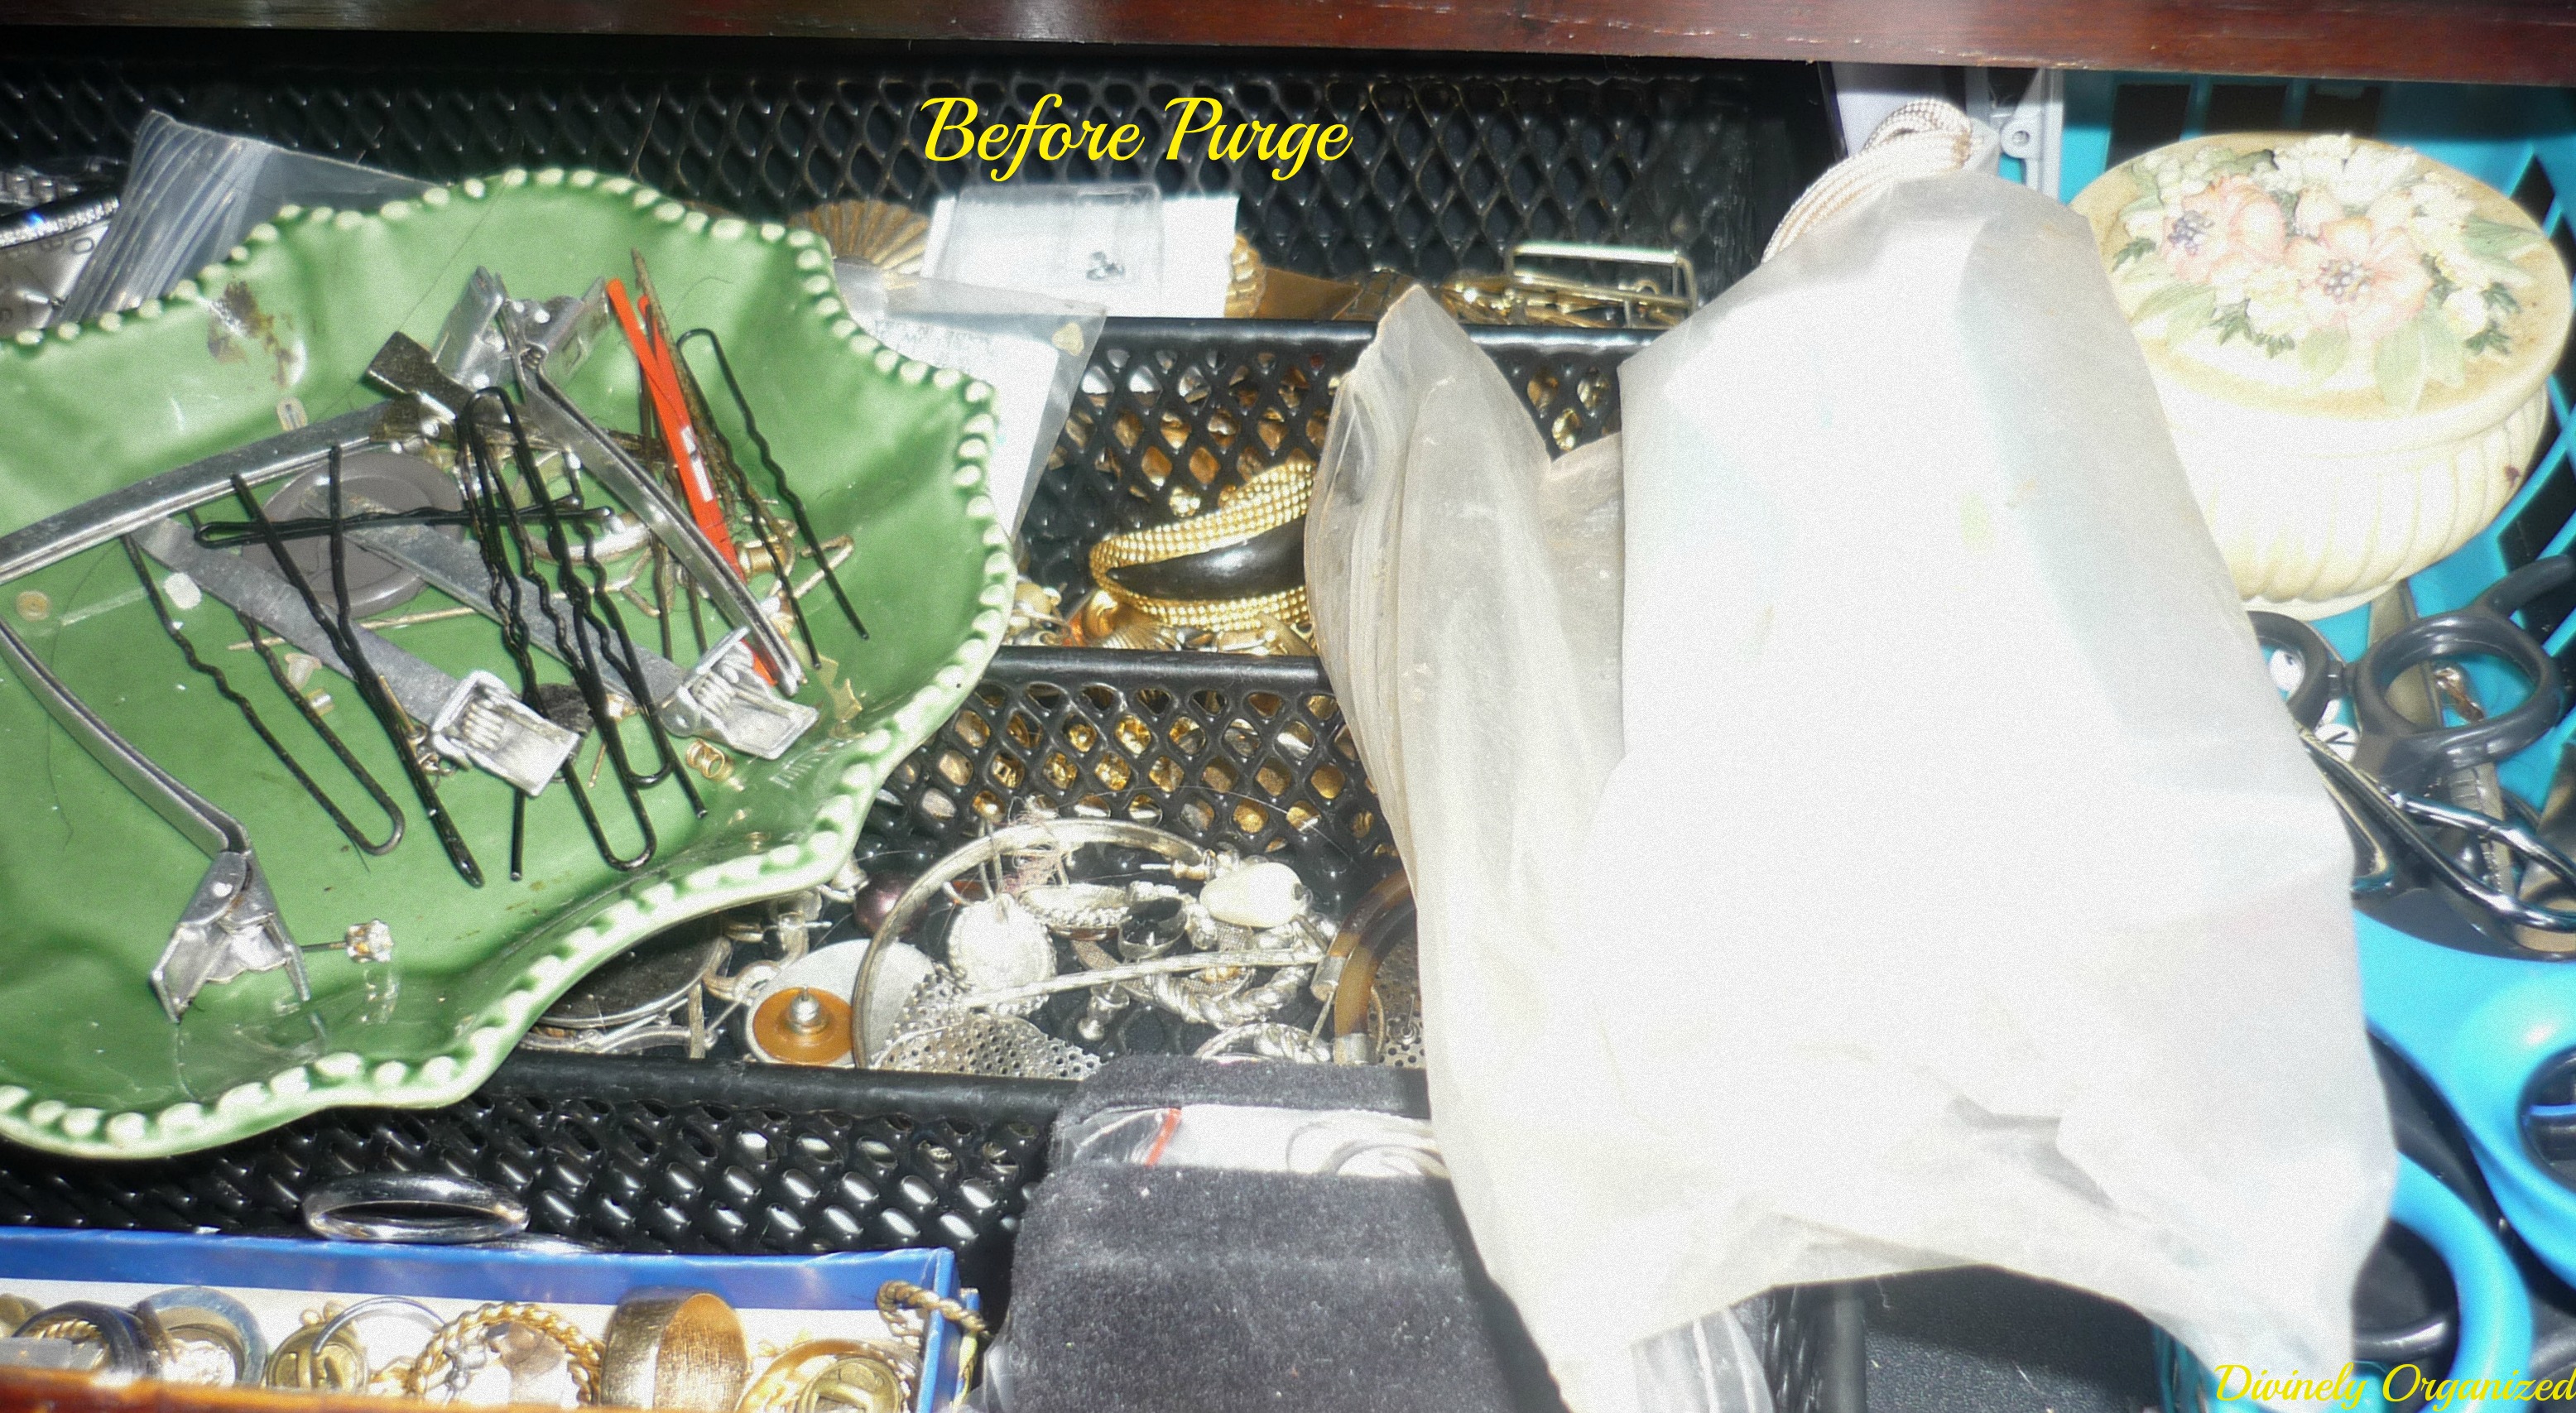

The jewelry drawer was less crowded because – this is a confession – I keep most of my jewelry in a jewelry organizer that hangs behind my door. Shhhh I’ll get to that another time. 🙂 Any who, I purged the jewelry drawer. All of the old costume jewelry that has seen better days, had to go. All of the miscellaneous stuff that was not jewelry, had to go.
- I removed everything, cleaned the bottom of the drawer and added shelf paper to brighten things up. I used the same polka dot paper I used in the kitchen. I’m in love with the polka dot paper.
- When I put things back, I only kept jewelry that I actually wear and I did not add anything that was not jewelry related except the scissors. And I need those.
- I re-used the drawer organizer but added a plastic container for scissors and a decorative box for rings
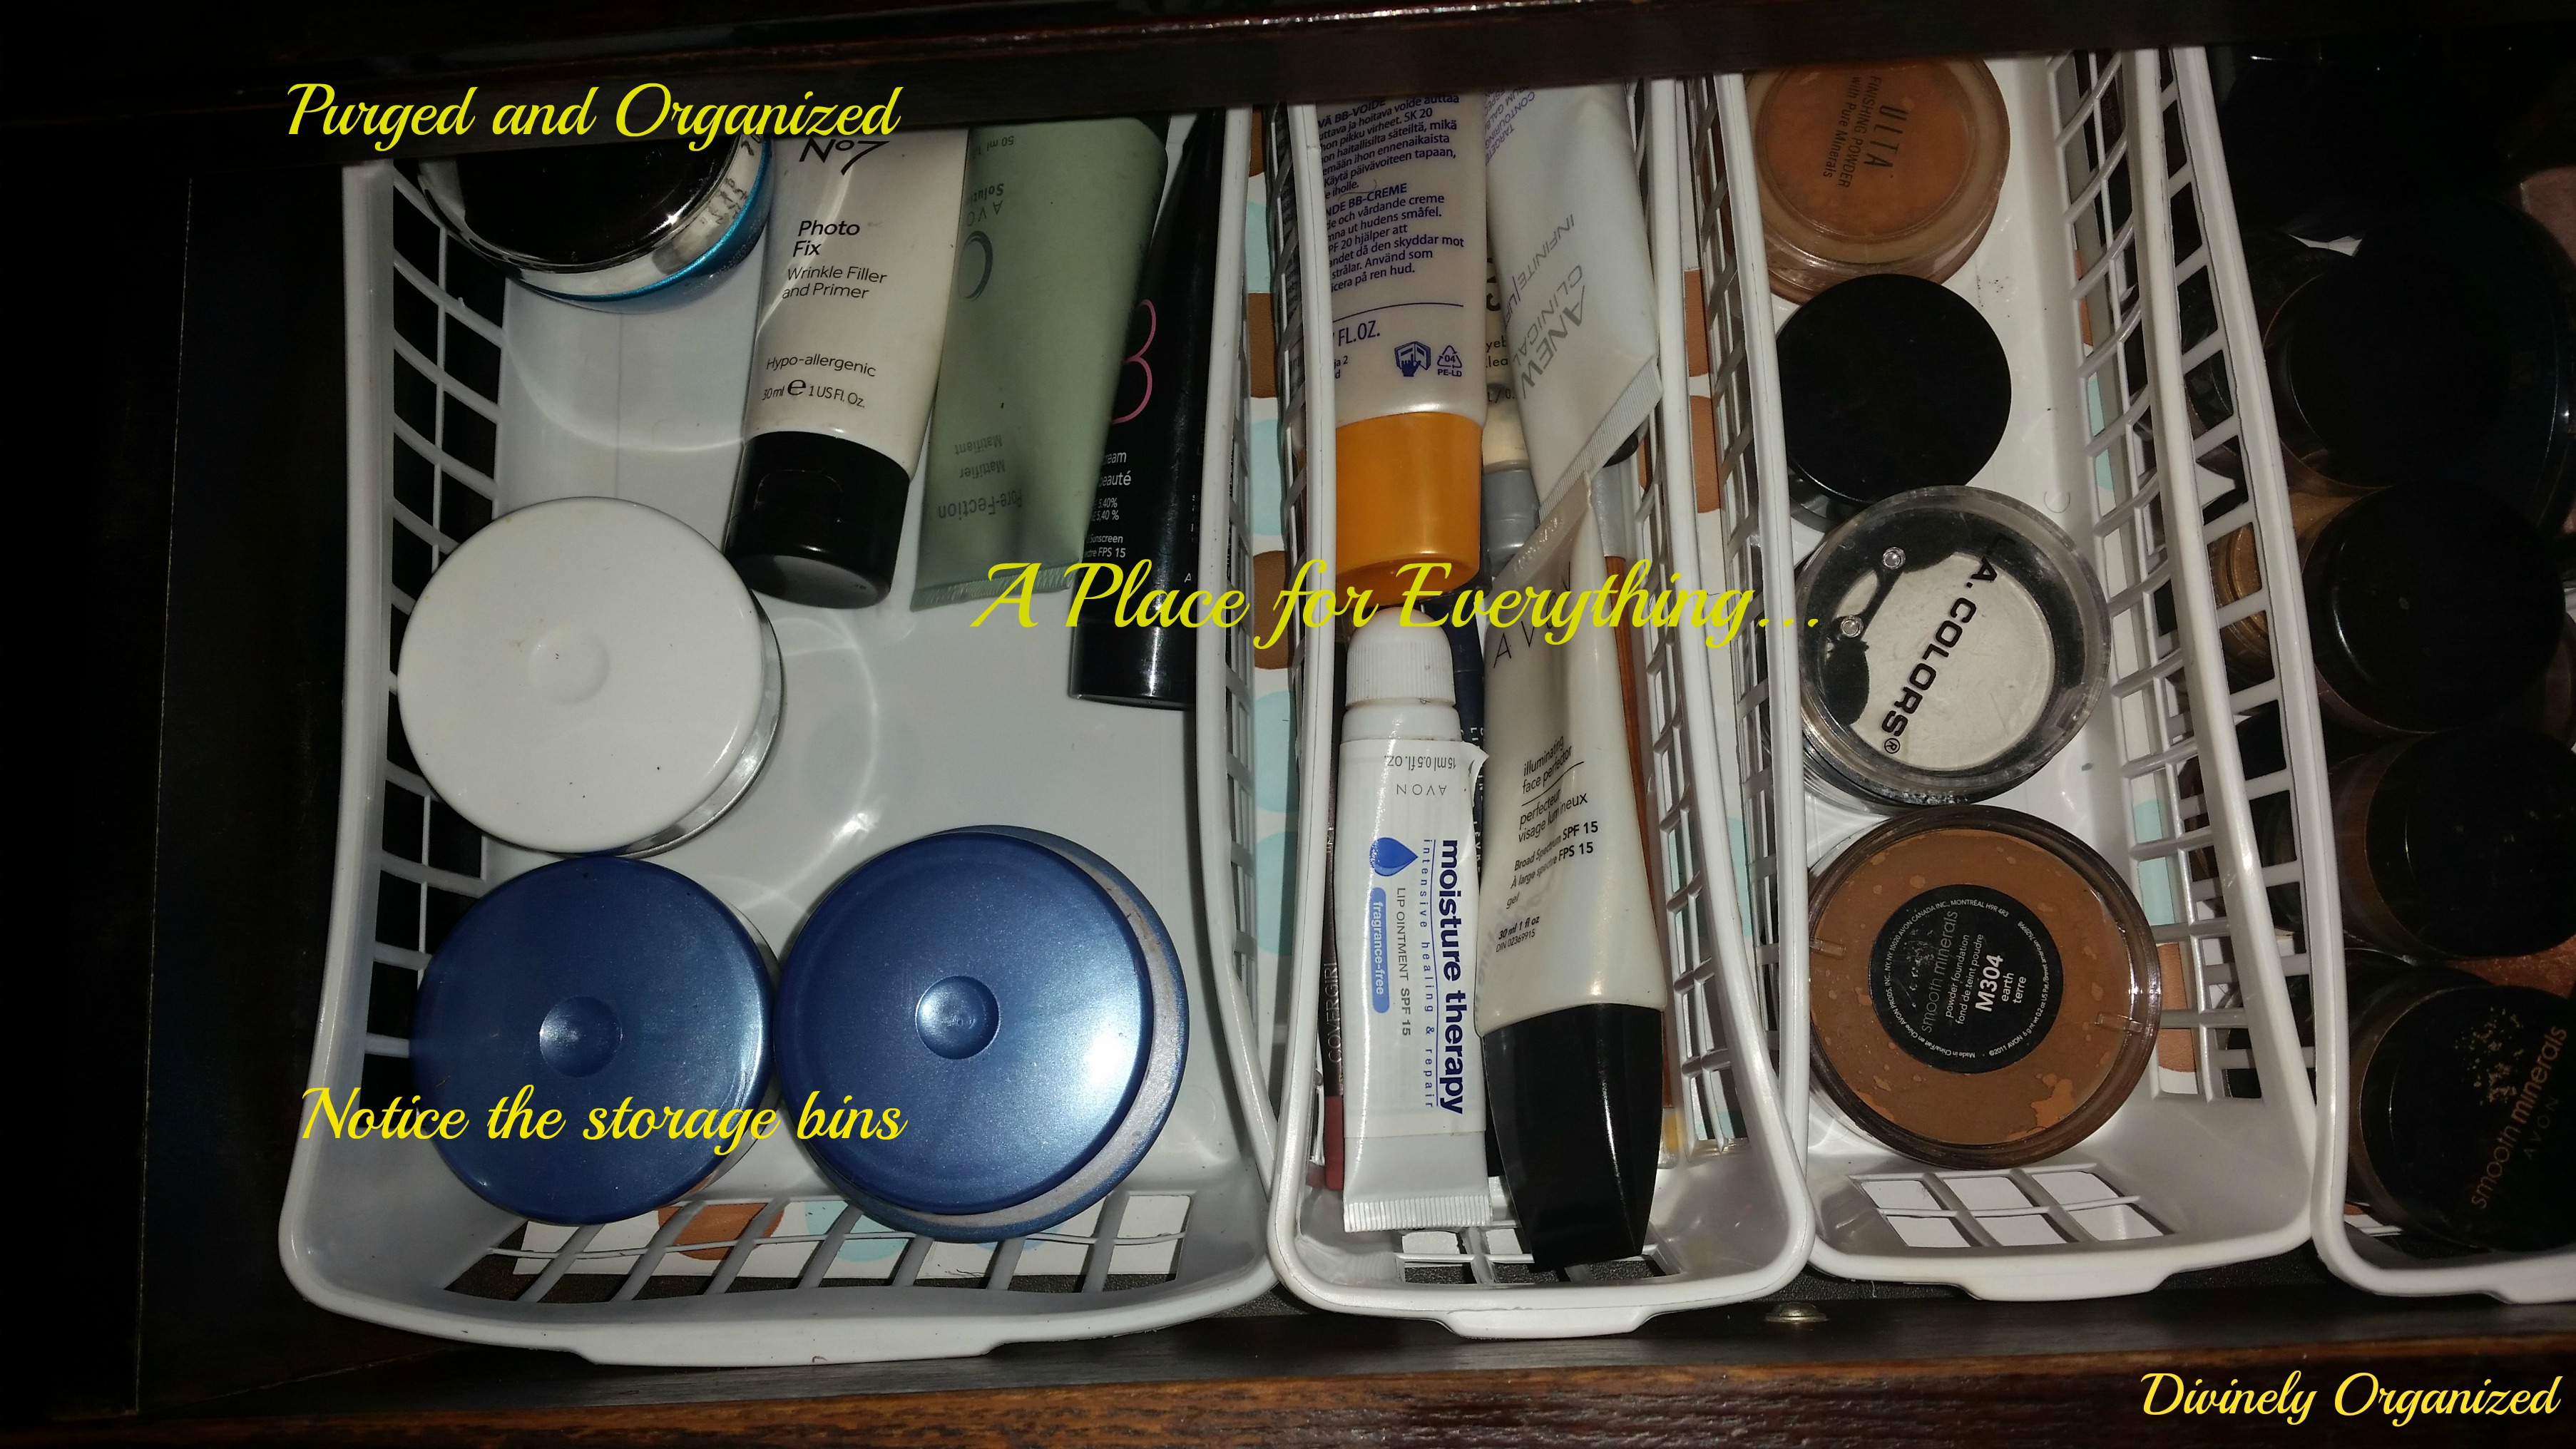
Next I tackled the make-up and skincare drawer. That was more of a challenge but I was strong. As usual,
- I removed everything from the drawer.
- I tossed old eye shadows, skin care creams and any other items that were past their expiration date or no longer useful.
- I also changed the storage system in this drawer from a drawer organizer to individual plastic storage containers. They are deeper and I could get more of them in the drawer. It is a much more organized system and exactly what I need for this drawer.
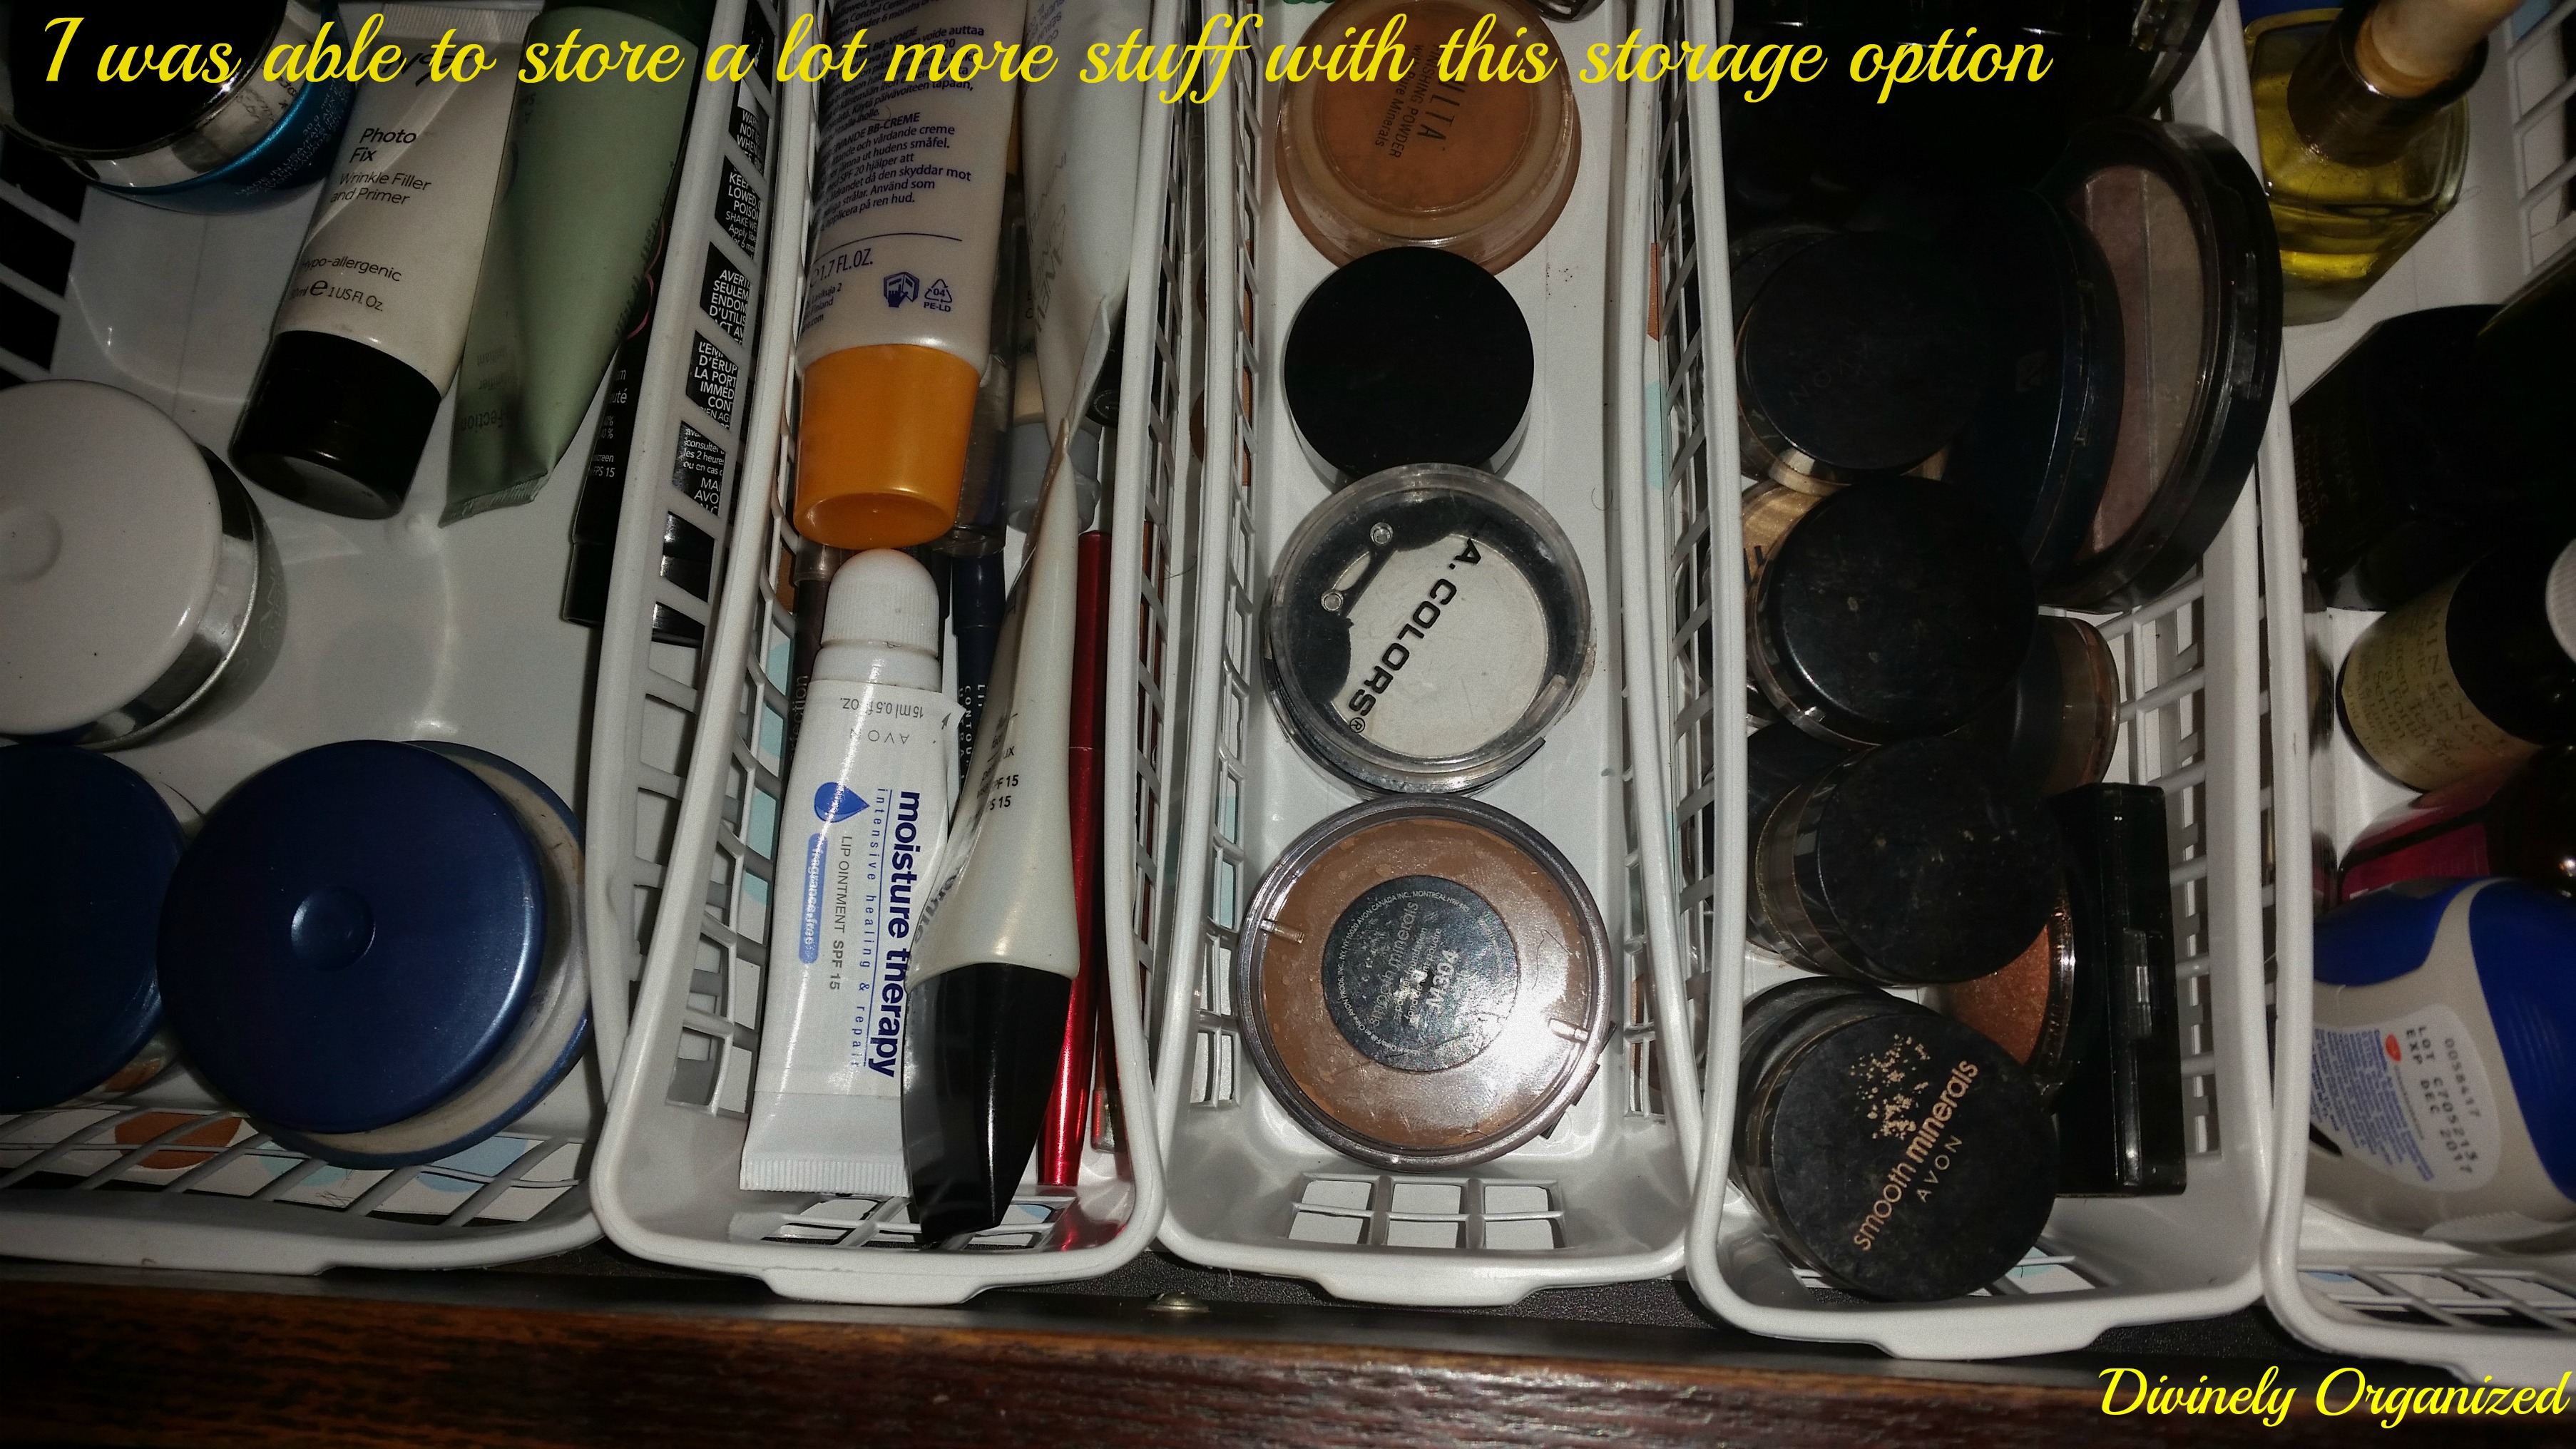
So there you have it. Another simple reorg and the cost was $4.00 for the plastic storage bins and I believe a dollar each for the silver trays and candlestick. I’m going to round up and say a total of $10.00 but I know it was a couple of dollars less. The storage bins were three for a dollar. Quite a bargain wouldn’t you say.
So what are you working on for spring? I wold love to hear your ideas and see pictures…share!
If you like this post, you may also like this one.
Remember to share…Sharing is caring

I use tissue boxes and also use plastic bag boxes. They are easy to modify.
Hi Karen, good ideas. I will keep those in mind because I am perpetually tweaking and making my areas better. Share your pictures. I would love to see them.